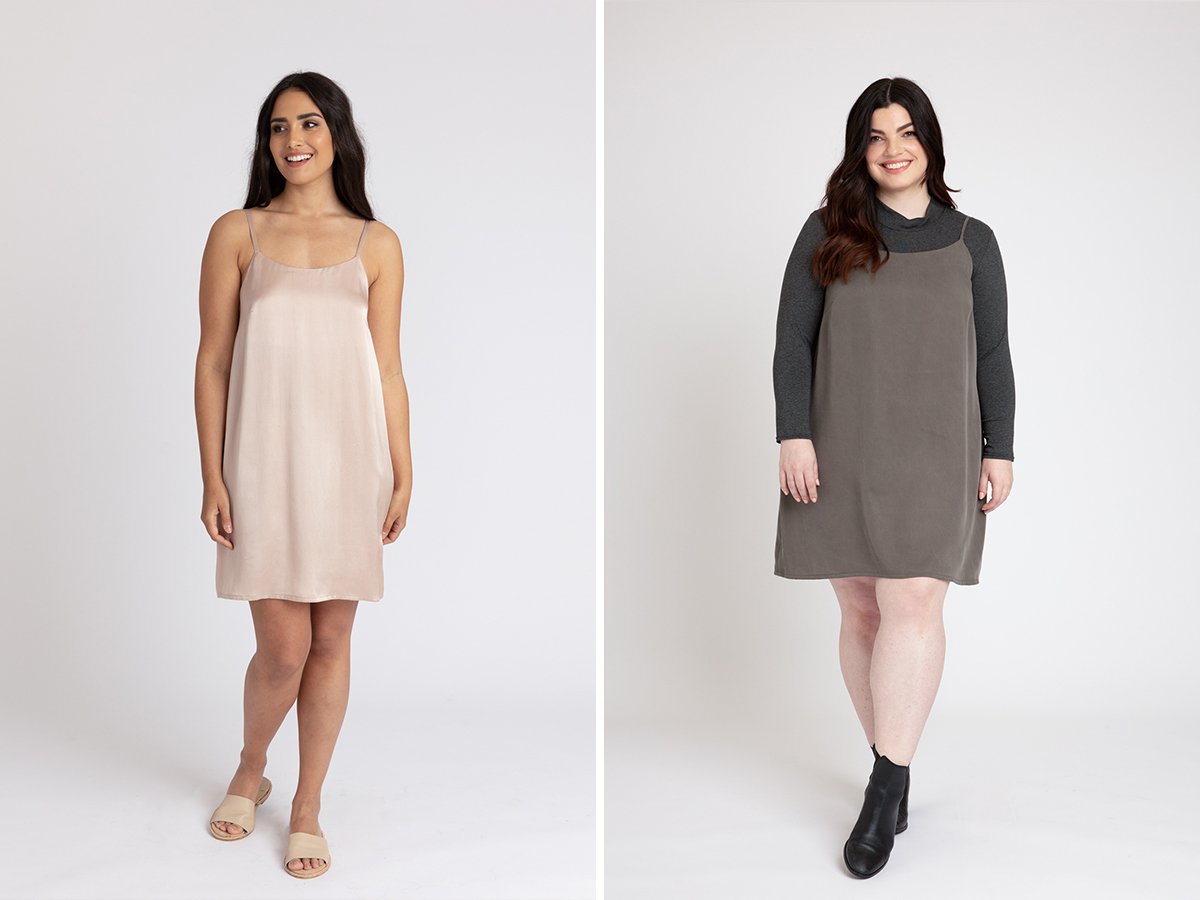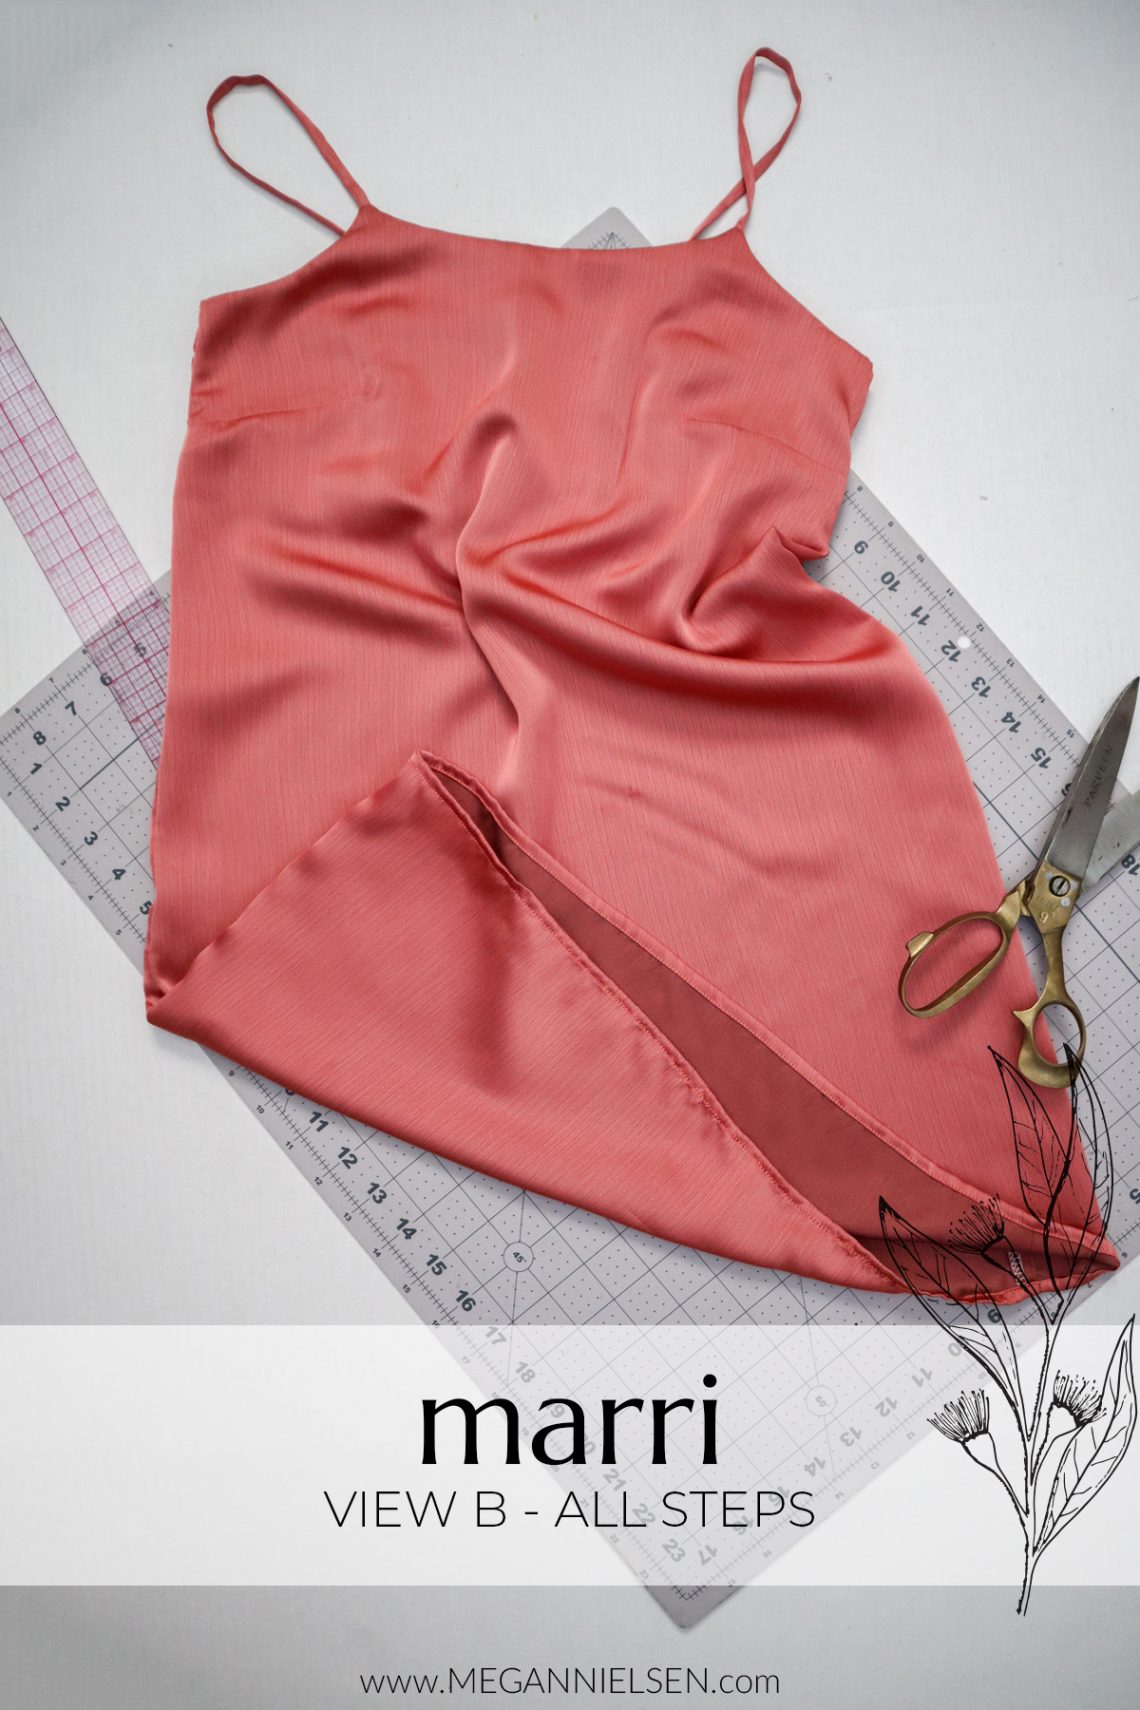

Let’s work on View B of the Marri slip dress pattern. This will include the rounded neckline, thin regular straight straps, short slip dress length, and regular hem.
*Because of the mix-and-match nature of this pattern, there are many different variables to go over for construction. It’s the best, organizational wise, to keep the posts grouped together for each individual view. So while I’ll be going over a straight View B here (round neckline, thin straight straps, slip dress length), feel free to mix and match steps from this post with other steps from other posts for other views!
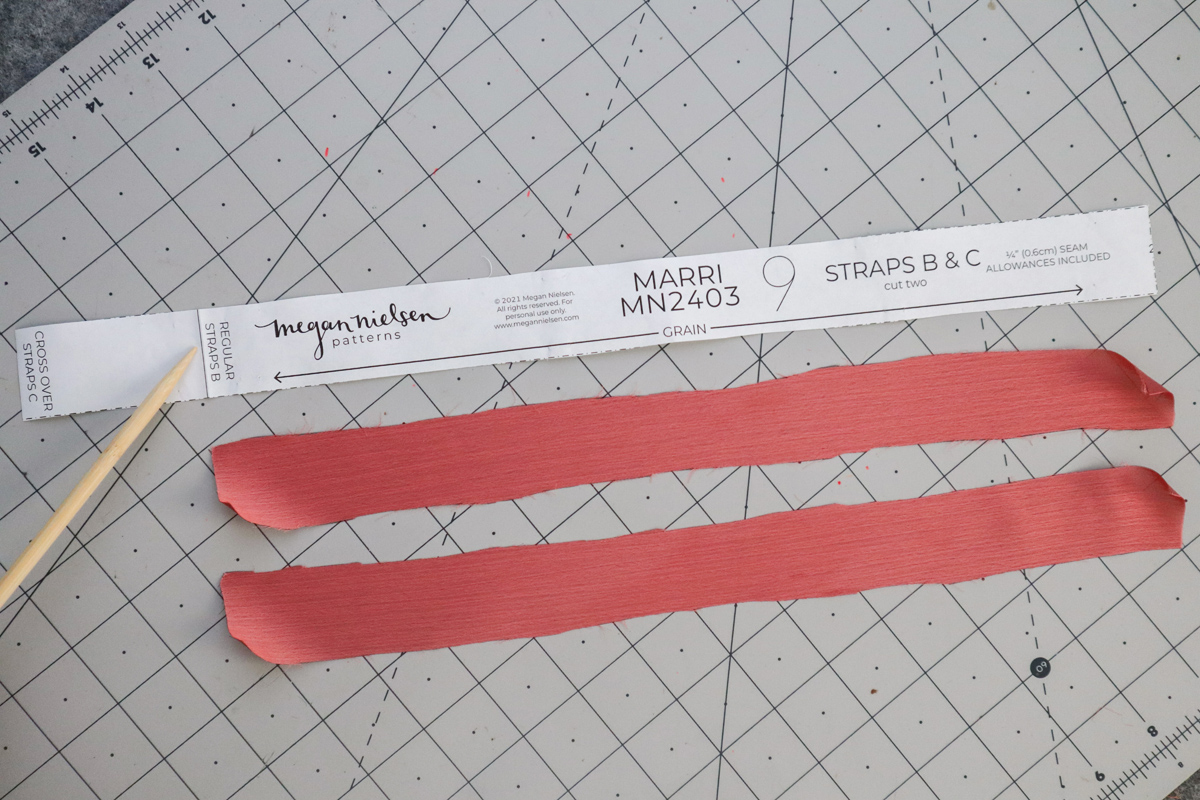
Take a look at the thin straps pattern piece. There are two cutting lines – one for View B, one for View C. For this view, make sure you are cutting 2 straps from the shorter cutting line.
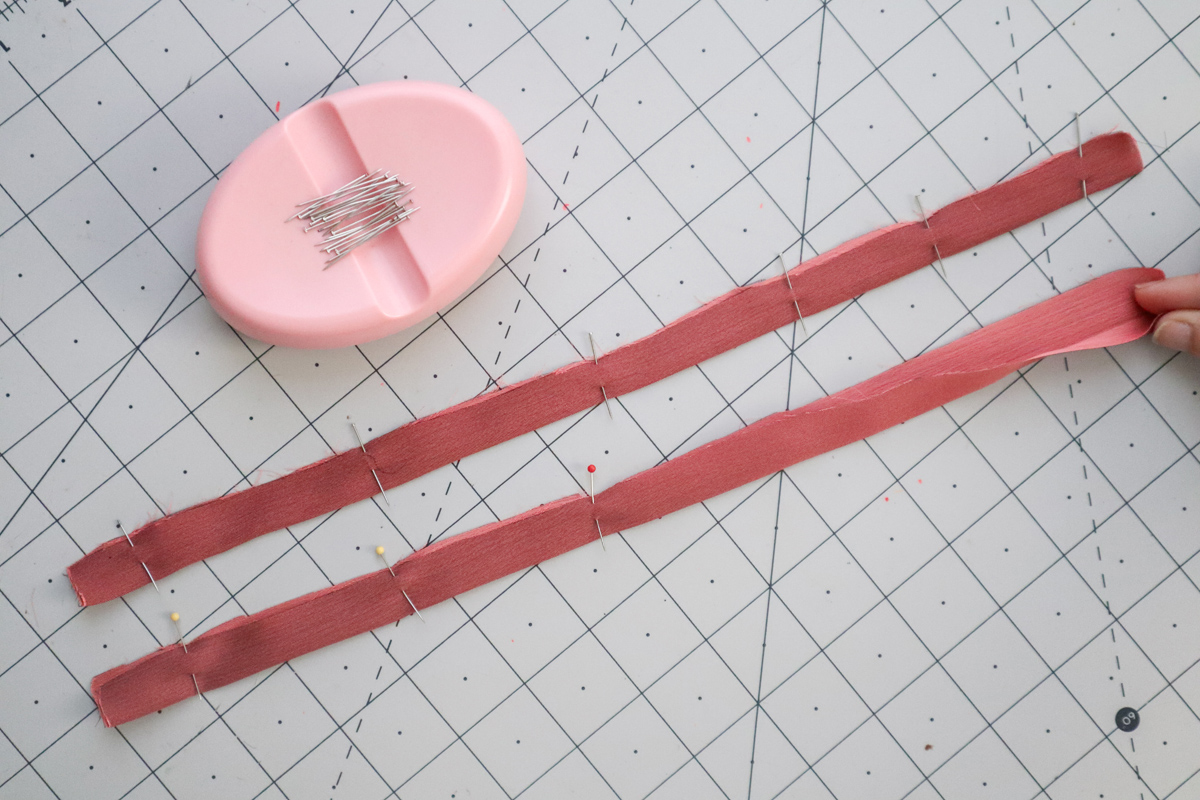
Now take your two straps, and fold each one in half, with right sides together. Pin in place.
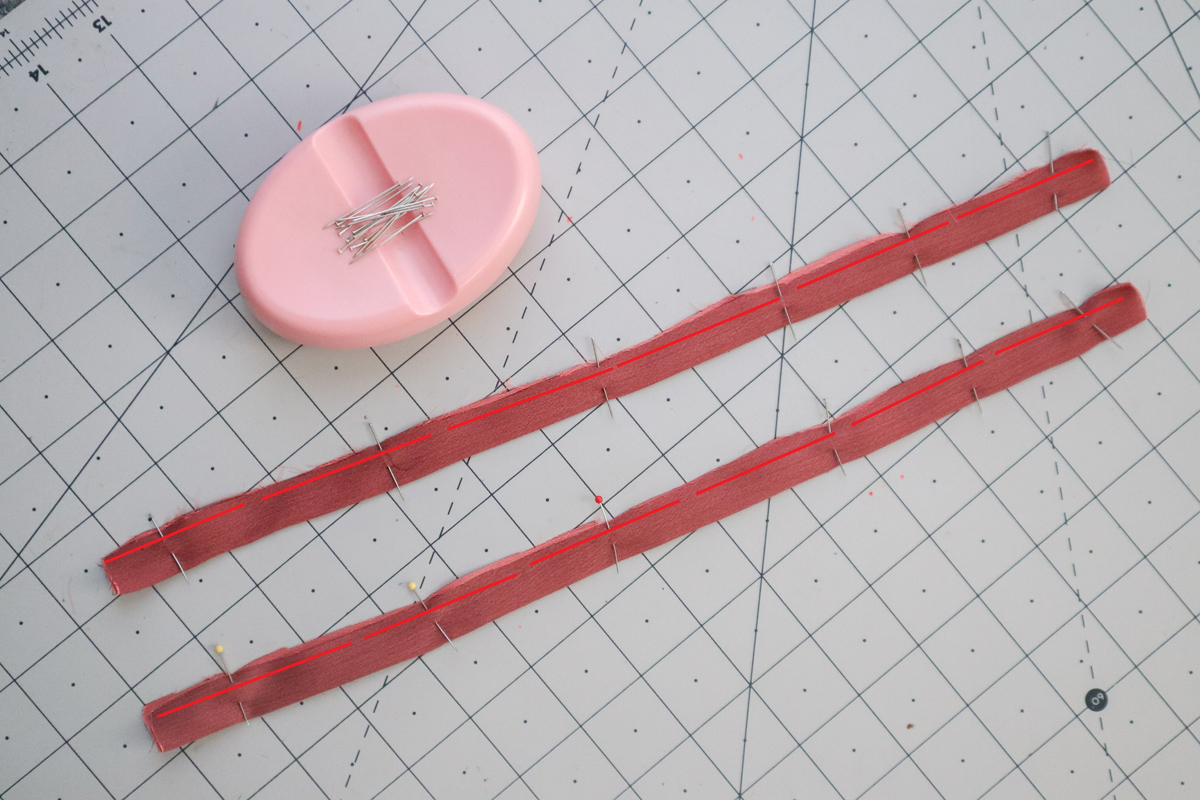
Sew each strap together 1/4″(6mm) from the raw edge.
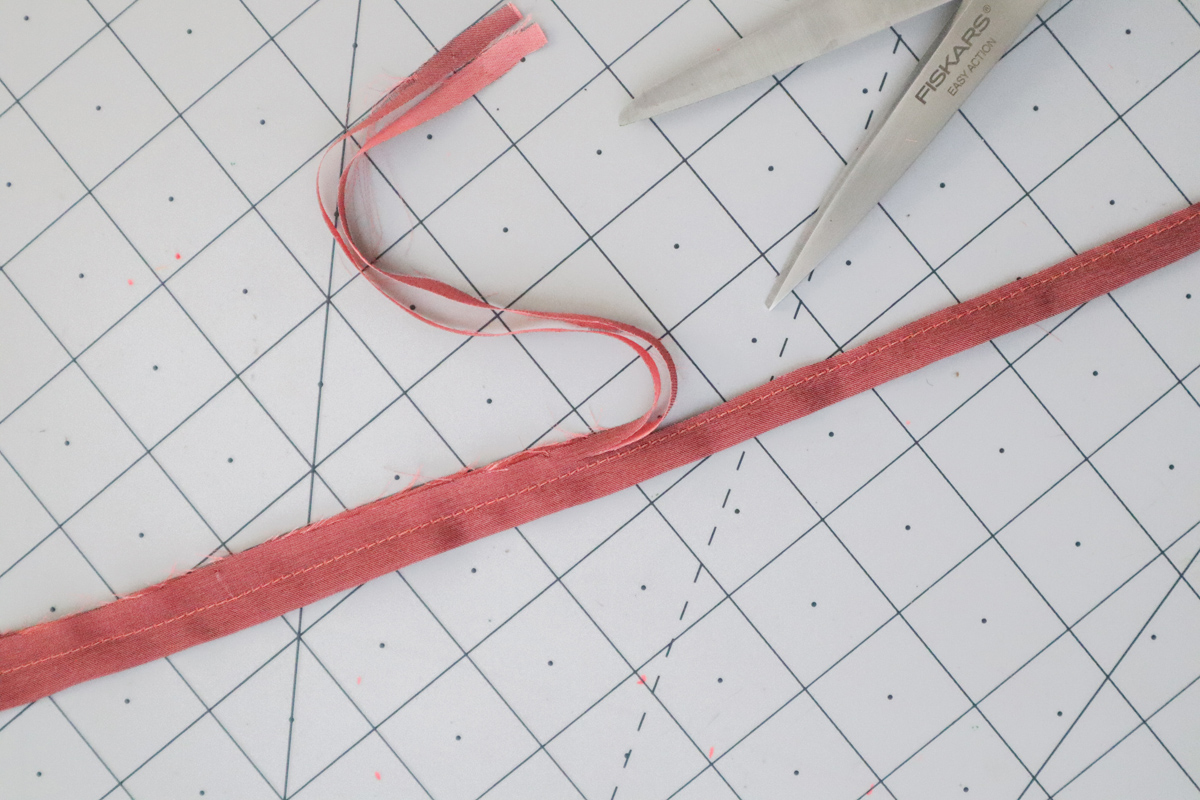
Trim the seam allowance to a scant 1/8″(3mm).
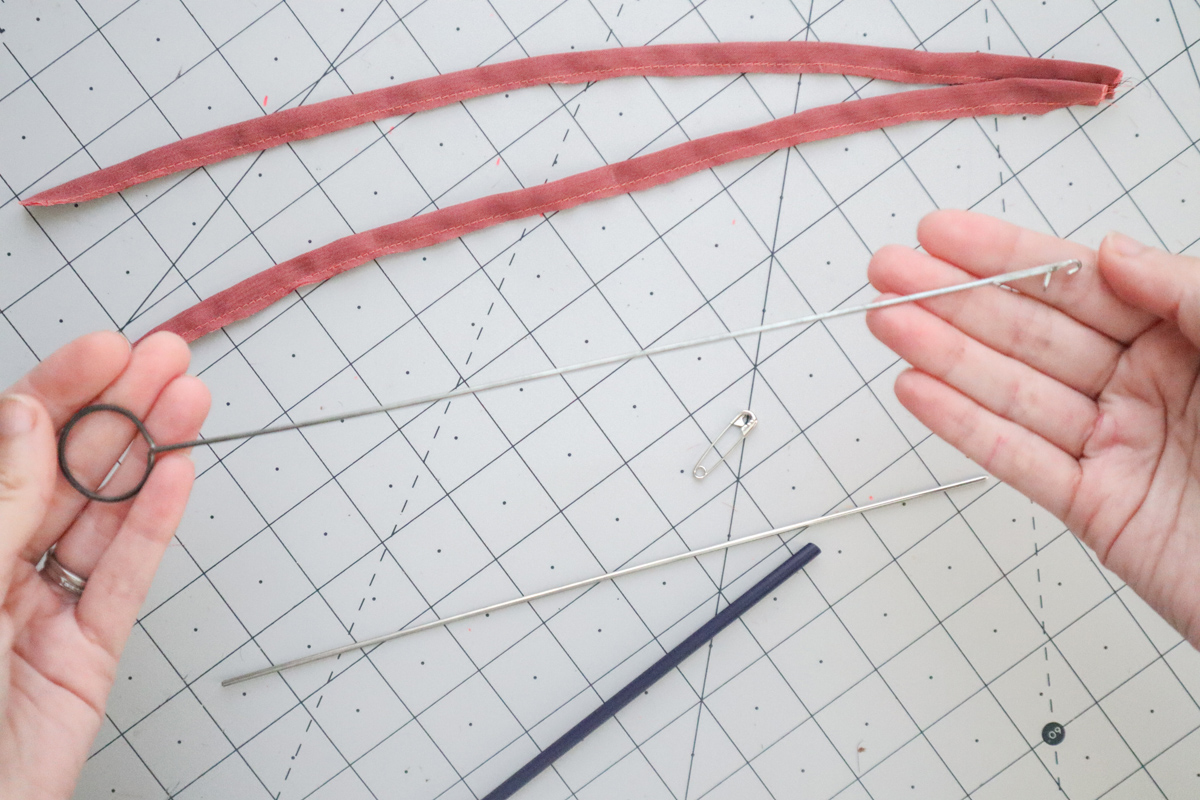
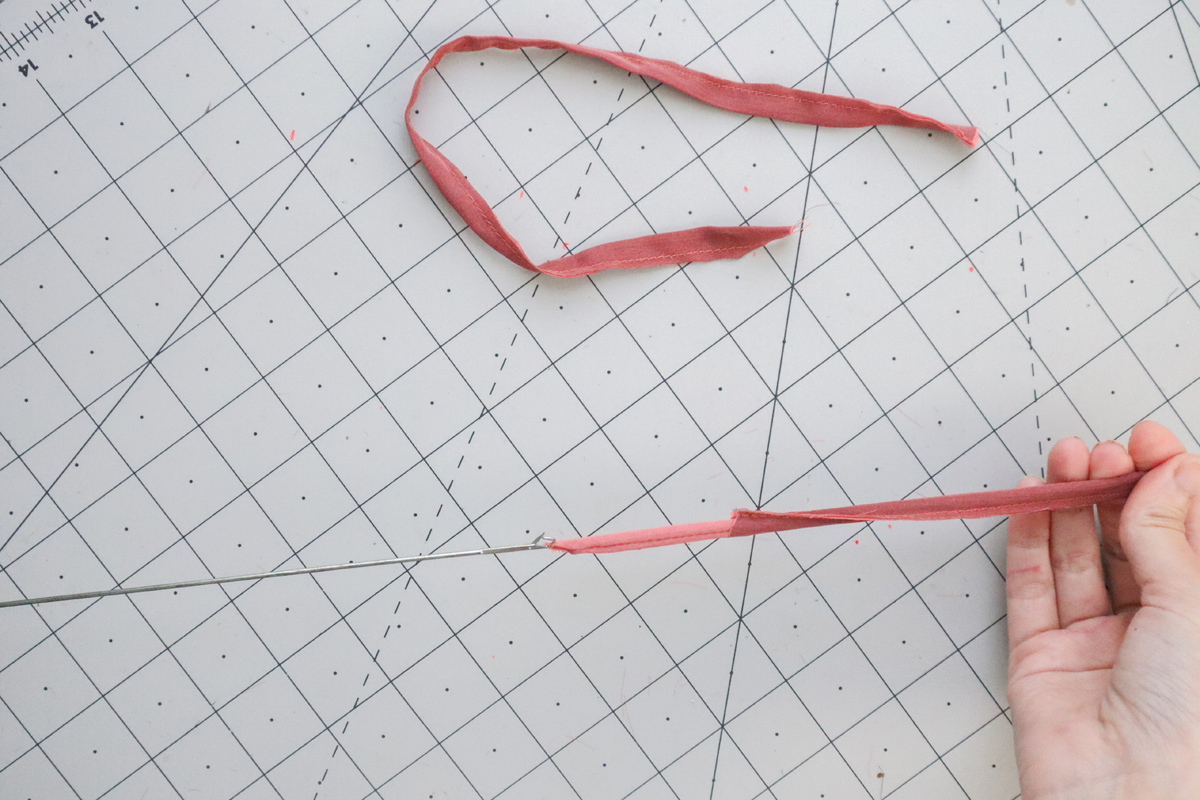
Using a loop turner or safety pin, turn both ties the right way around.
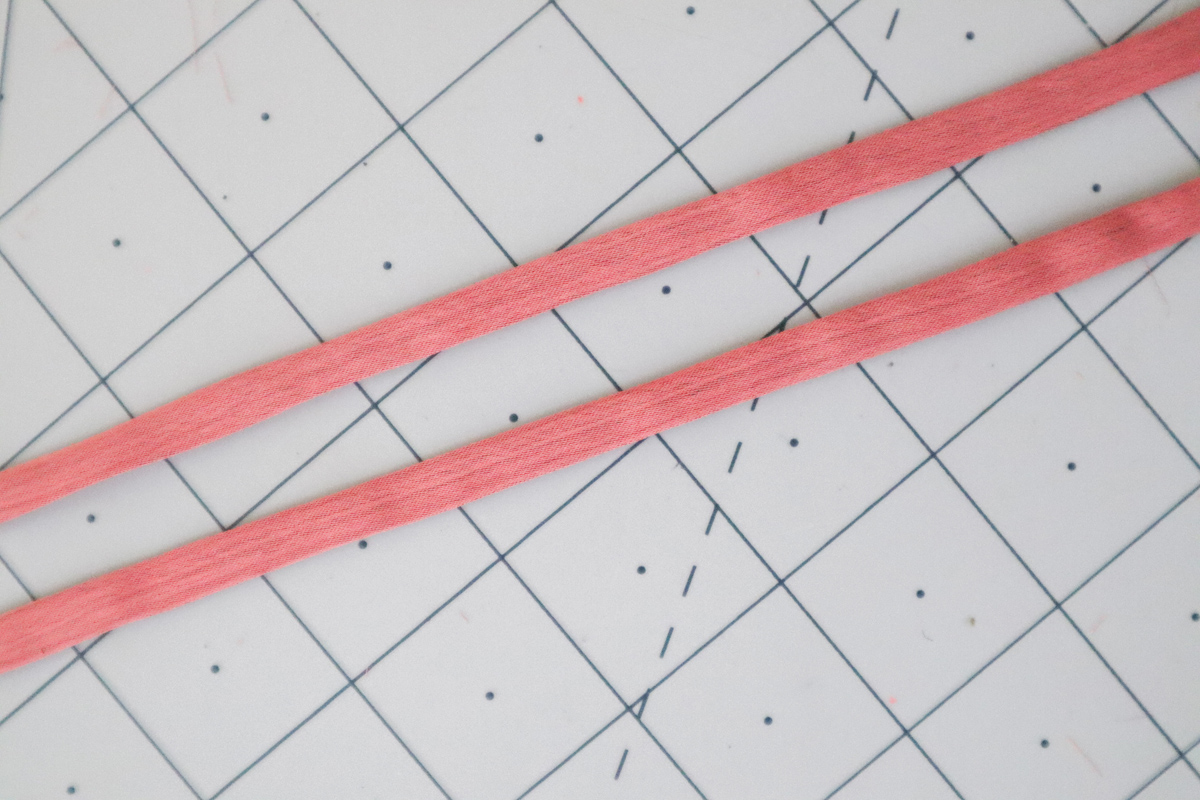
Press well.
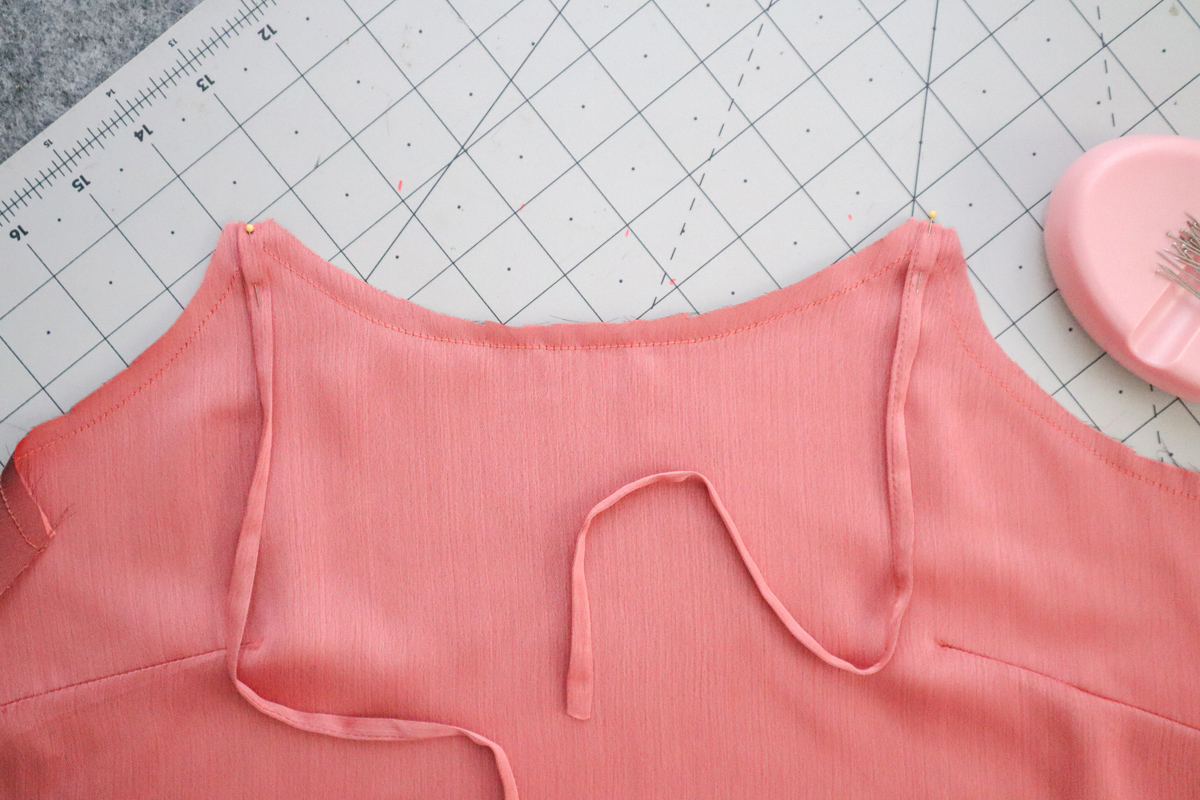
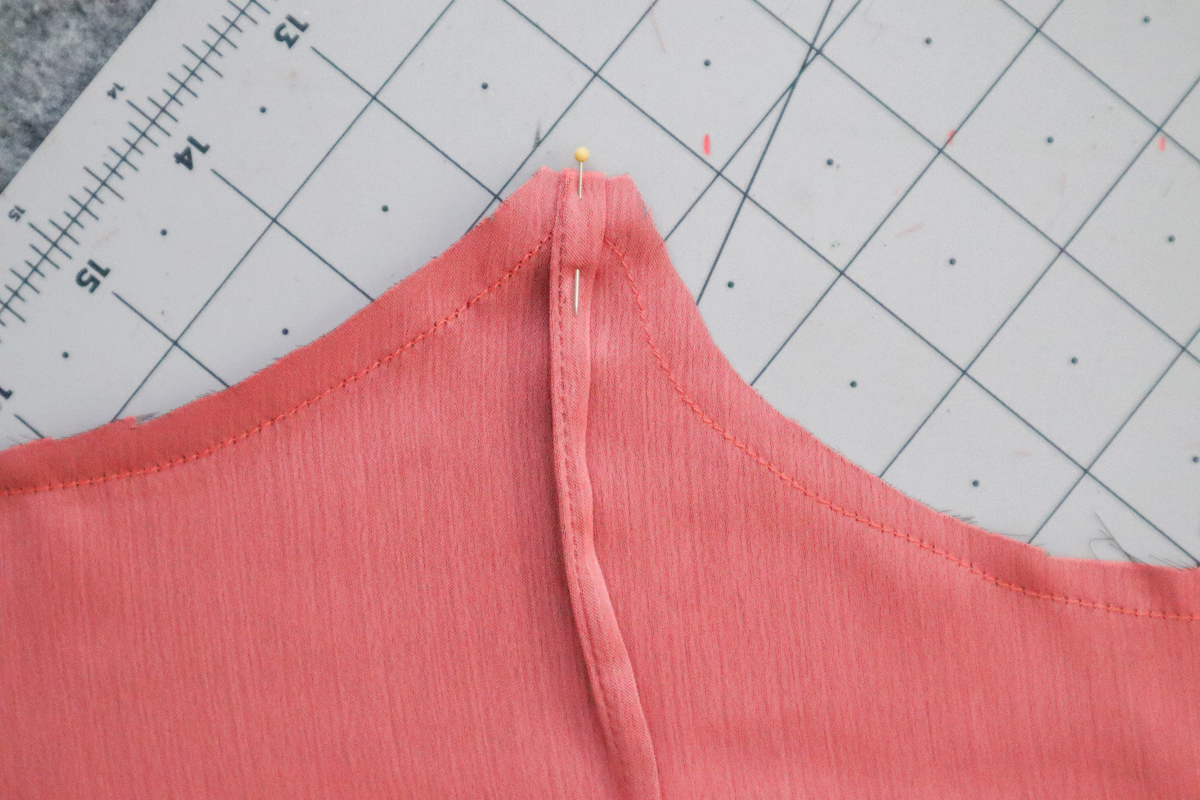
Place the front slip dress down in front of you with right side of the fabric facing up.
Place the straps on top of the bodice, centered over the strap area, and with the raw edges lined up. Pin or baste in place.
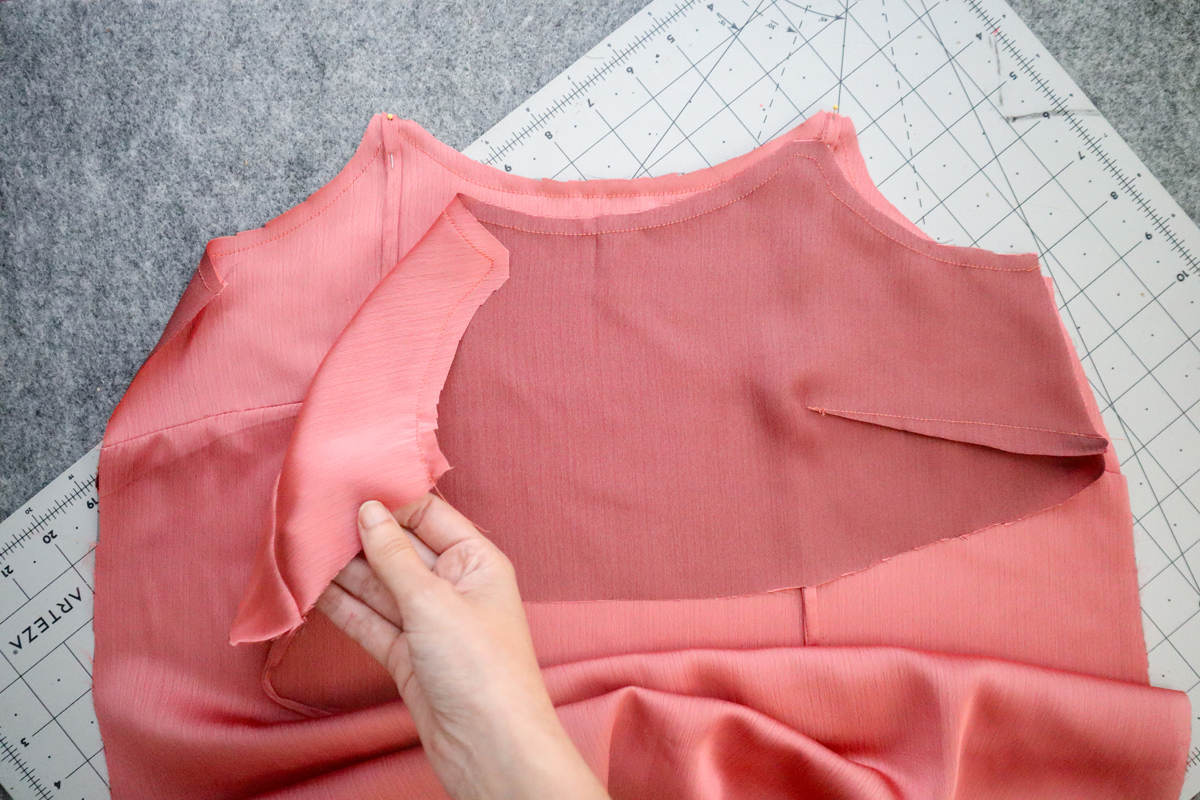
Now take the front facing and place it on top of the slip dress with right sides together.
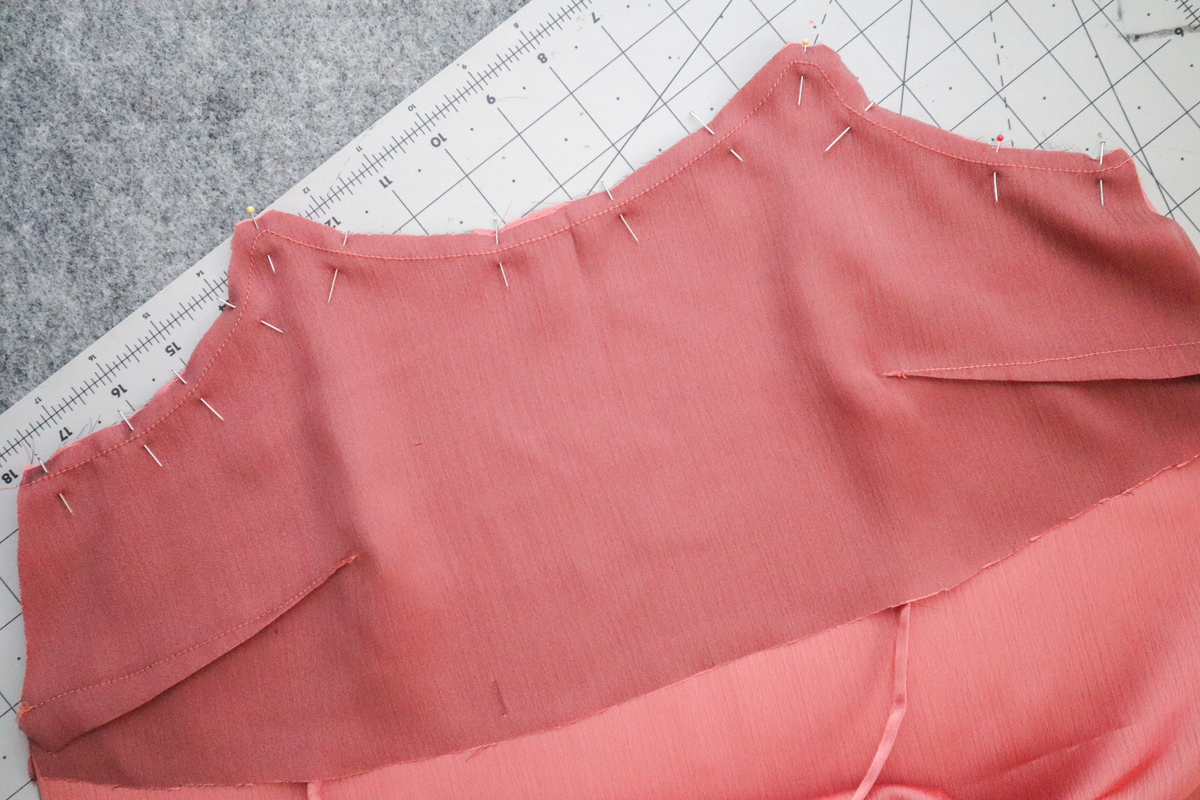
Line up the raw edges of the armholes, straps, and neckline. Pin in place.
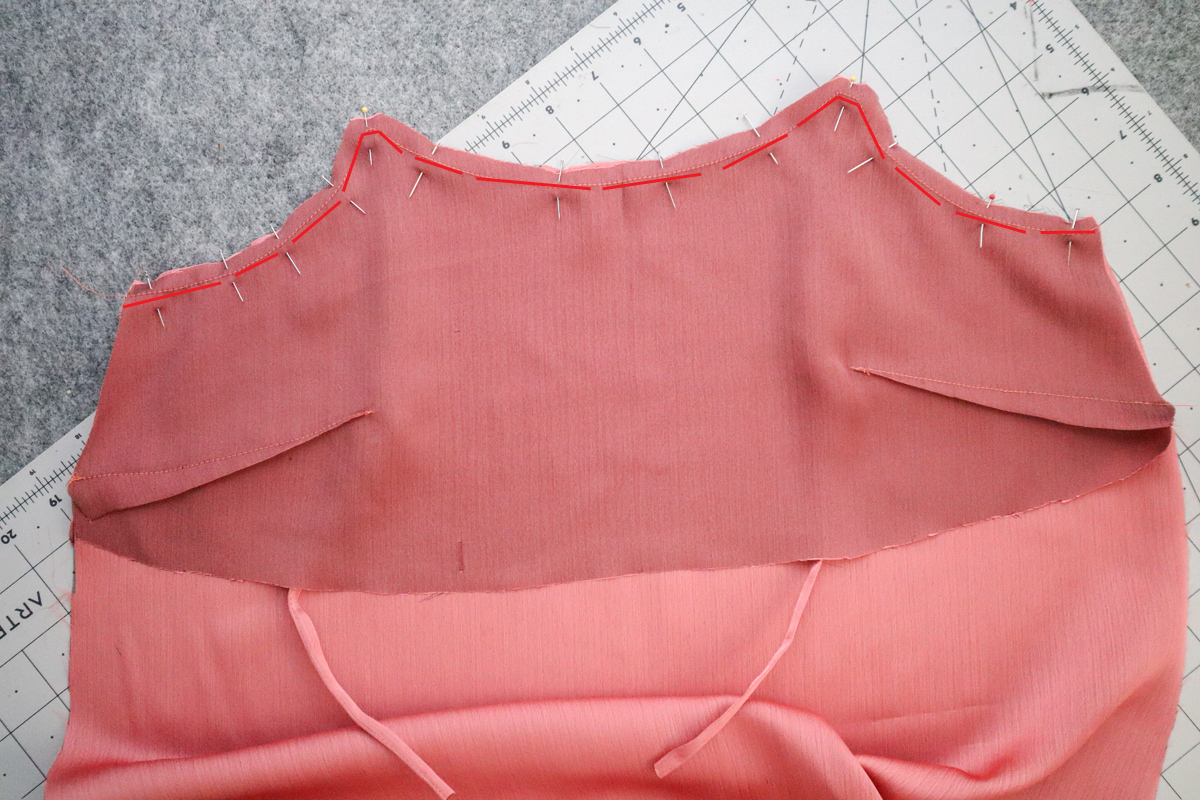
In one go, sew 1/4″(3mm) from the raw edge along the armholes, straps, and neckline. Pivoting where necessary.
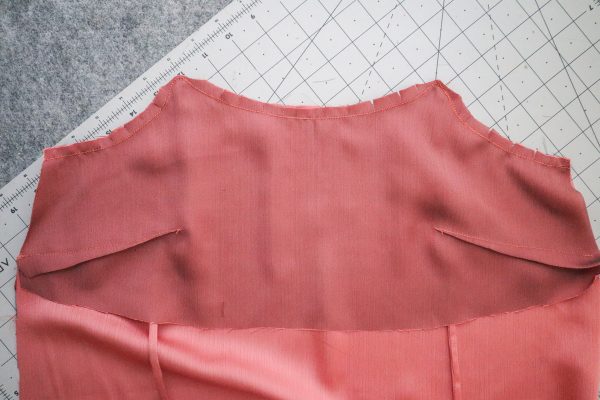
Clip into the curve of the armholes and neckline, about every inch or so. Make sure you are clipping up to the stitching, not through.

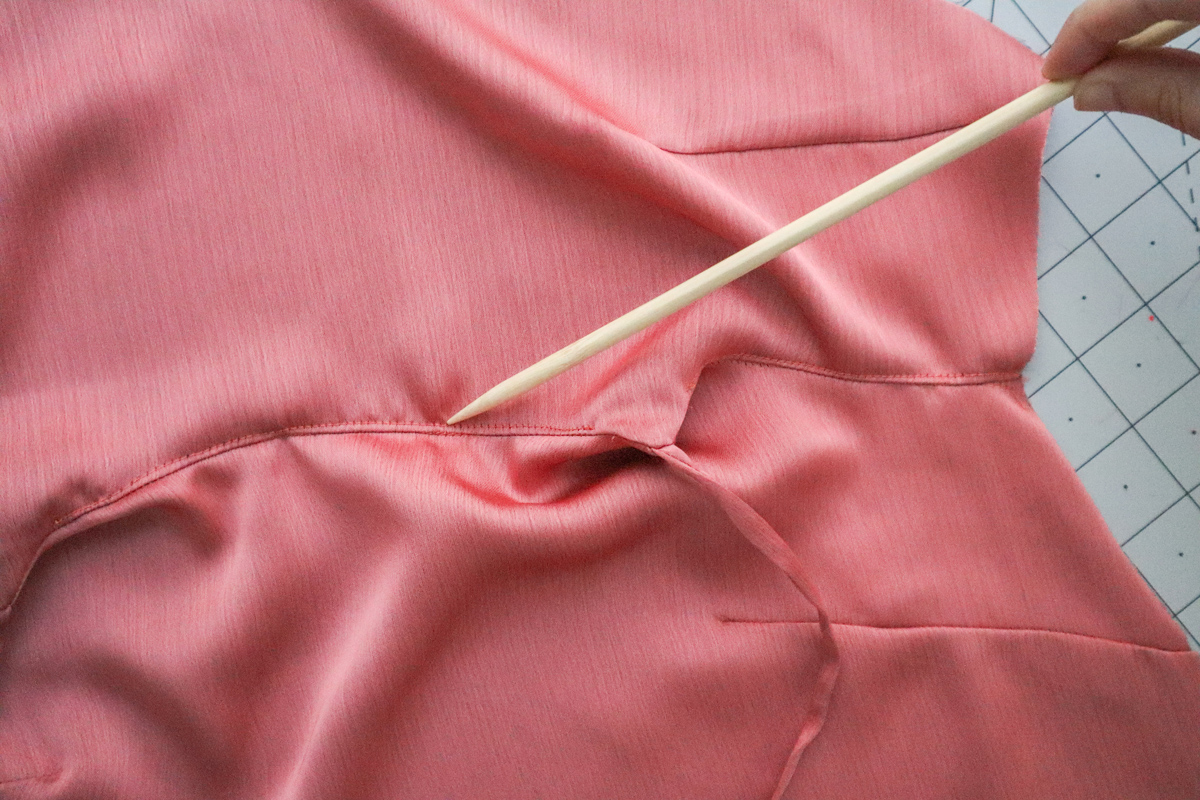
Optional – press the facing and seam allowance up and away from the garment. Understitch on the facing, close to seam.

Now on to the back. With right sides together, place the back facing on top of the back slip dress.
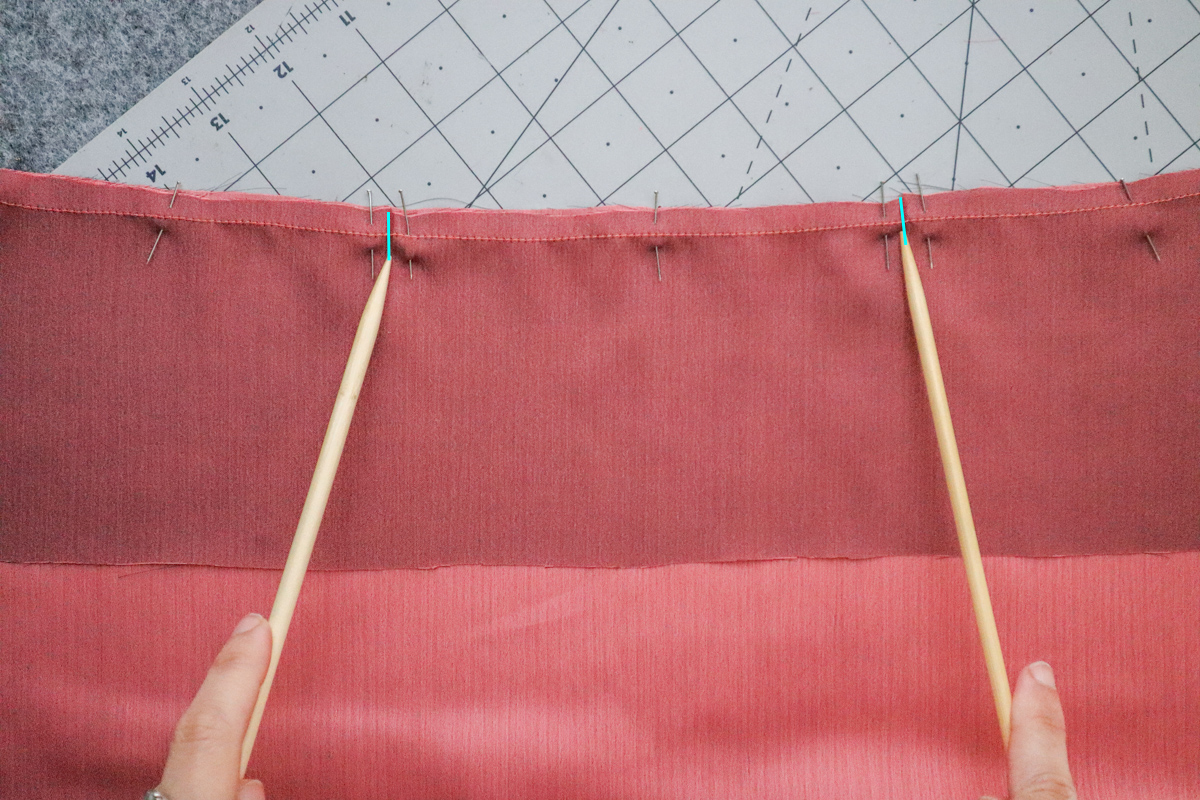
Line up the raw edge, and pin in place.
You will see the strap notches here.
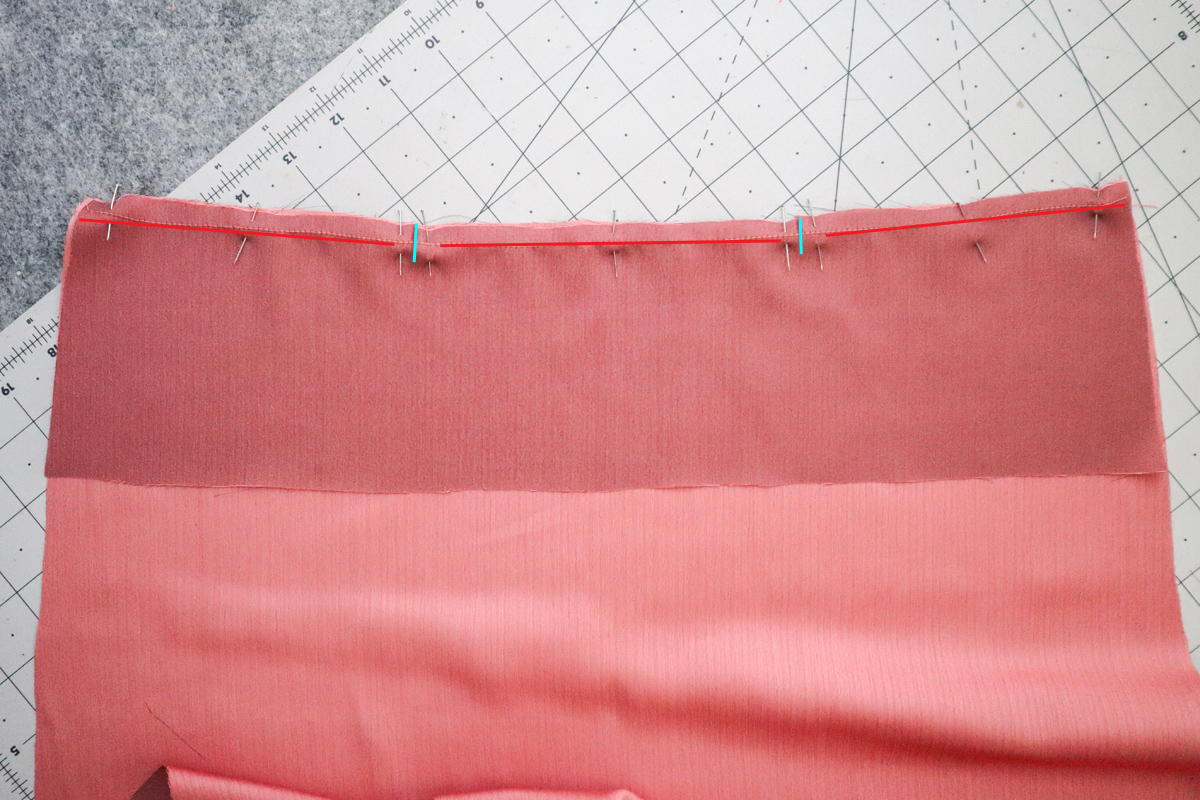
Sew 1/4″(6mm) from the raw edge along the back neckline, leaving a gap of 1/4″(6mm) on either side of each strap notch. So you will be leaving openings at those strap notches.
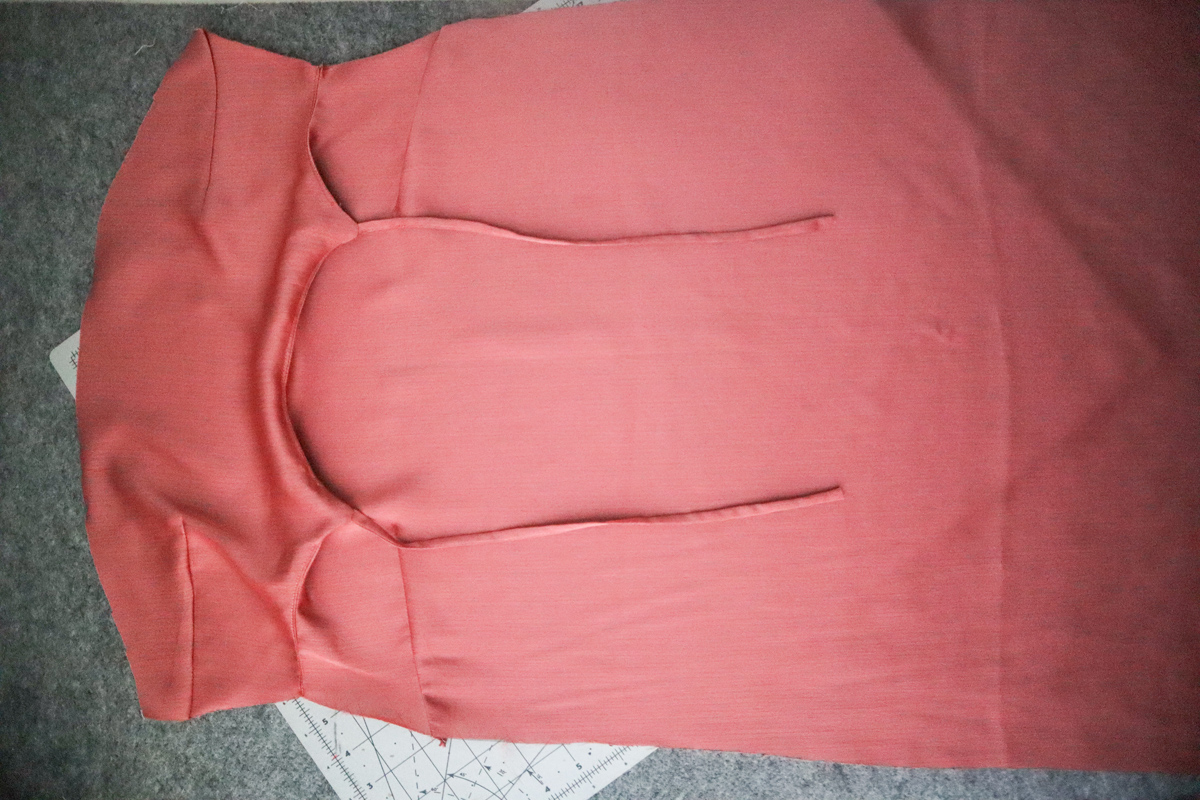
Time for the side seams. *Note – you can add pockets to this view. The pattern pieces for View B do include the notches for pocket placement. We will be going over the pockets with View C.
Lay your front dress down in front of you with the right side of the fabric facing up, and the facing flipped up.
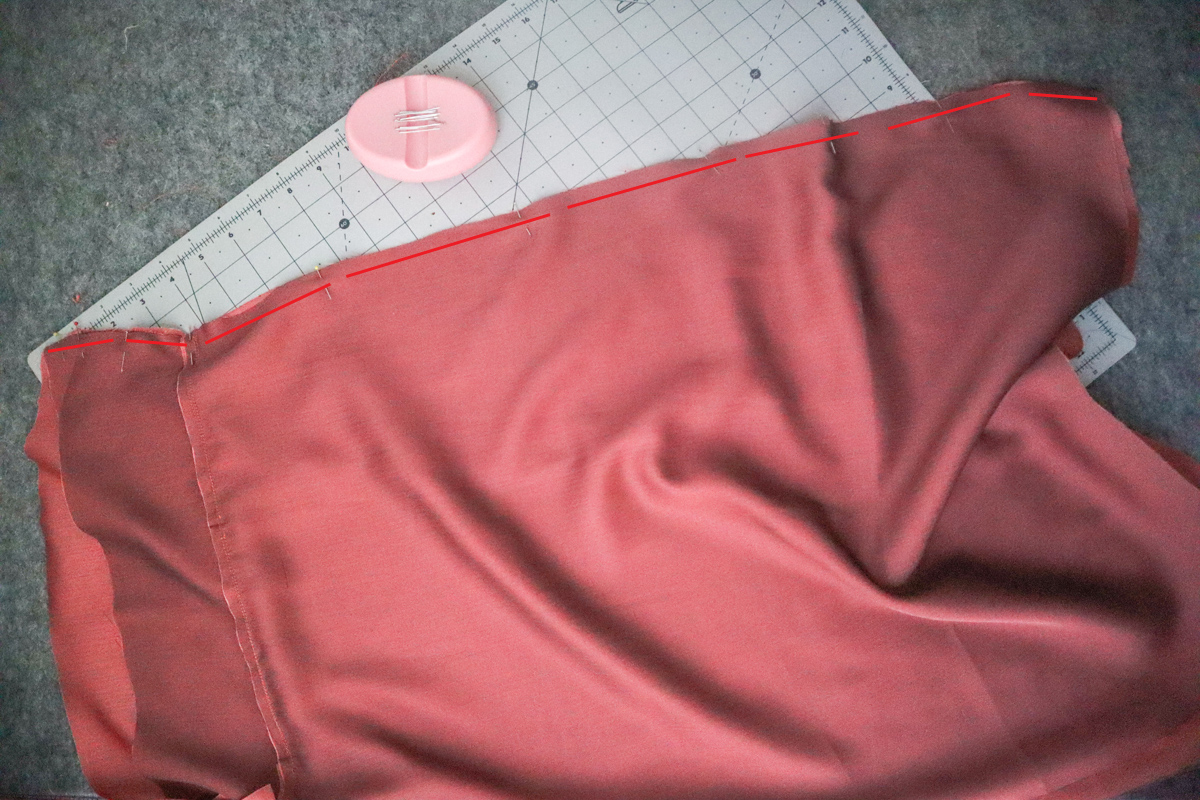
With the back facing flipped up and open as well, place the back dress on top of the front dress with right sides together. Line up the raw edge of each side seam, and match up the seam where the facing meets the dress.
Sew each side seam 5/8″(1.5cm) from the raw edge.
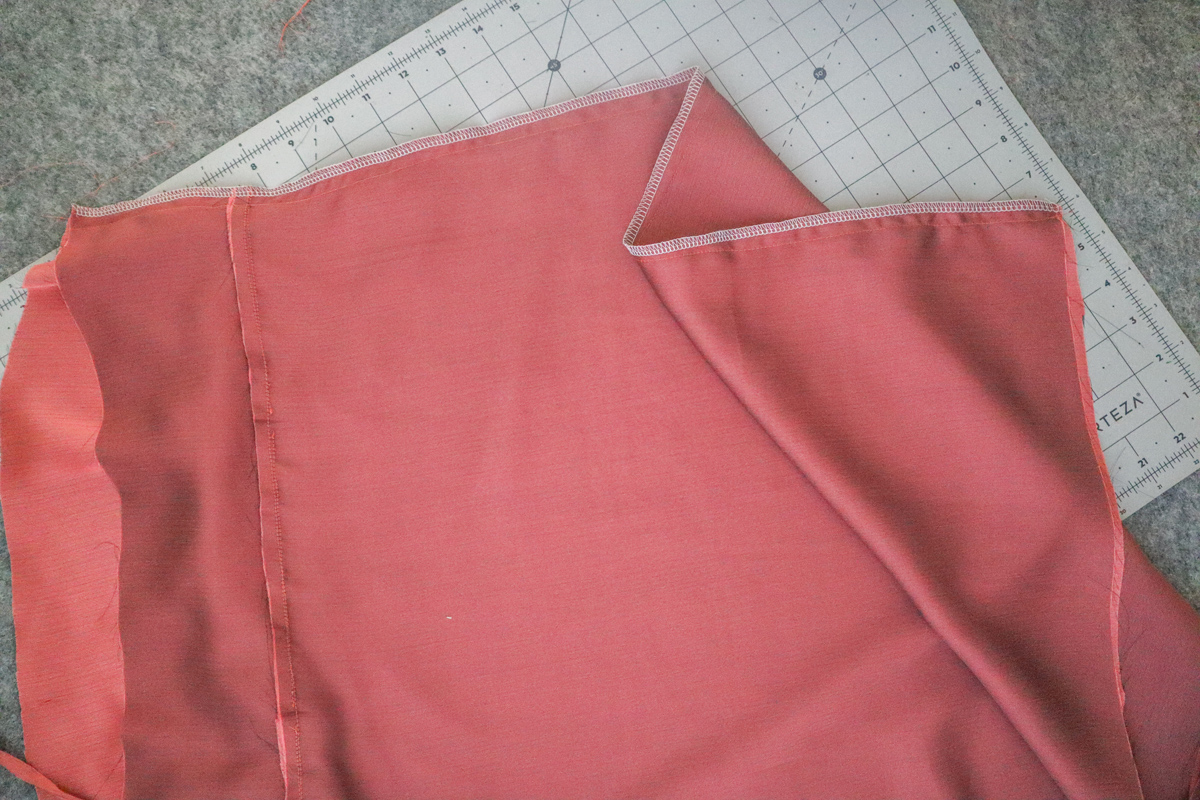
Press the seam either open or towards the back, and finish the raw edge with your preferred method.
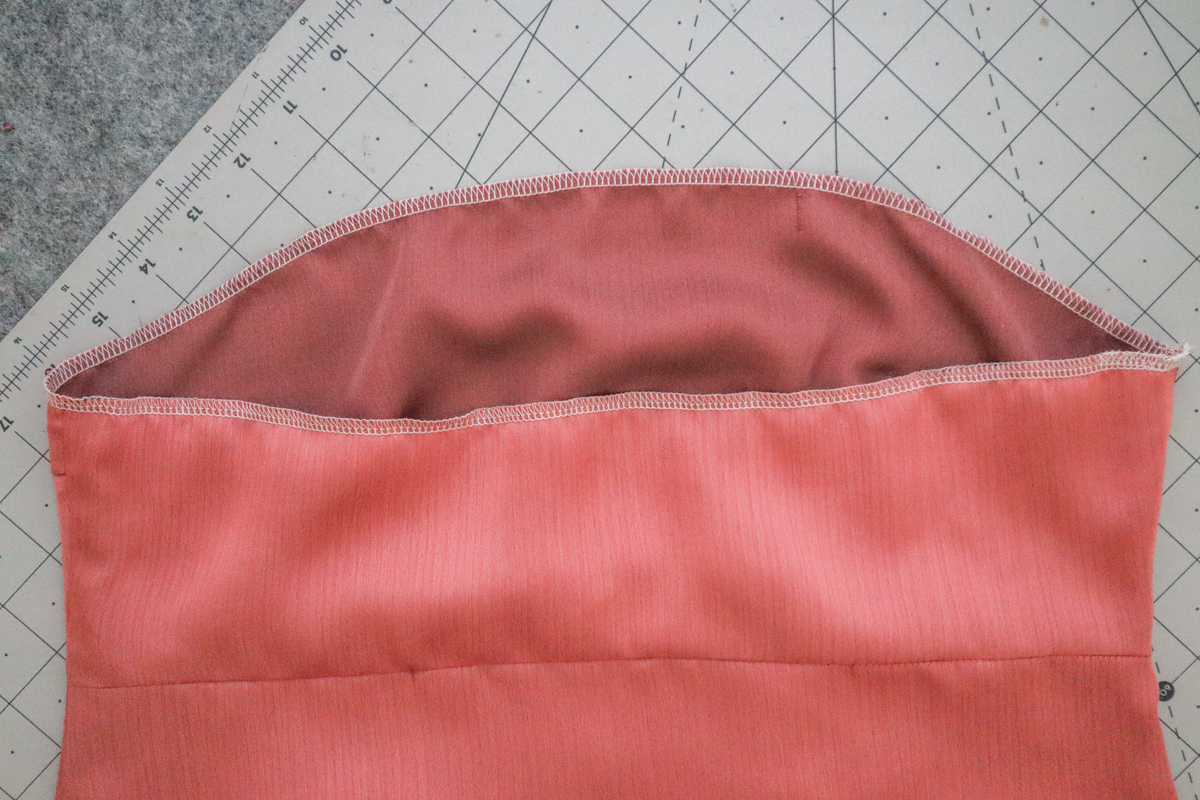
Finish the raw edge of the facing with your preferred method.

Flip the facing towards the inside of the garment and press.
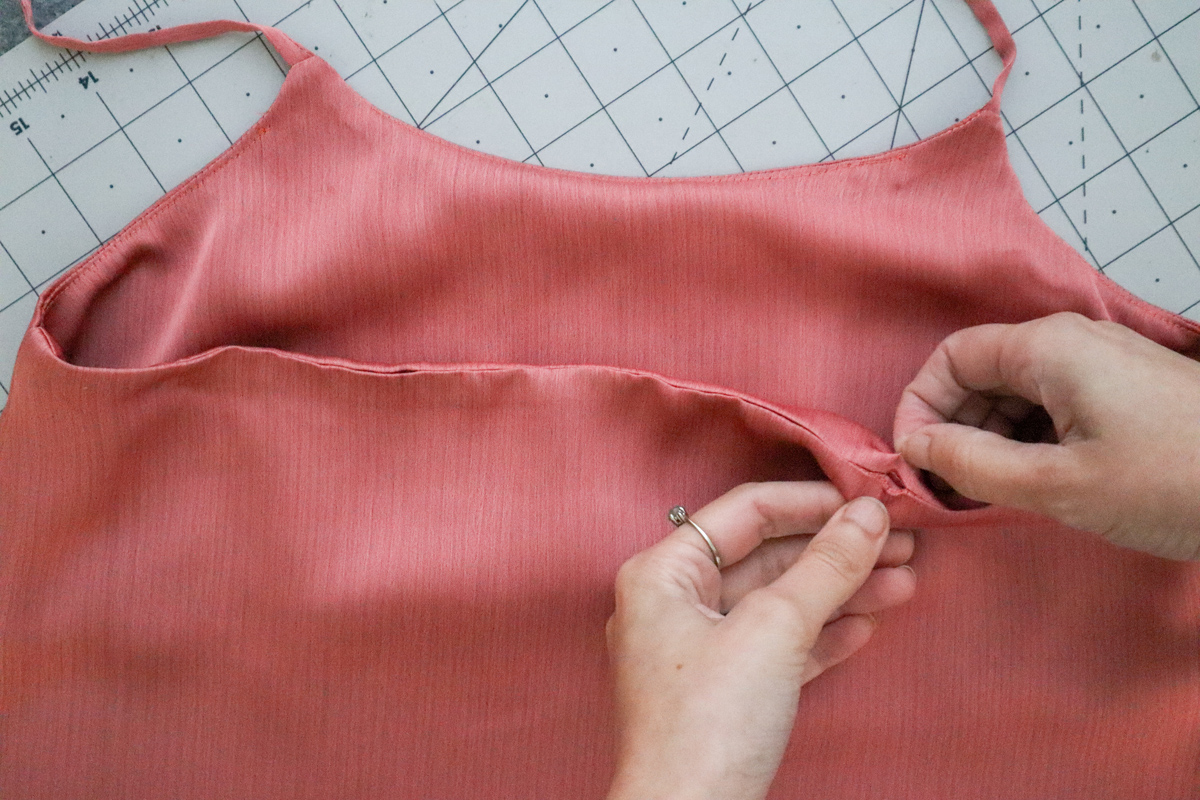
Now remember those openings we left at the back neckline.

Making sure your straps are not twisted, take each strap and insert into each opening along the back neckline.
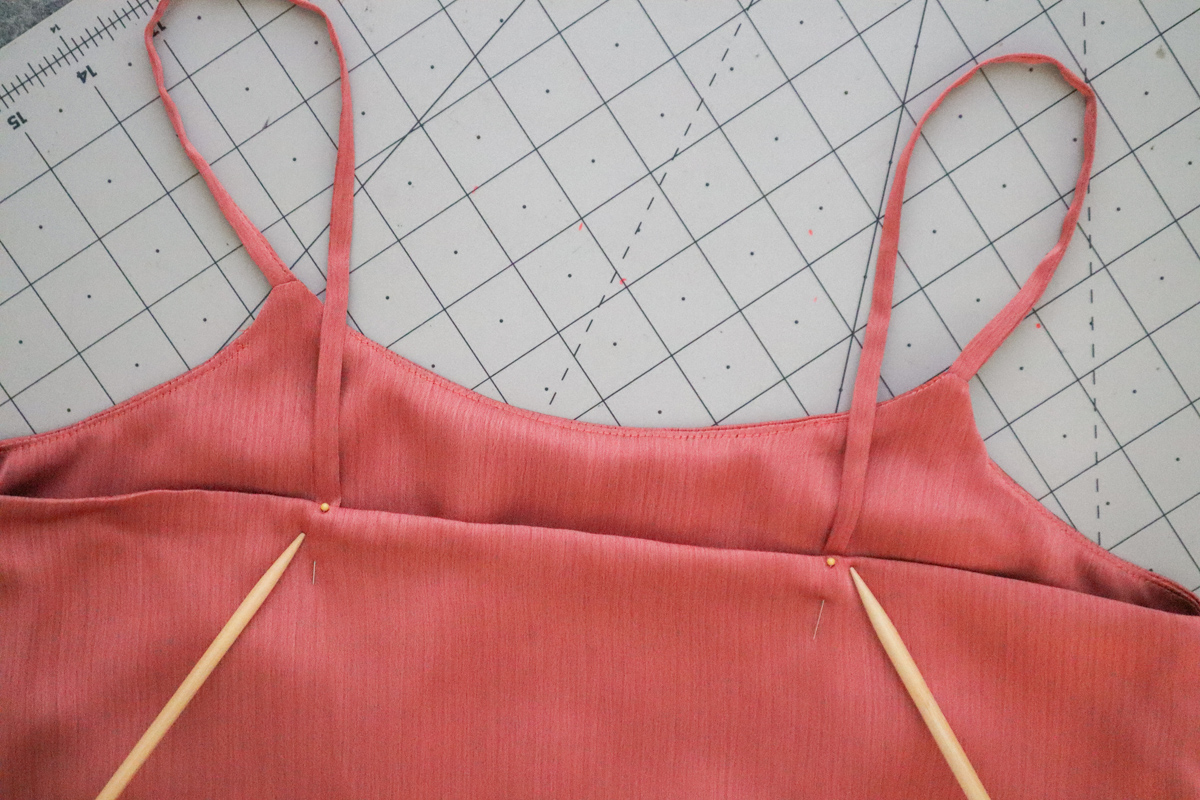
Pin in place.
Now is a great time to try on your garment and check to see if the length of the straps are right for you. Adjust as needed. You can also use this opportunity to check the fit, and let in or take out the side seams as well.
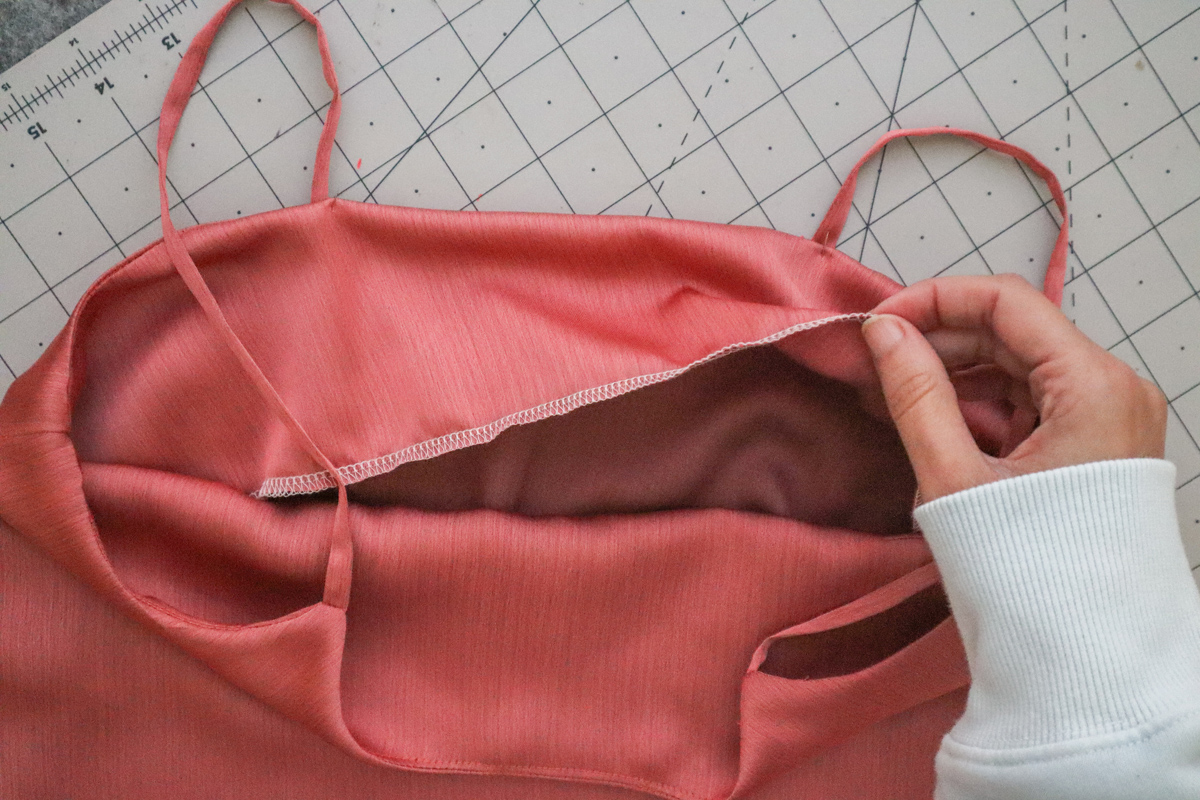
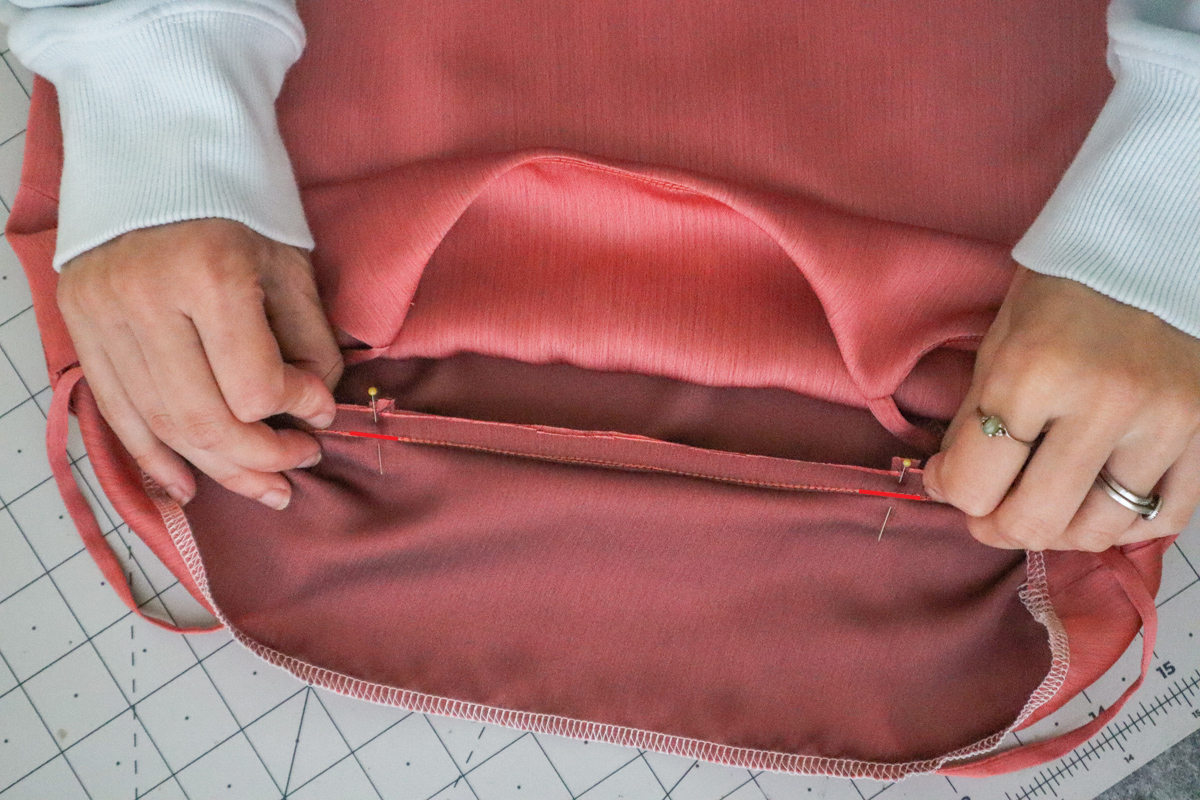
Once you have the strap length where you’d like it, reach in under the facing. Move your pins to the inside to hold the straps in place. Sew over the straps 1/4″(3mm) from the raw edge. This stitching should line up with the other stitching from that seam, and will now completely close the back neckline.
If needed, trim any excess of the straps.

Press the facing and seam allowance up away from the dress. Understitch along the back facing, close to the seam.

Flip the facing to the inside of the garment and press the neckline and armholes well.
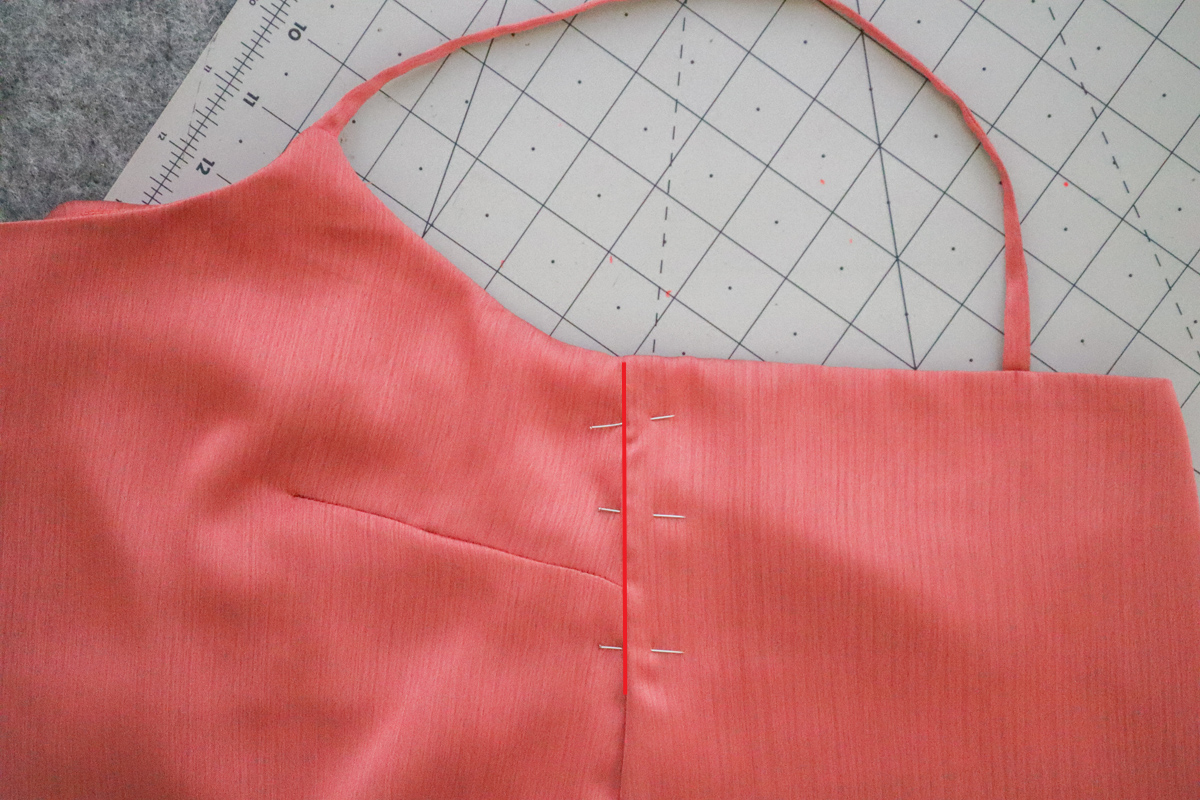
From the outside, place some pins along each side seam. Stitch in the ditch along each side seam, throughthe dress and facing, securing that facing in place.

If you stitch in the ditch, carefully sewing right in the seam, it should be pretty invisible.
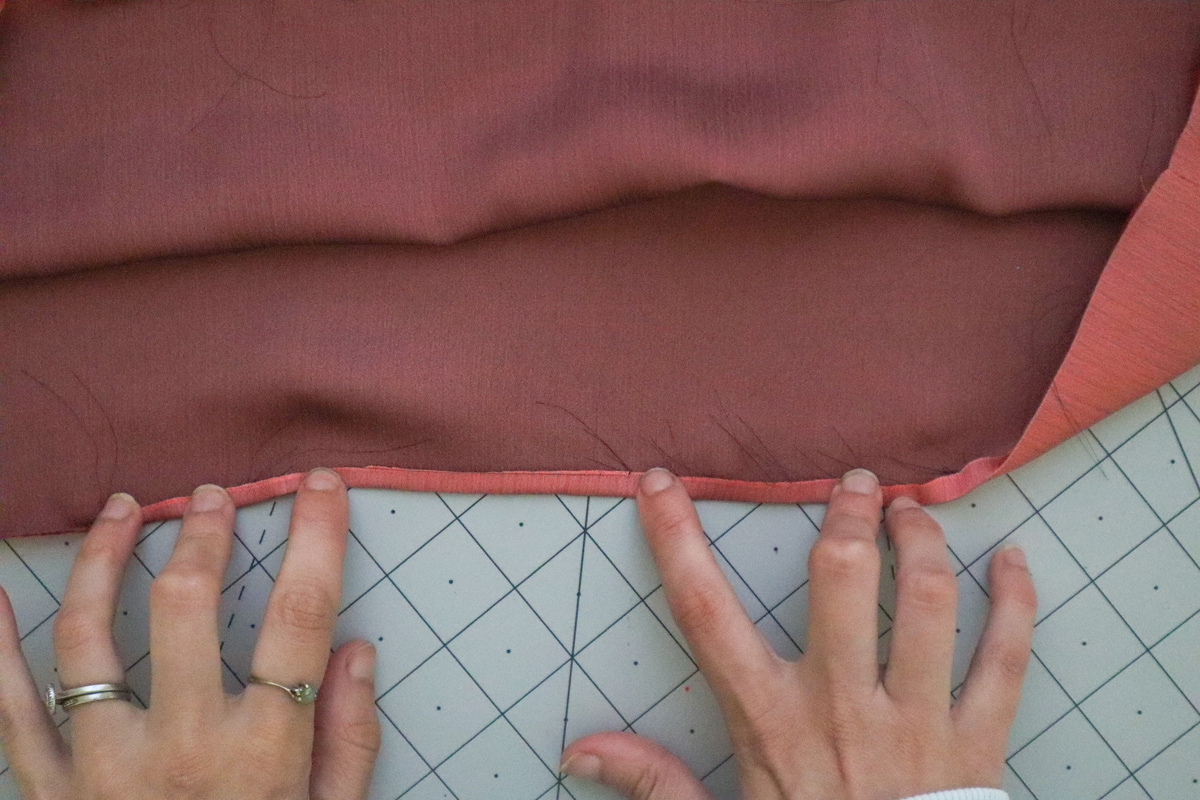
Time for the hem. Turn up 1/4″(6mm) towards the wrong side and press.
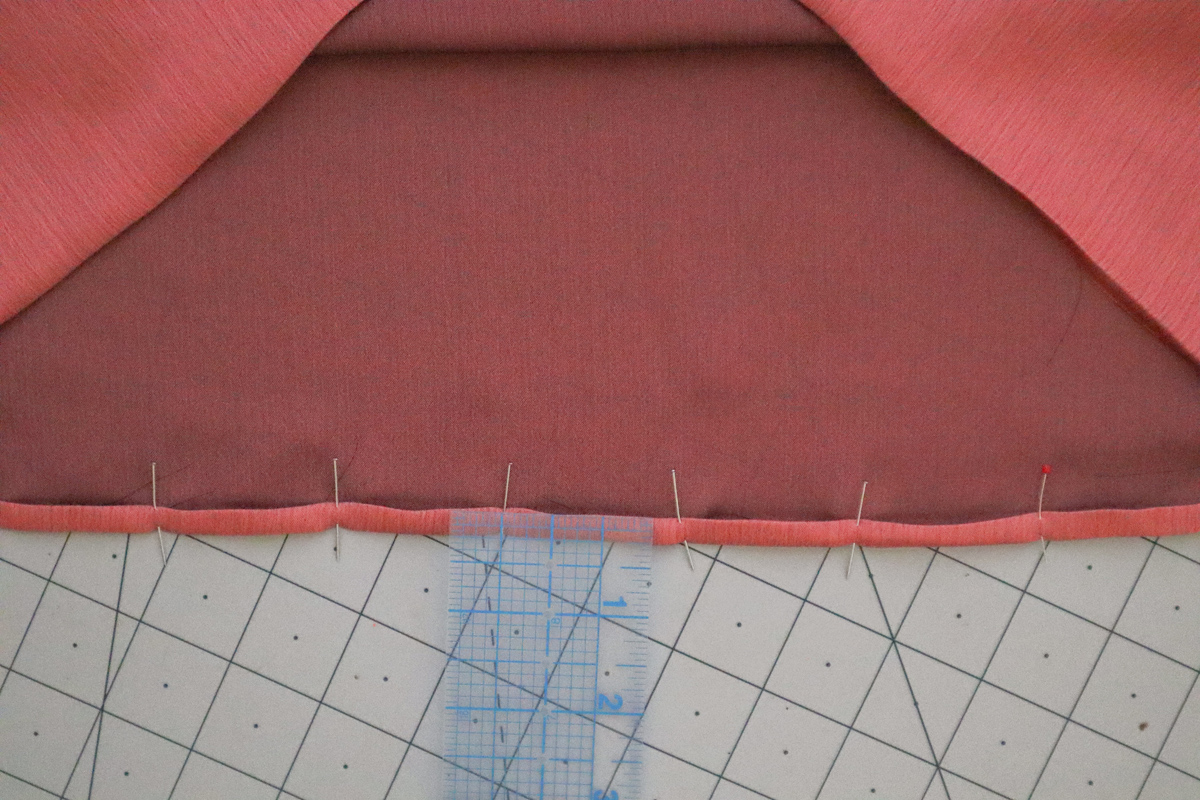
Turn up again another 1/4″(6mm), enclosing the raw edge. Press and pin in place.

Sew around the entire hem, close to the inner folded edge.

And done!
LOOKING FOR MORE MARRI POSTS?
- How to choose between Marri & Marri Curve
- Marri Inspiration & Ideas
- Marri Sewalong : Joining pattern pieces
- Marri Sewalong : Darts & Staystitching (all views)
- Marri Sewalong : View A Straps, facings and side seams
- Marri Sewalong : View A Cami hem facing
- Marri Sewalong : View B (All steps) (this post!)
- Marri Sewalong : View C Straps & facing
- Marri Sewalong : View C Pockets, side seams and finishing the straps and facing
- Marri Sewalong : View C Hem & slits
- Marri Bonus : French seams
- Marri Hack : Colour blocked
- Marri Bonus : Fabric belt & thread chain loops
Don’t have the pattern yet?