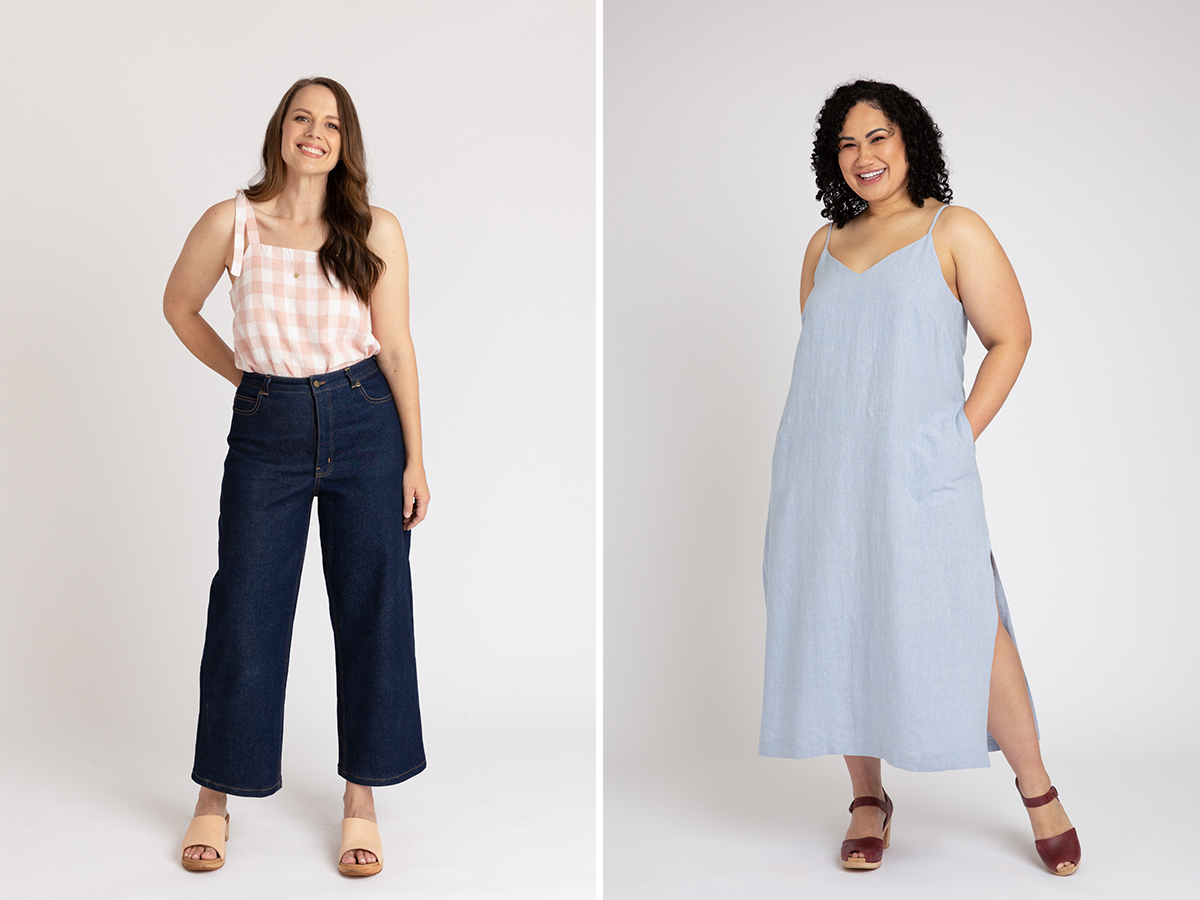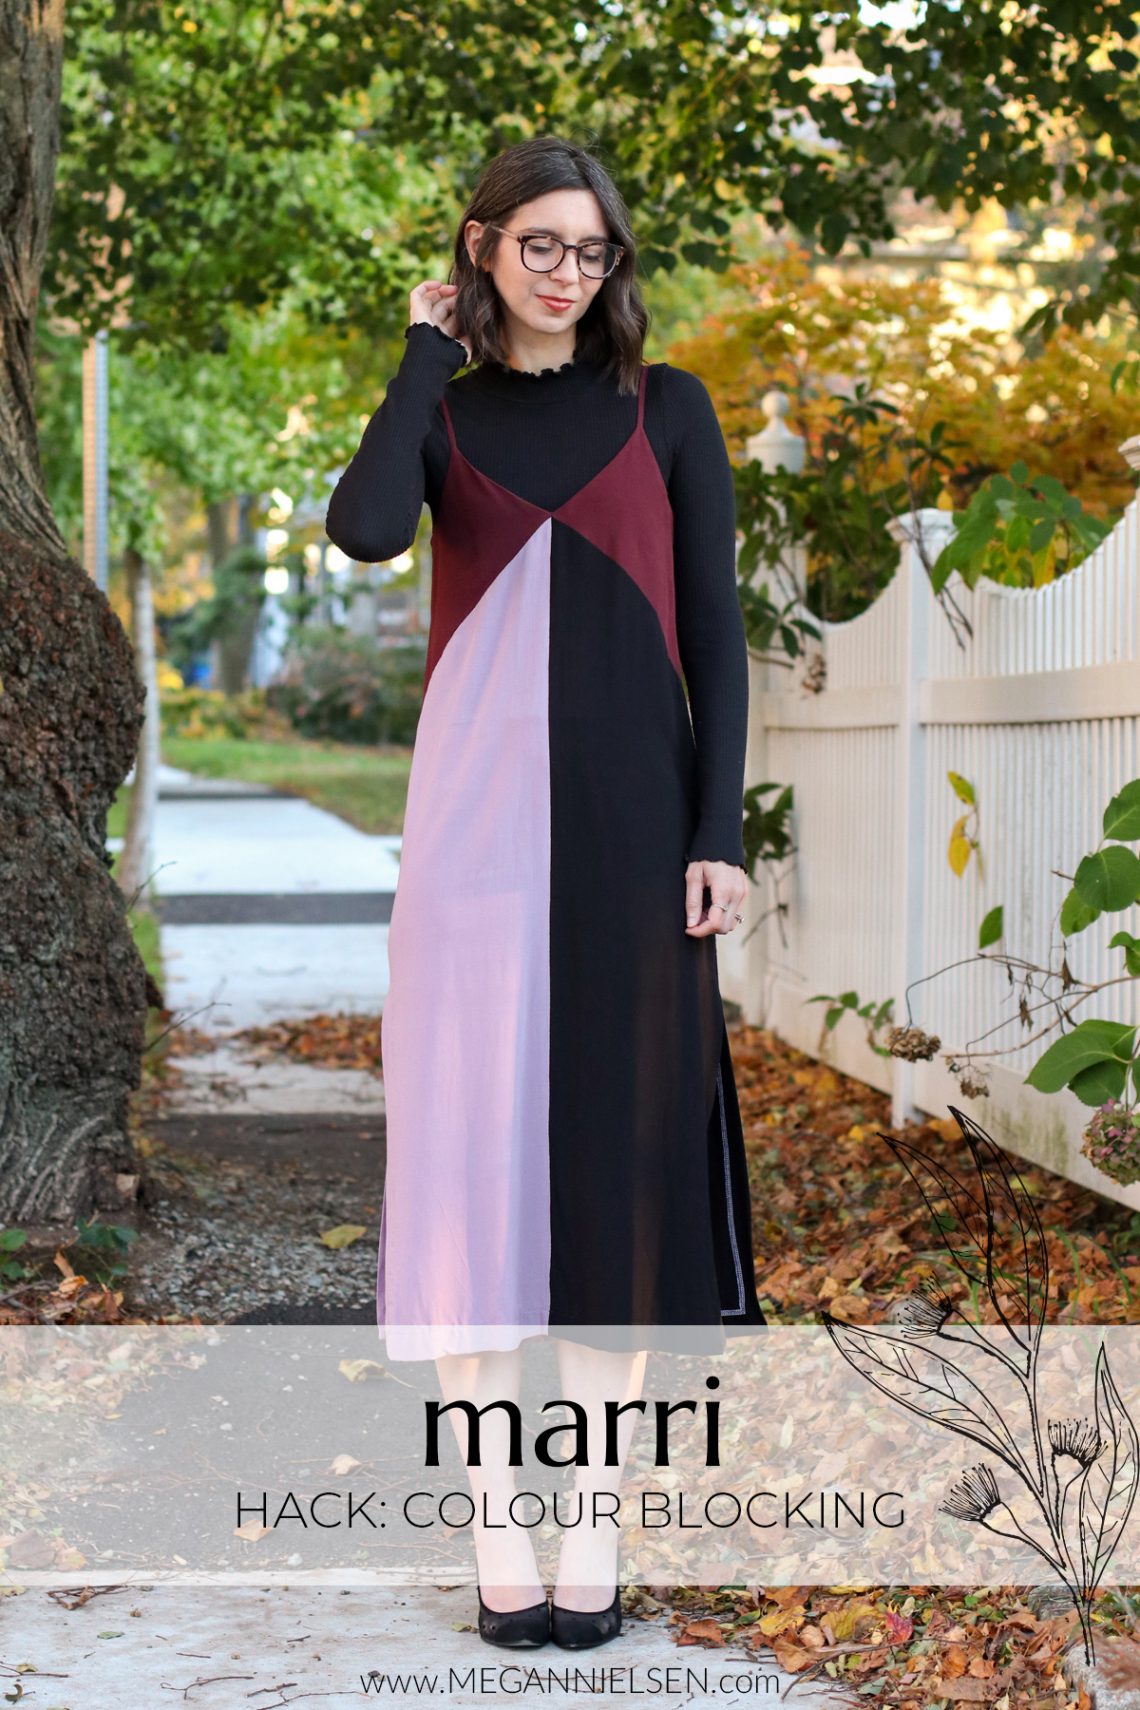

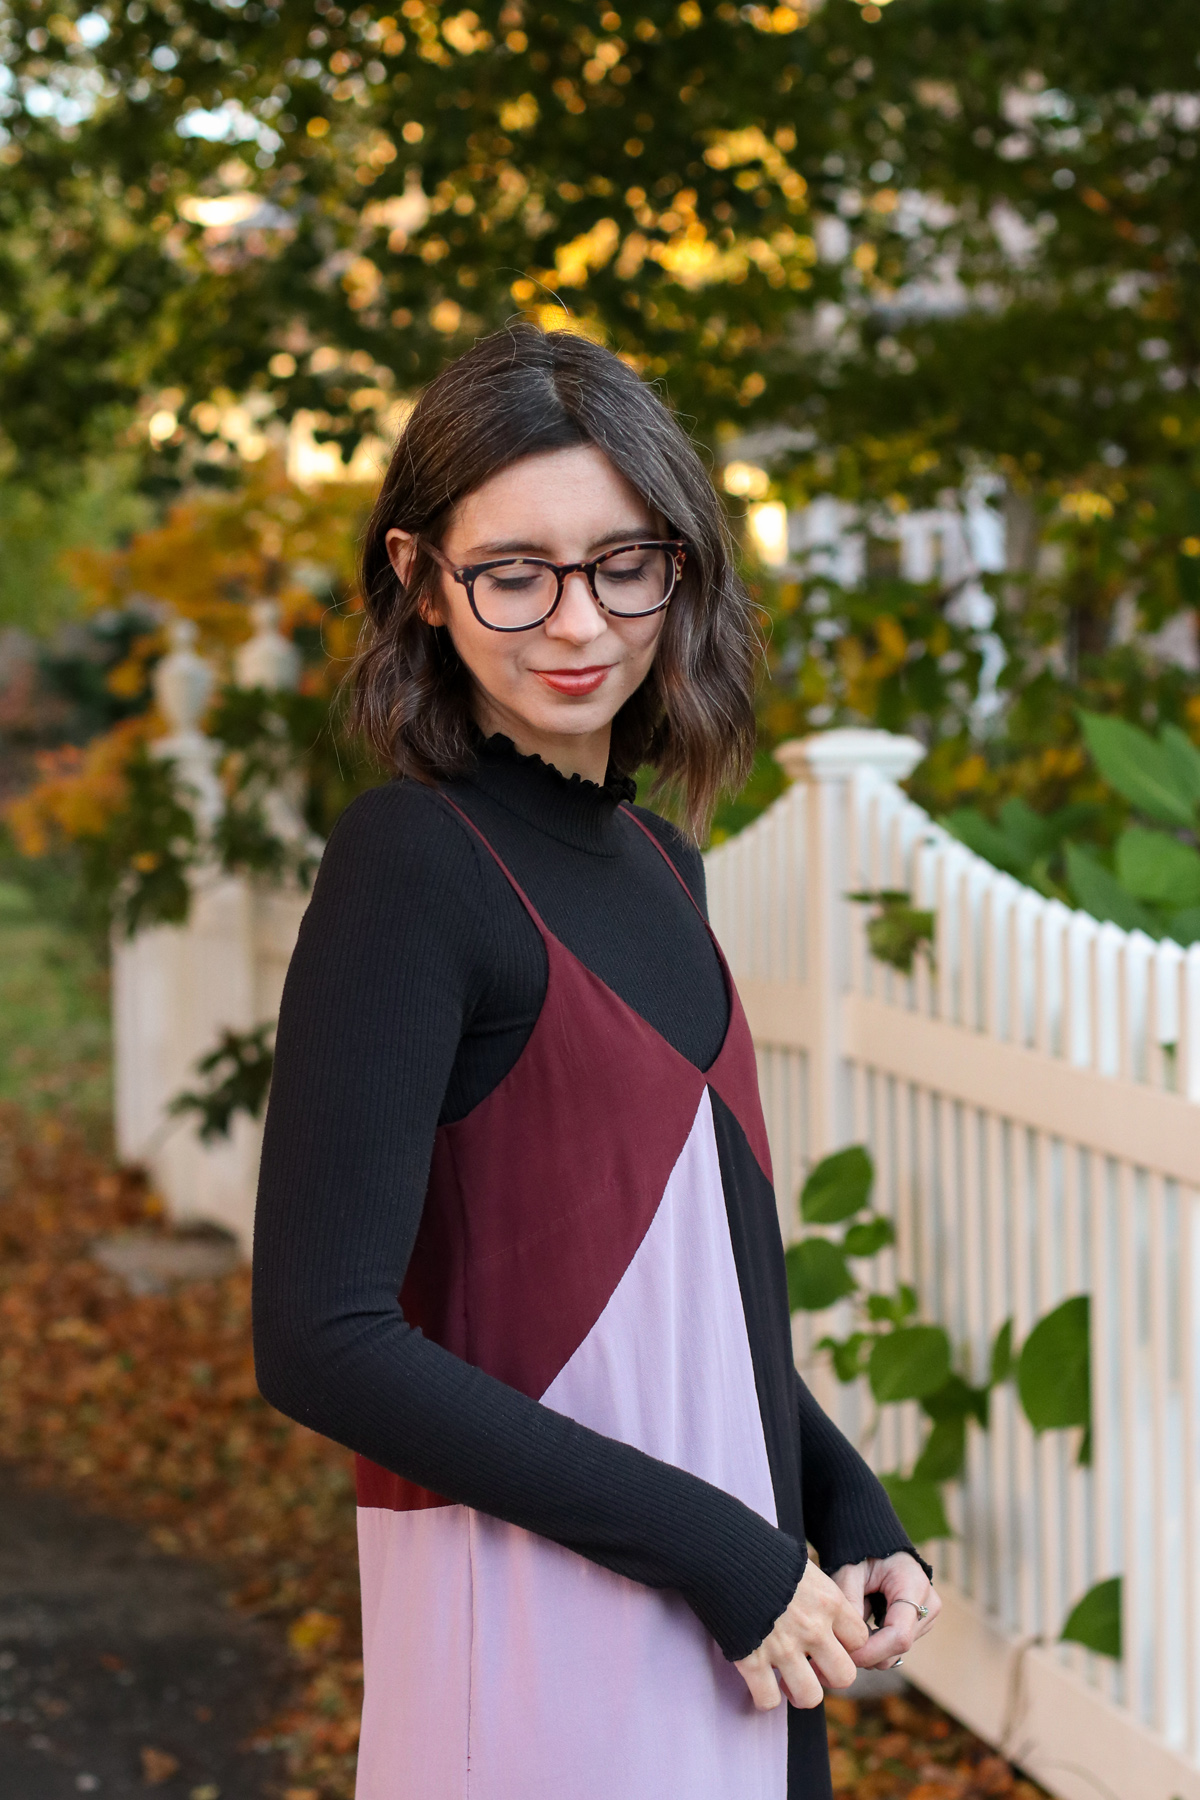
Hi everyone! I’m really excited to share this Marri hack with you today! I have had a color blocked v-neck slip dress on my to-make list for over a year now. So when Meg told me about the Marri slip dress pattern, I knew this was my time to finally do it! So I’m going to take you through the steps I took to make my vision come together.
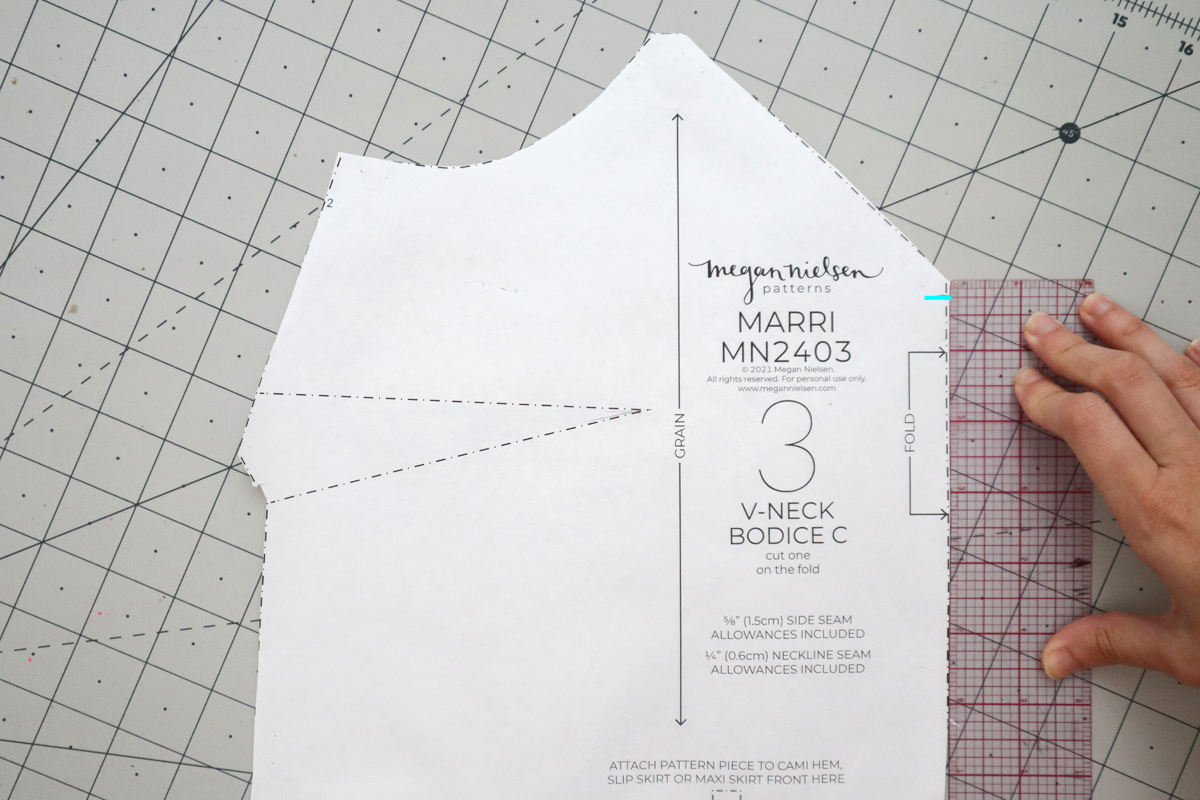
First, attach your v-neck bodice to either your slip dress or maxi dress bottom pattern piece.
At the center front, mark 1/4″(6mm) down from the top.
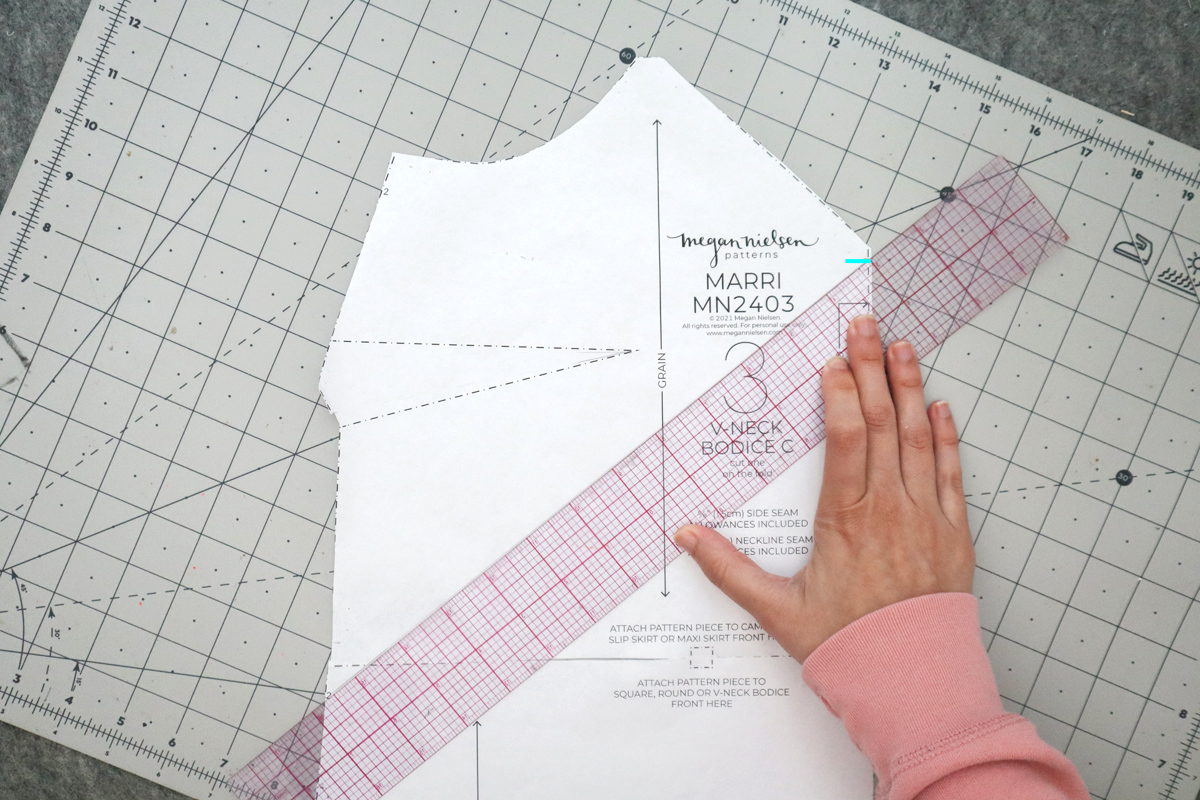
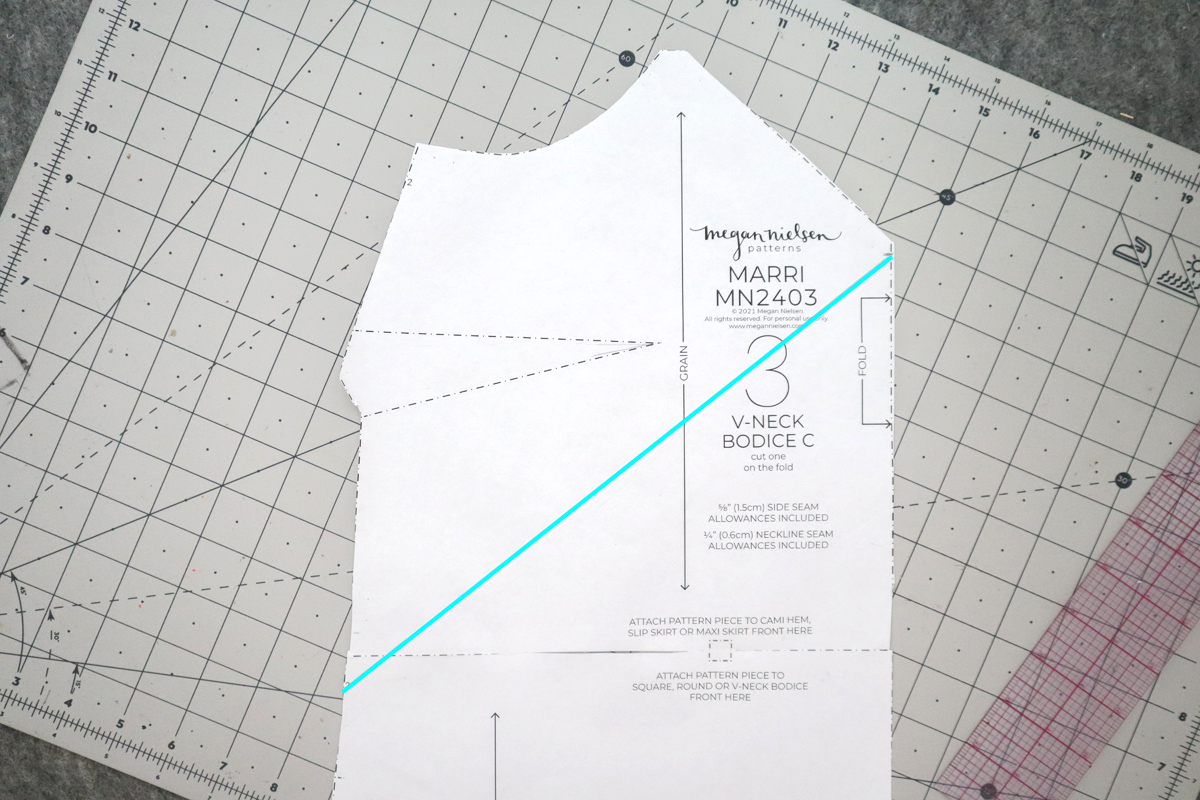
Determine the angle you want for your style line. Mine is going to hit just below where the two pattern pieces connect at the side seam, but you can decide on a different angle. Just make sure its below the bust dart. Draw a straight line from that center front mark, to where you want it to hit at the side seam.
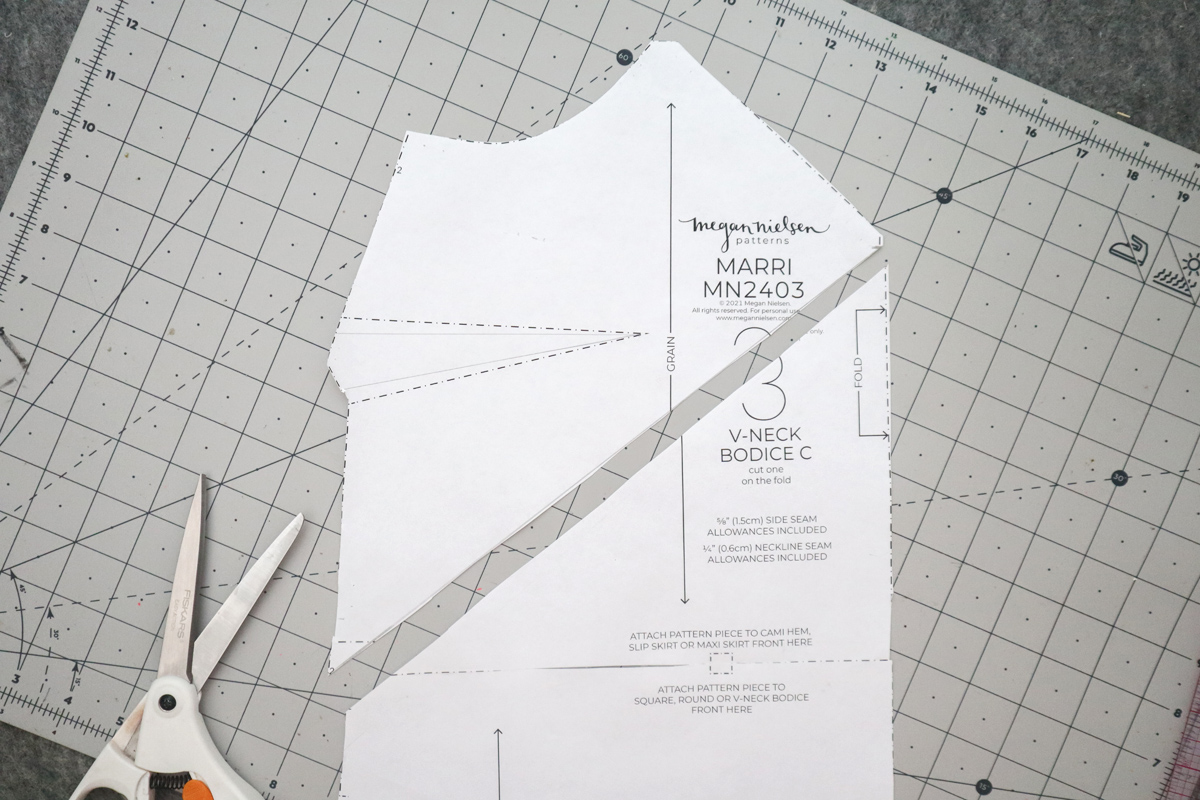
Cut along this line.
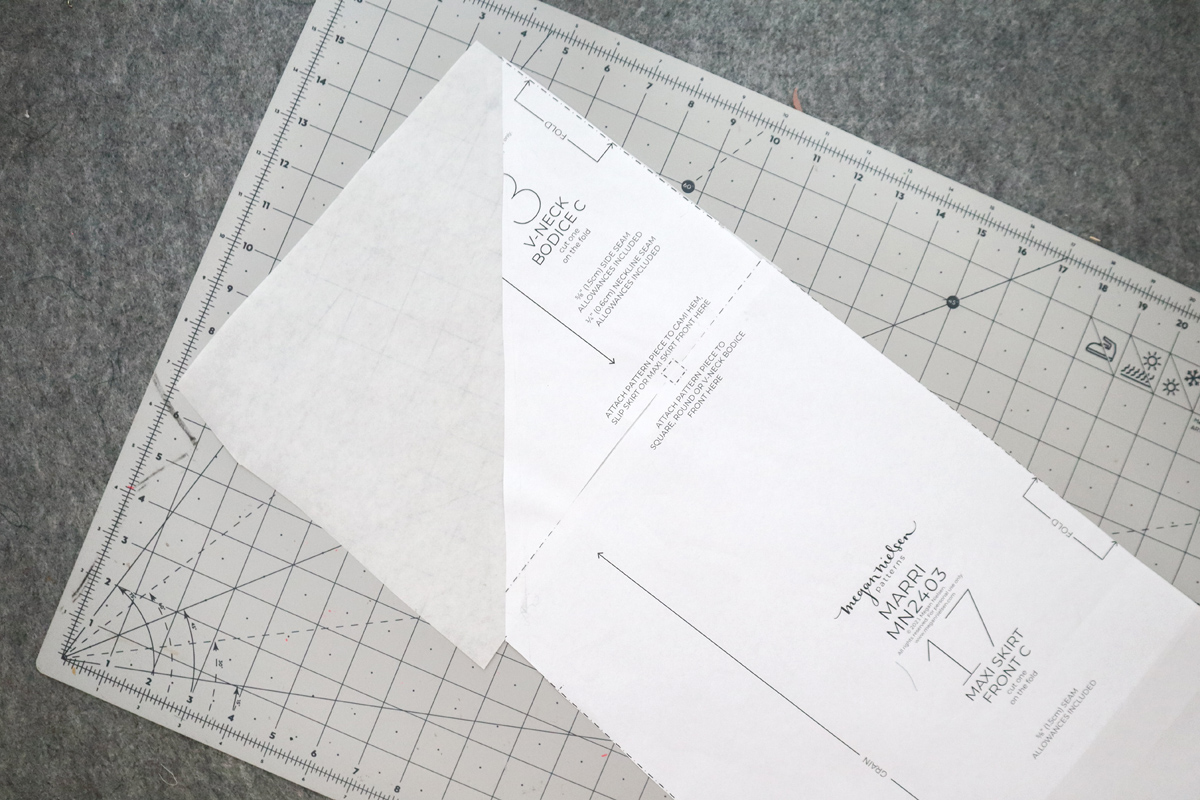
On the new bottom half, place a scrap piece of paper underneath and tape in place.
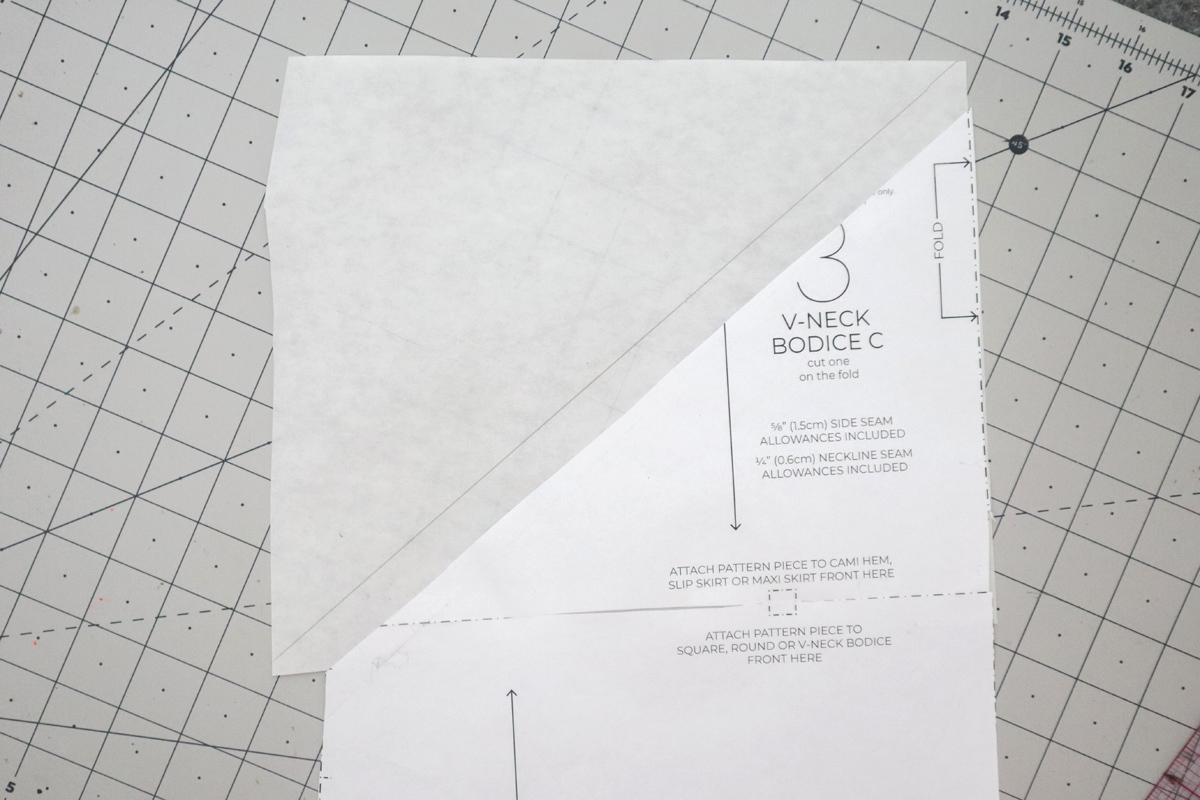
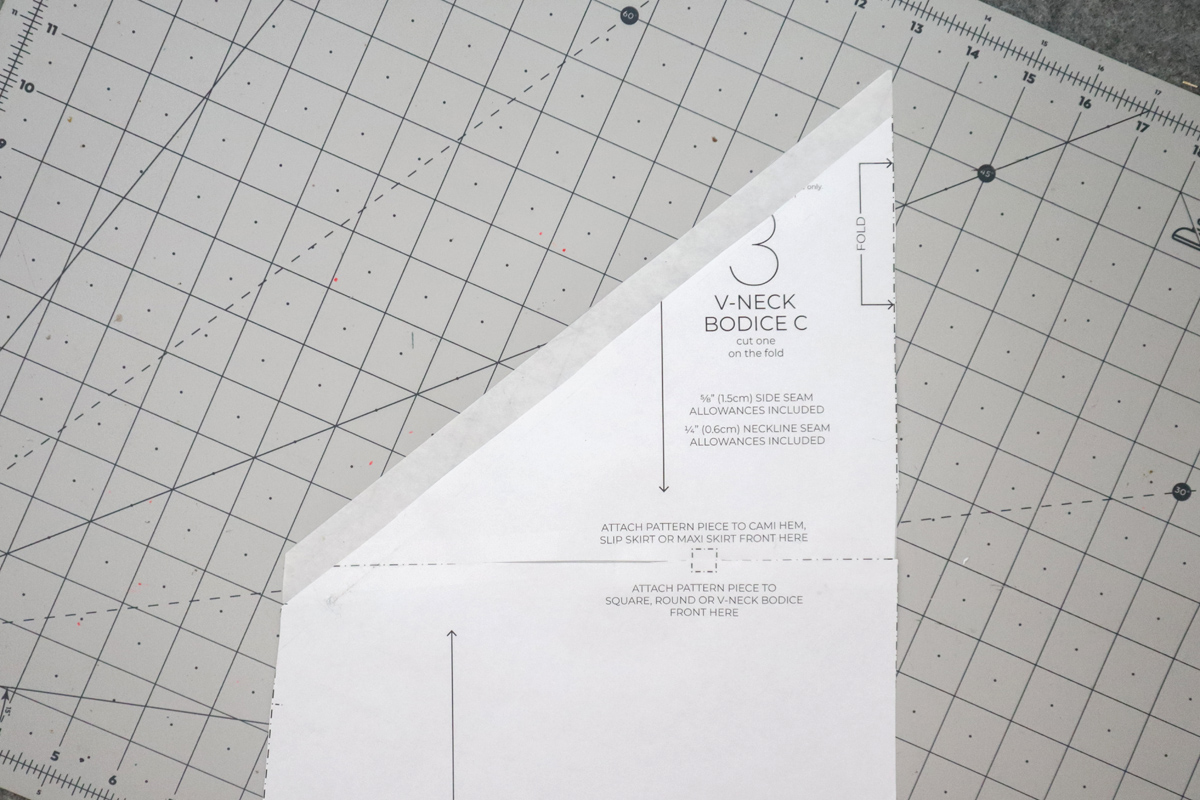
Add 5/8″(1.5cm) to the new top edge, and cut.
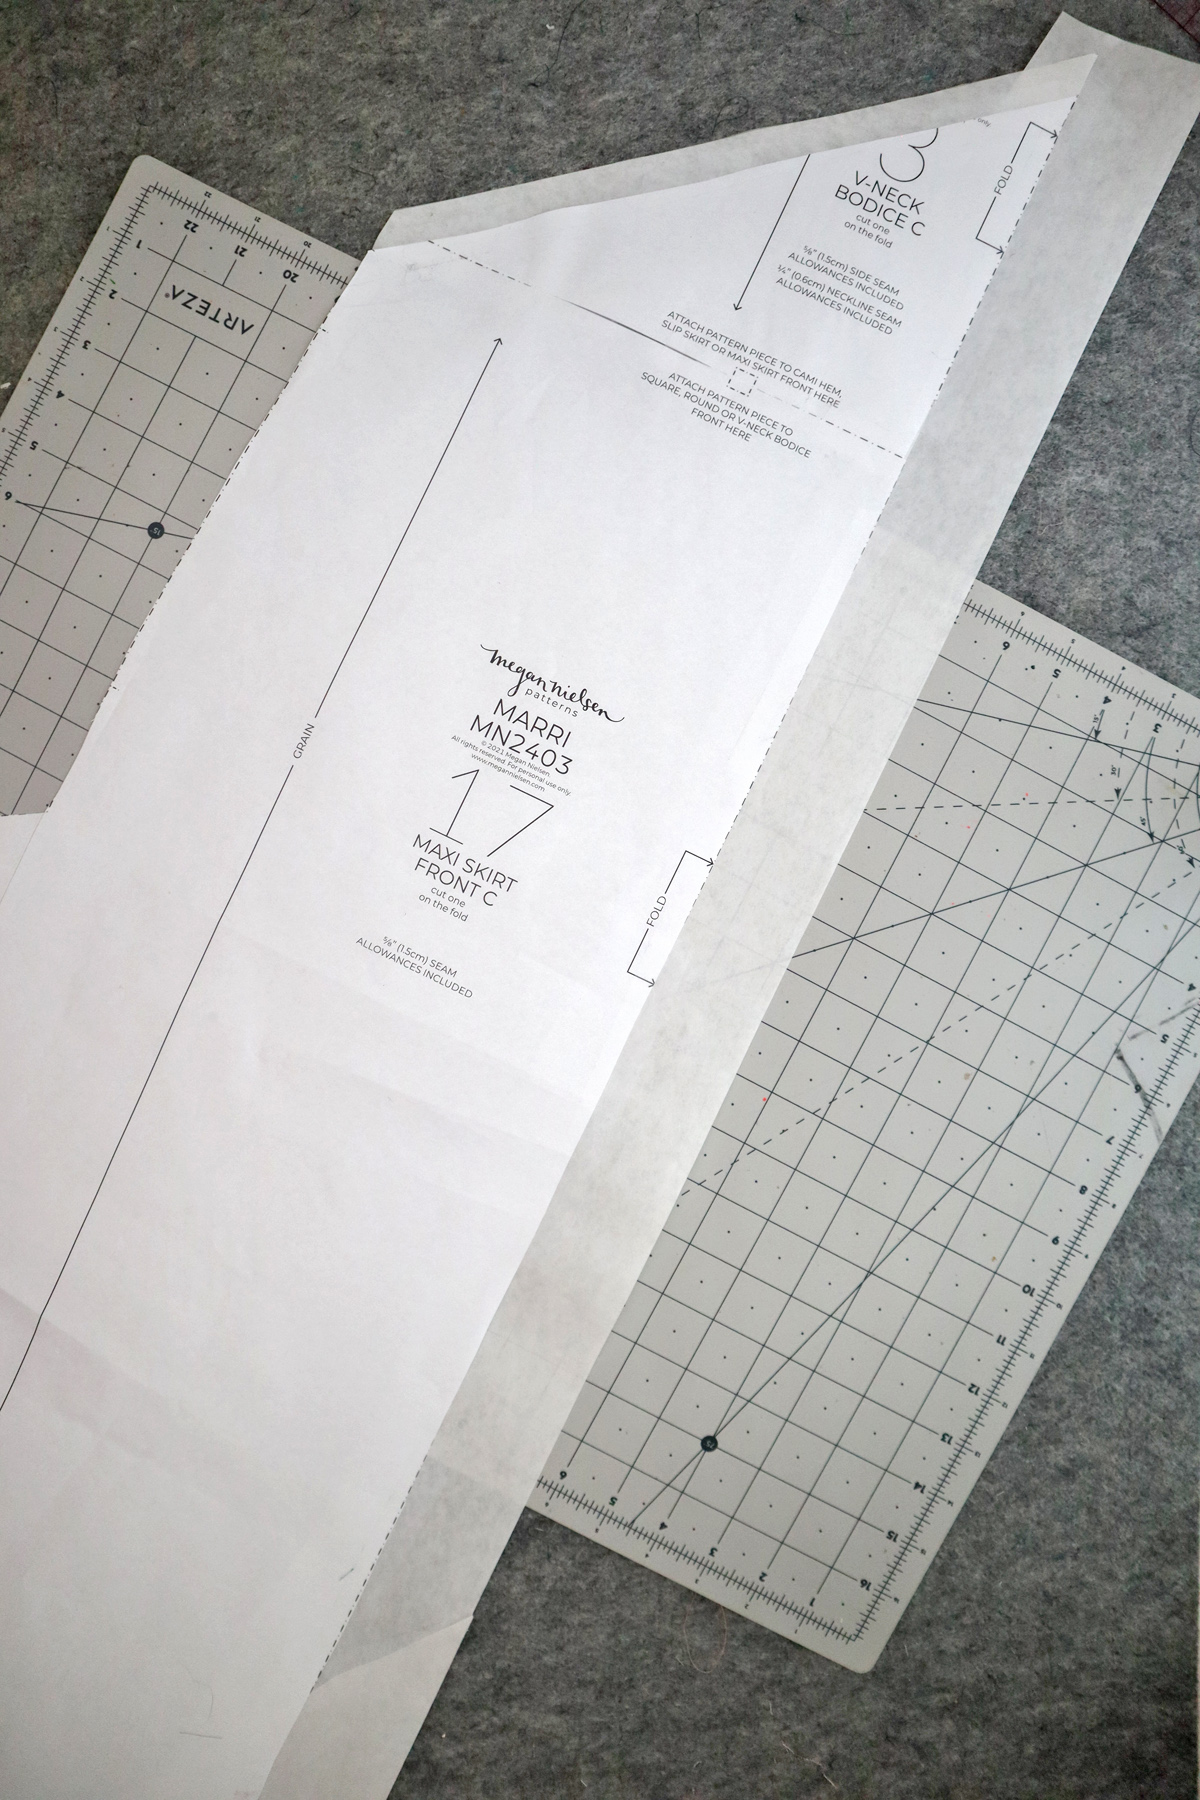
Since we are also colorblocking at the center front seam, we also need to add seam allowance there. Add more paper underneath.
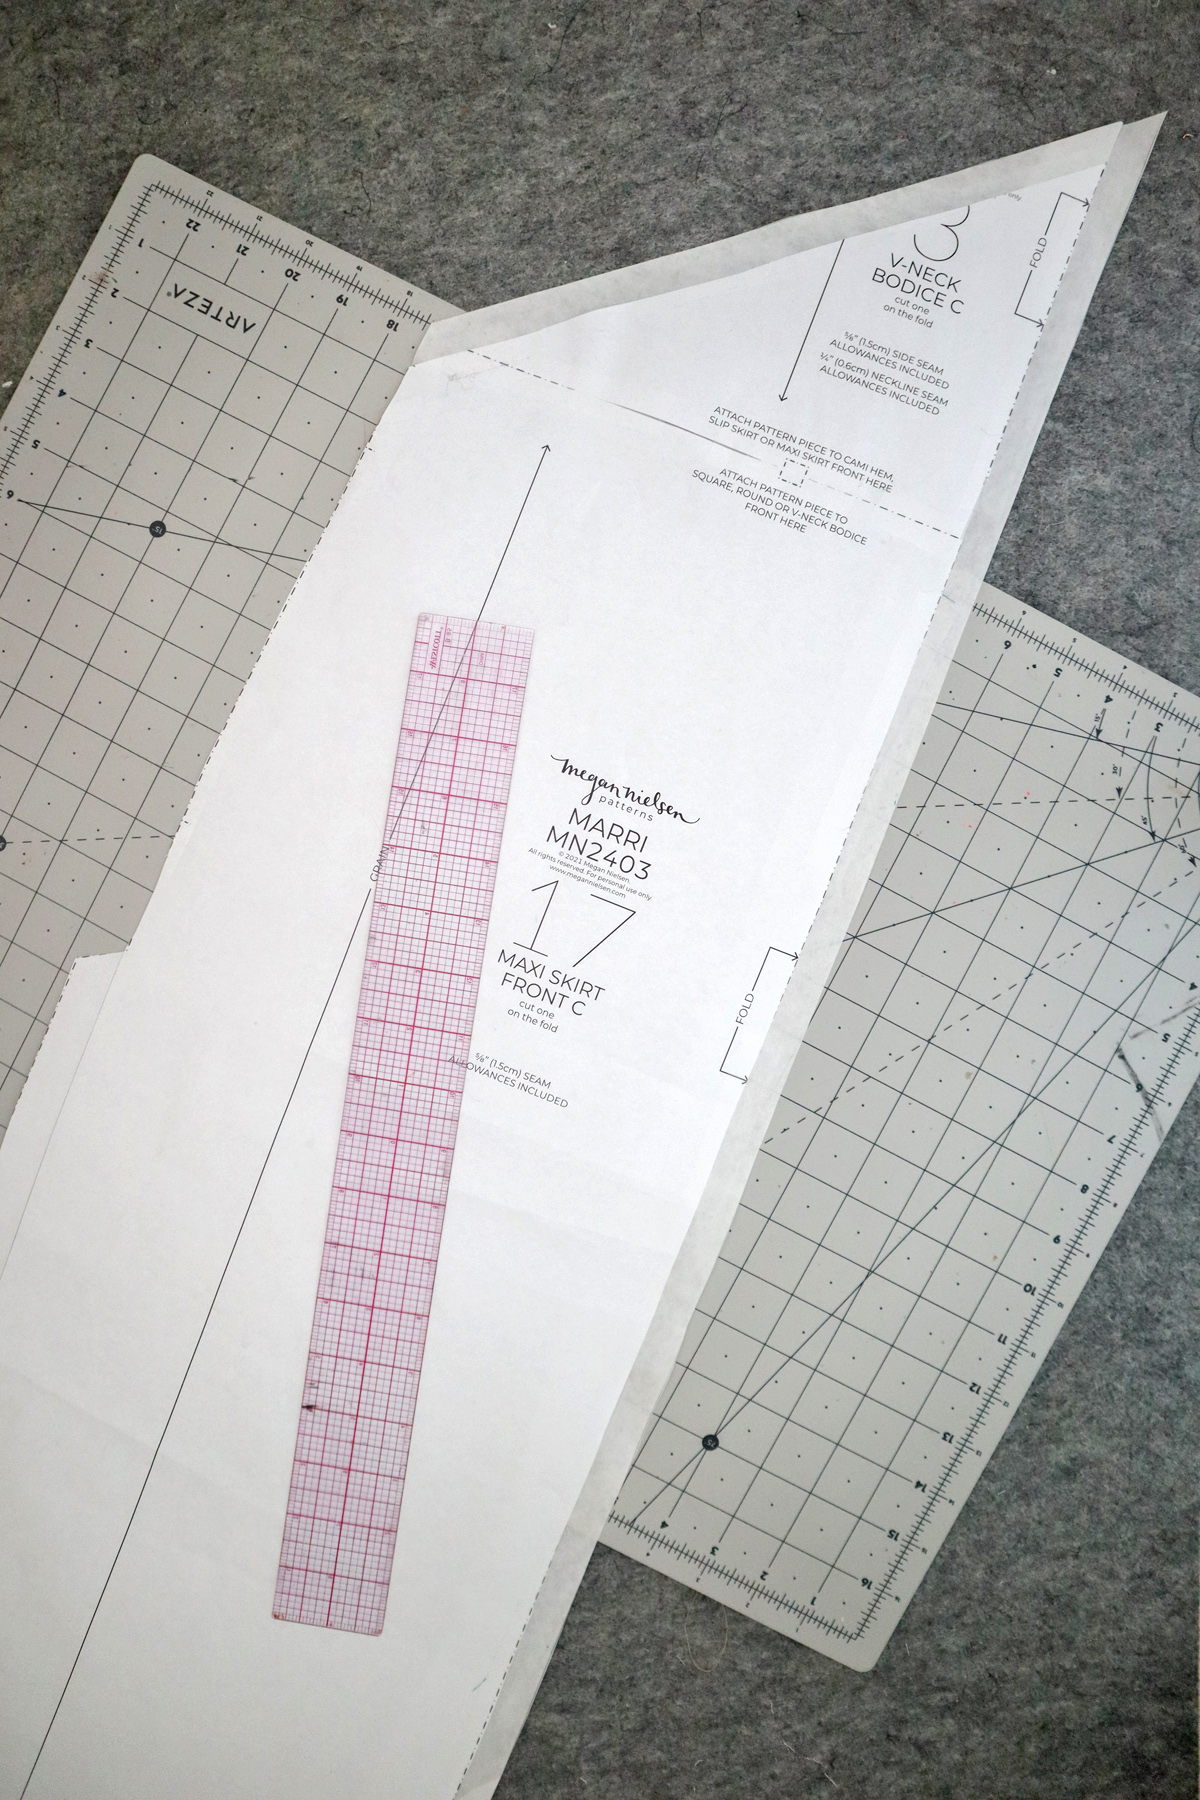
Draw a line 5/8″(1.5cm) away from centre front, and cut.
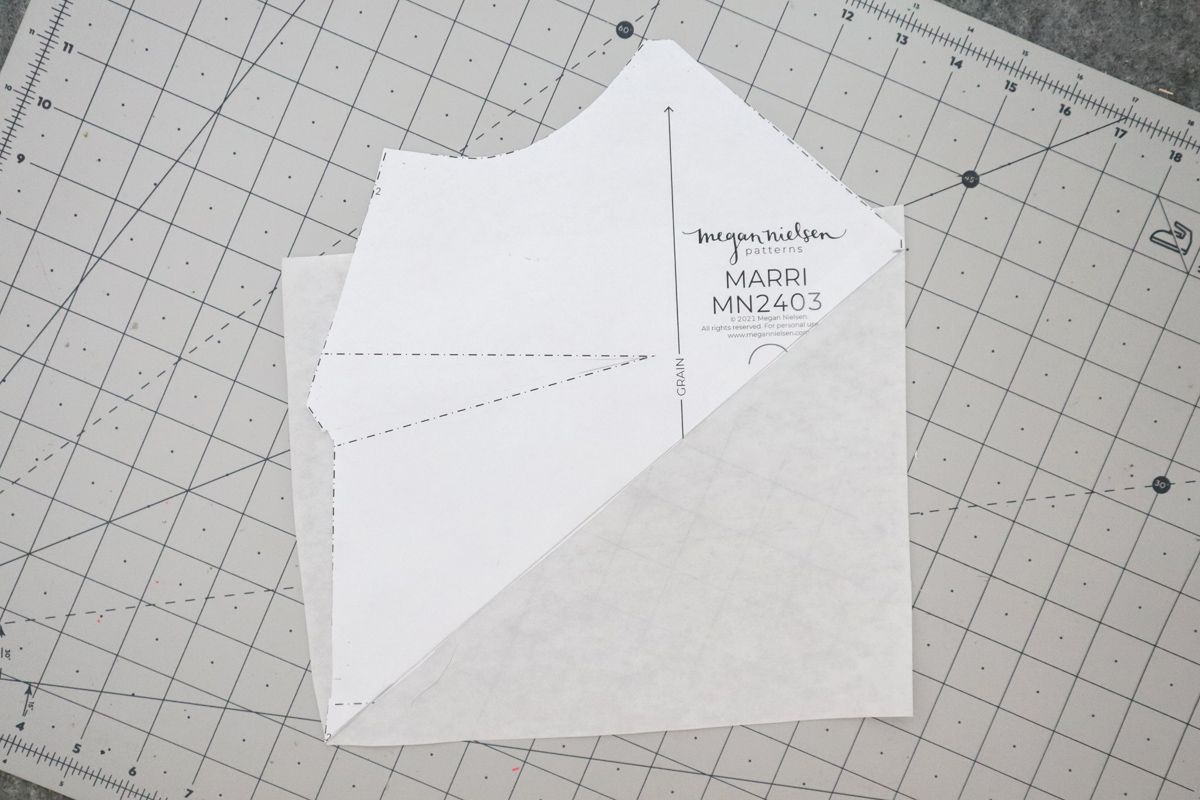
Now on to the new top half. Place scrap paper underneath and tape in place.
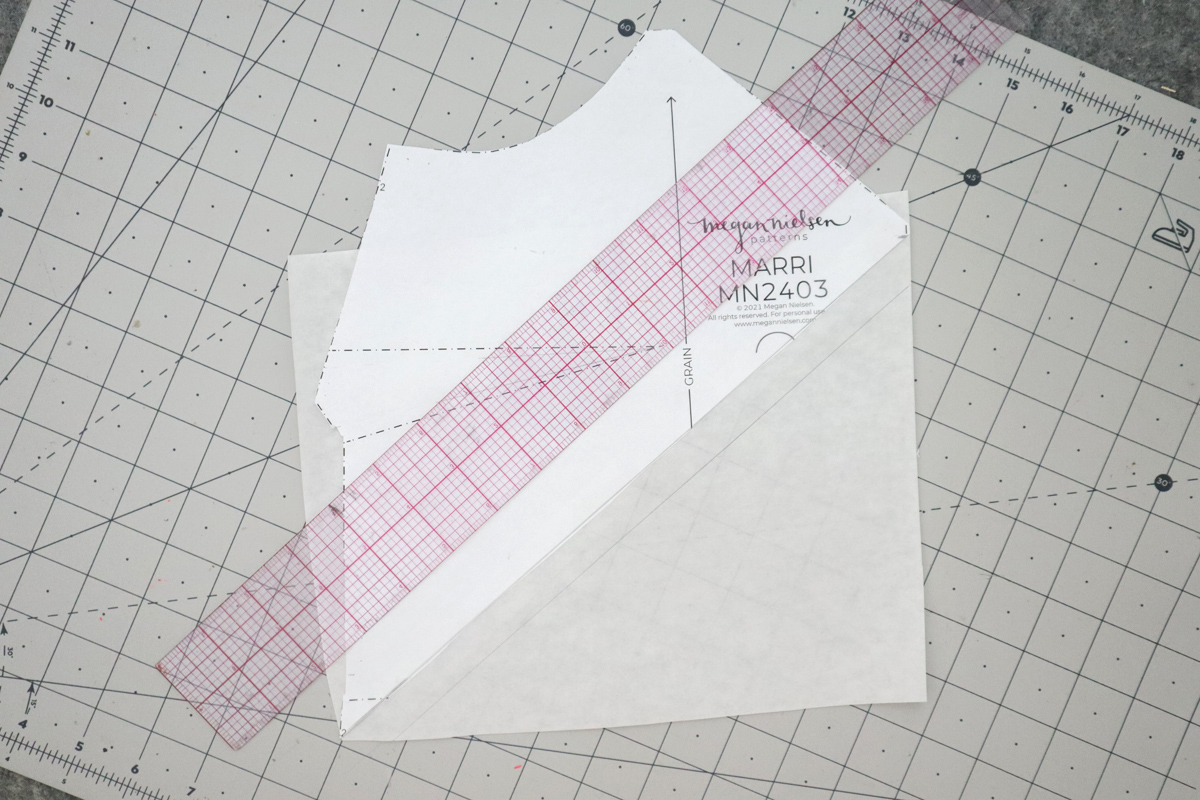
Add 5/8″(1.5cm) to the angled bottom edge, and cut.
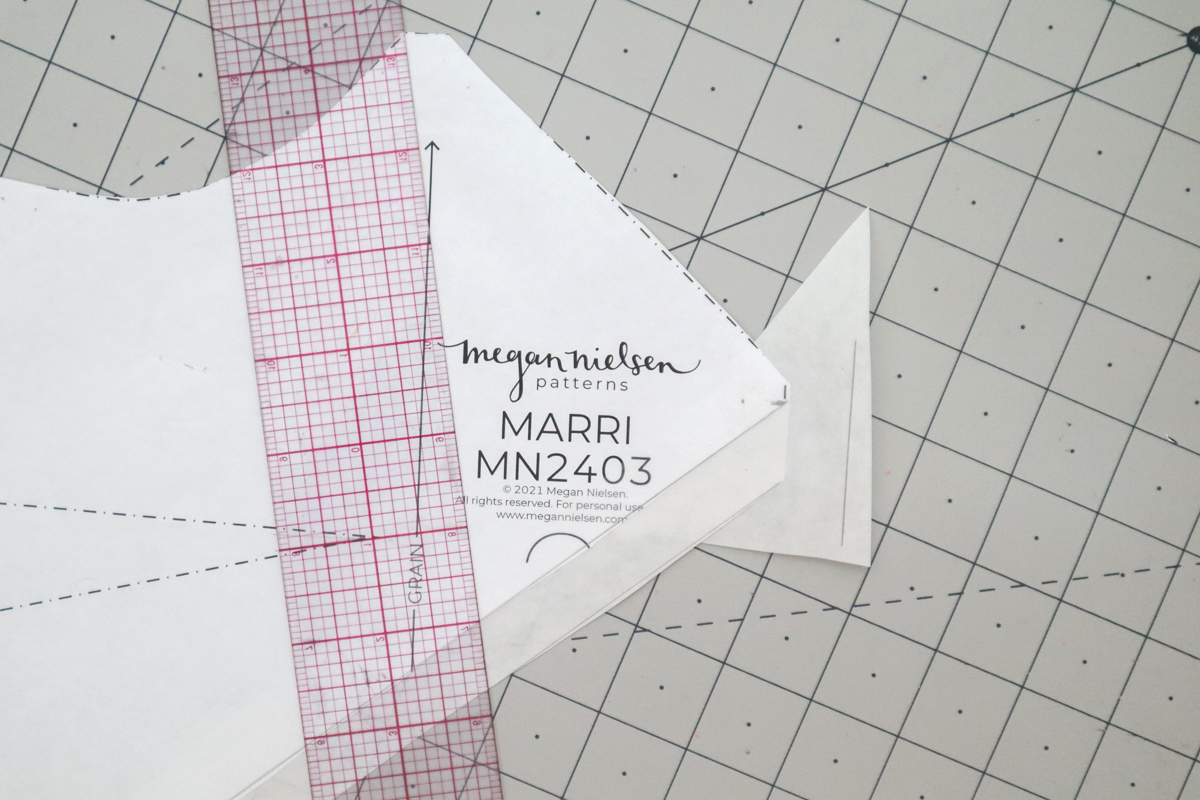
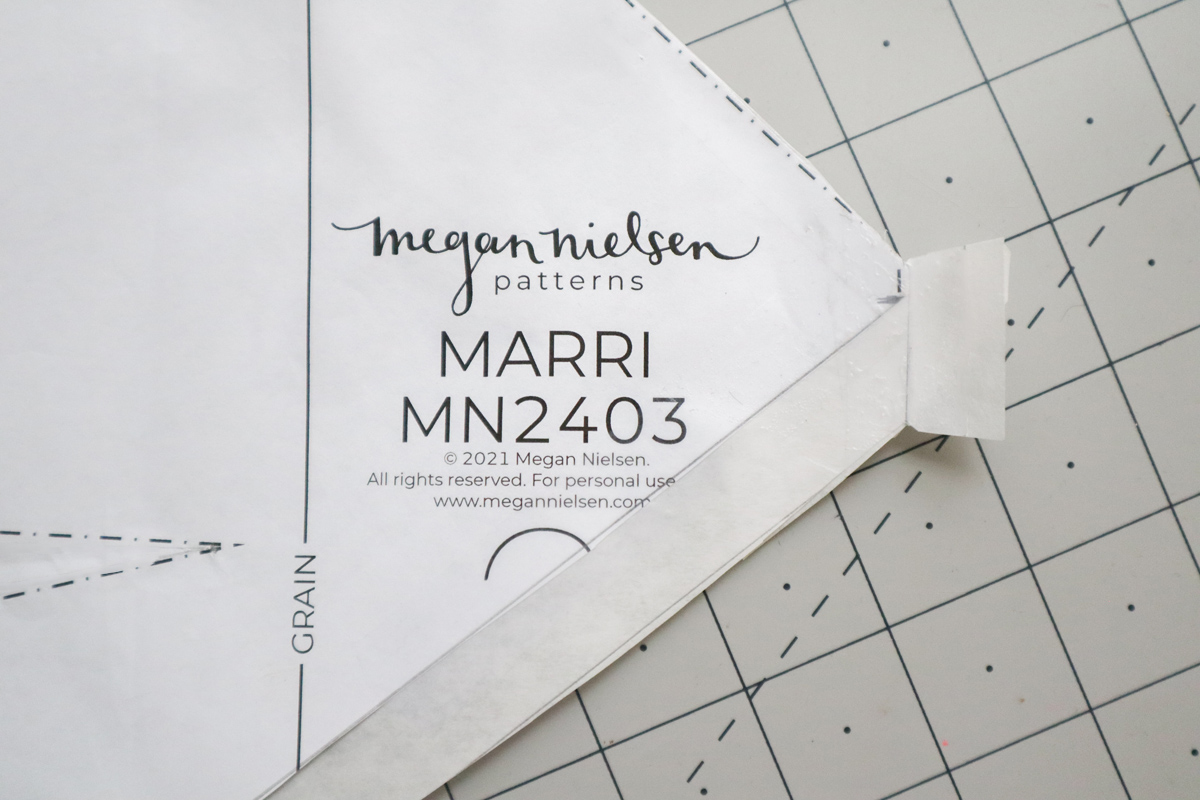
You will also need to add 5/8″(1.5cm) at the centre front here, too.
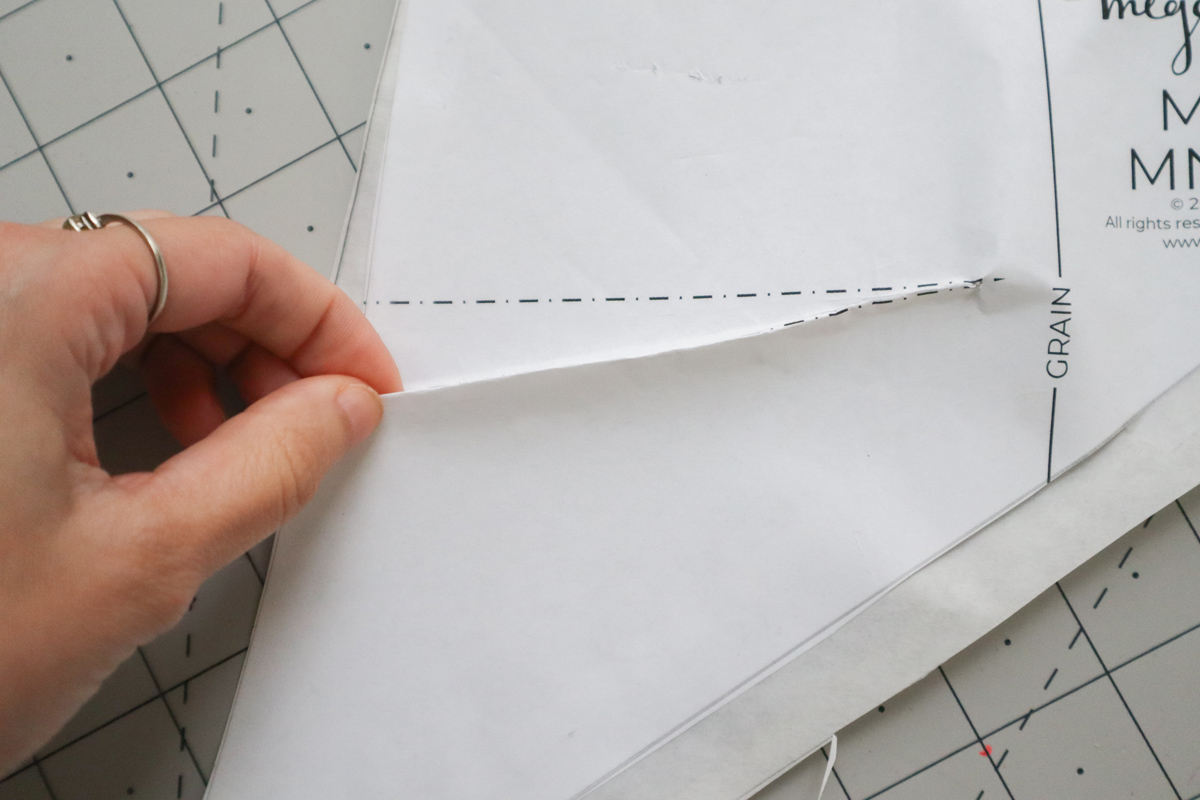
Before we move on to the back, we need to know where the back colorblocking will hit, since we want it to line up with the front top half. So lets temporarily close up the dart. Fold along the bottom dart leg…
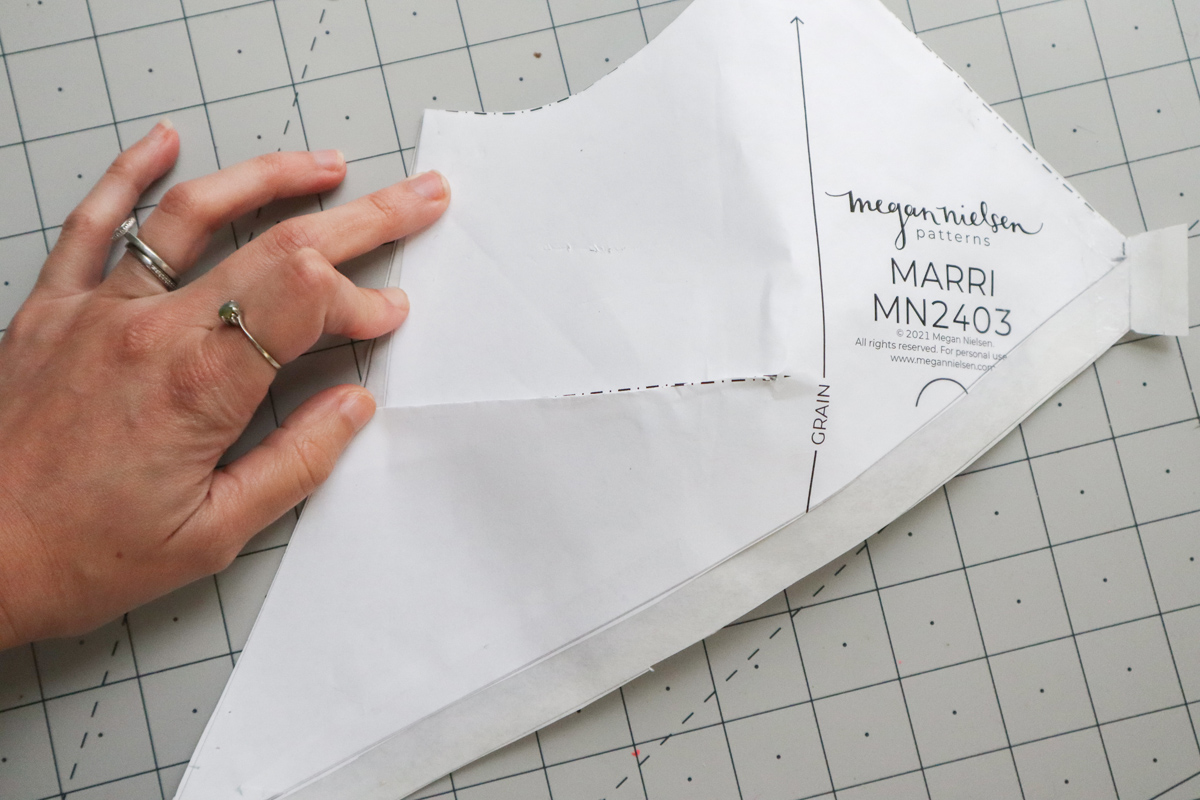
…and bring it up to meet the top dart leg, folding in the center.
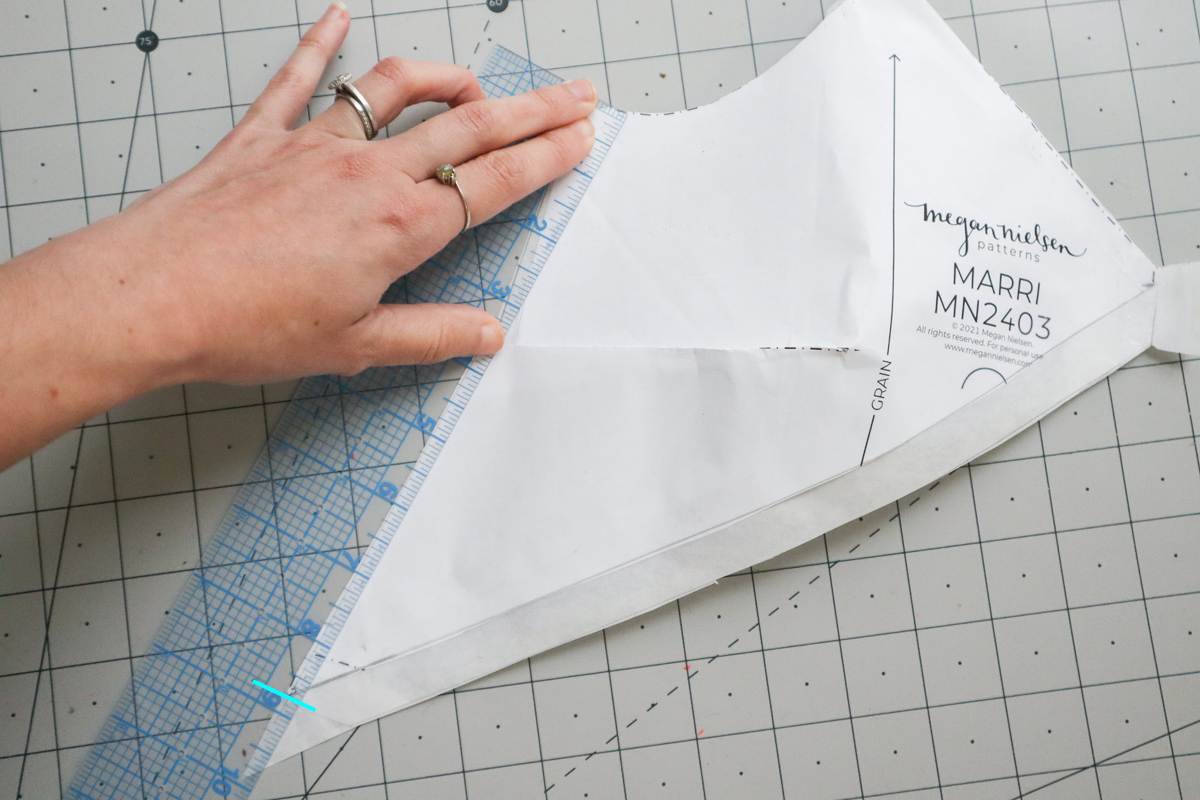
With the dart temporarily folded, measure your side seam length, not including the seam allowance.
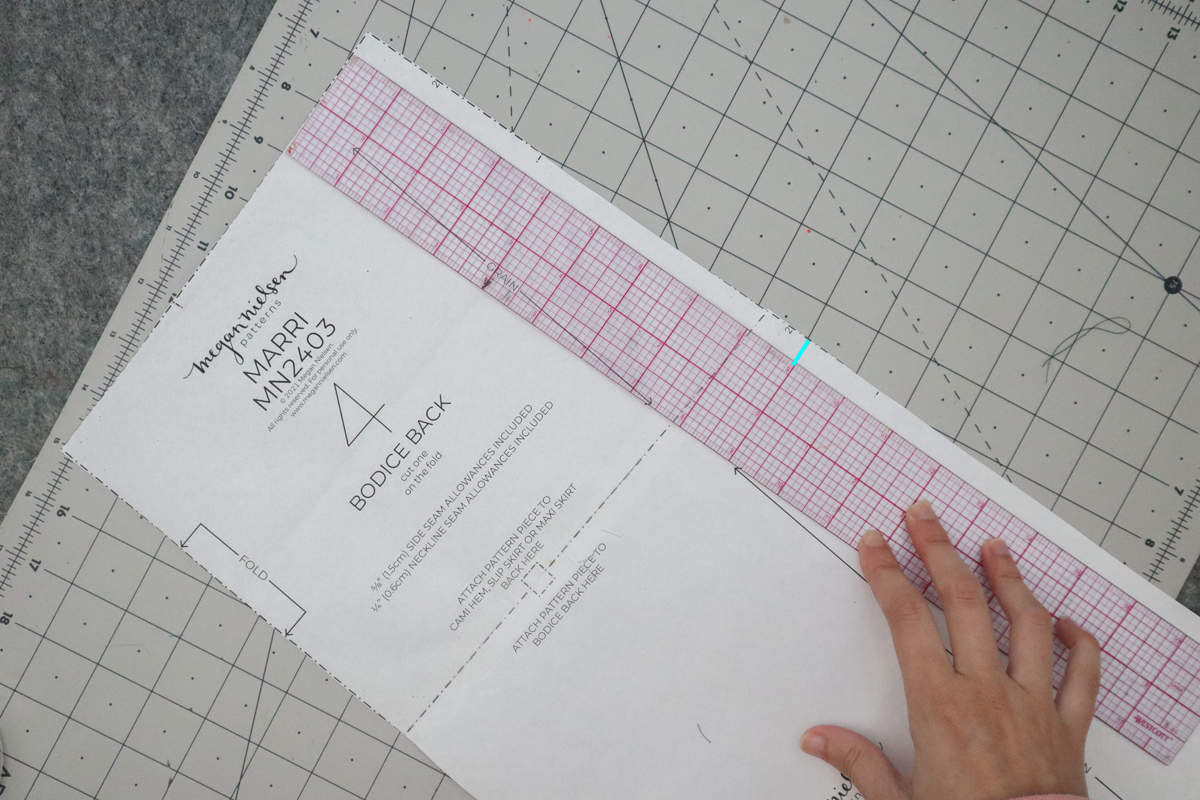
Now moving on to the back. Make sure your back bodice is attached to whichever skirt bottom you are using. Take that side seam length measurement, and mark that length along the back side seam.
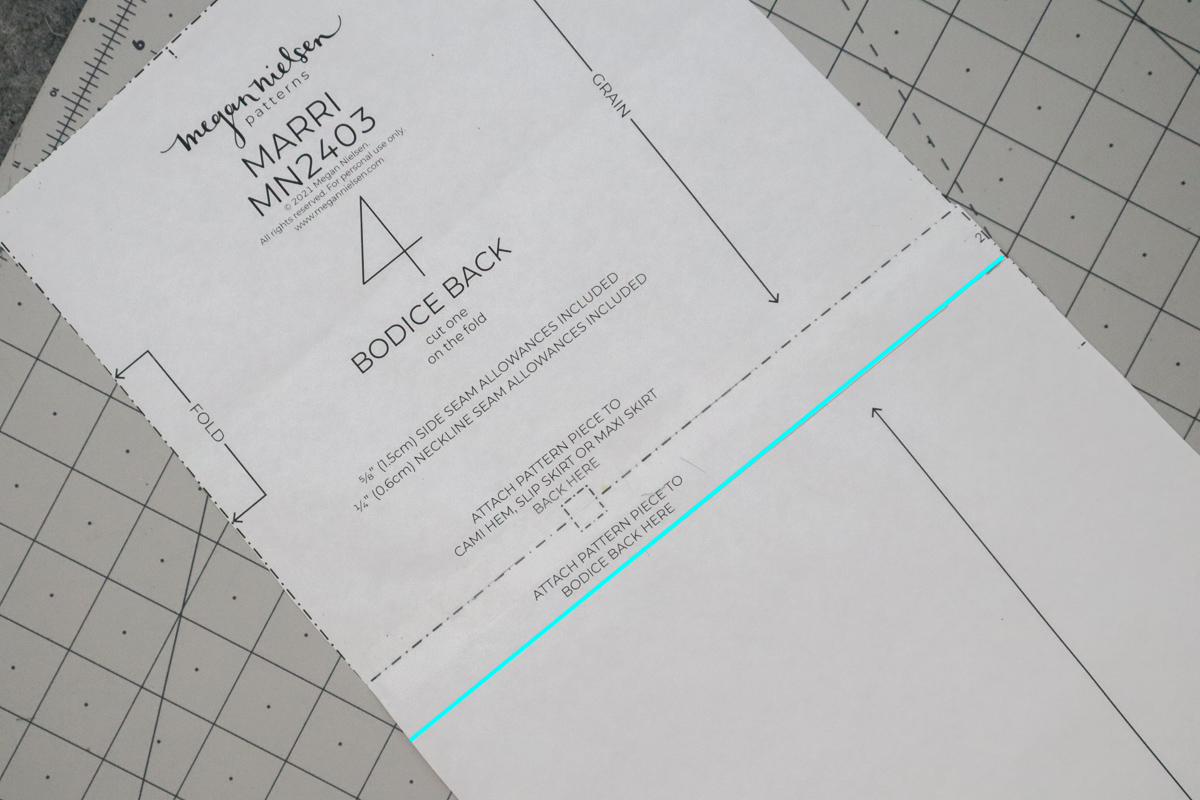
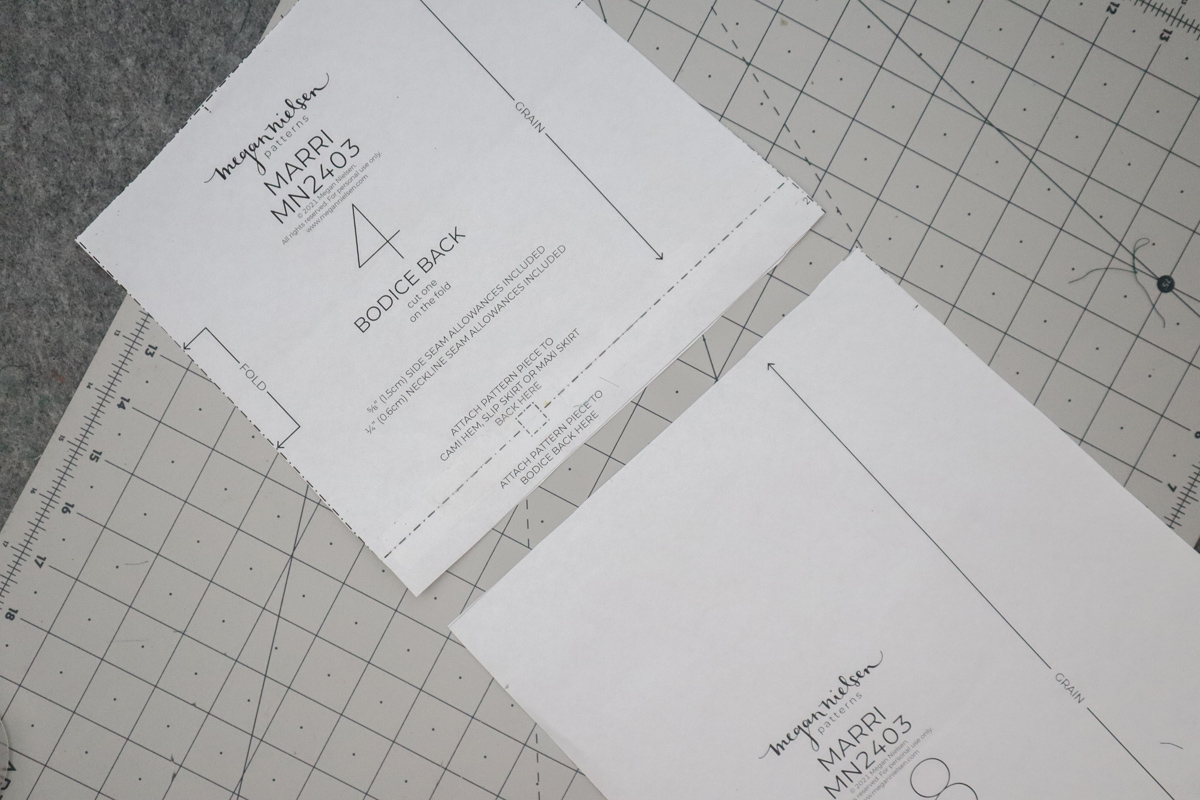
Square off with the center back, mark, and cut.
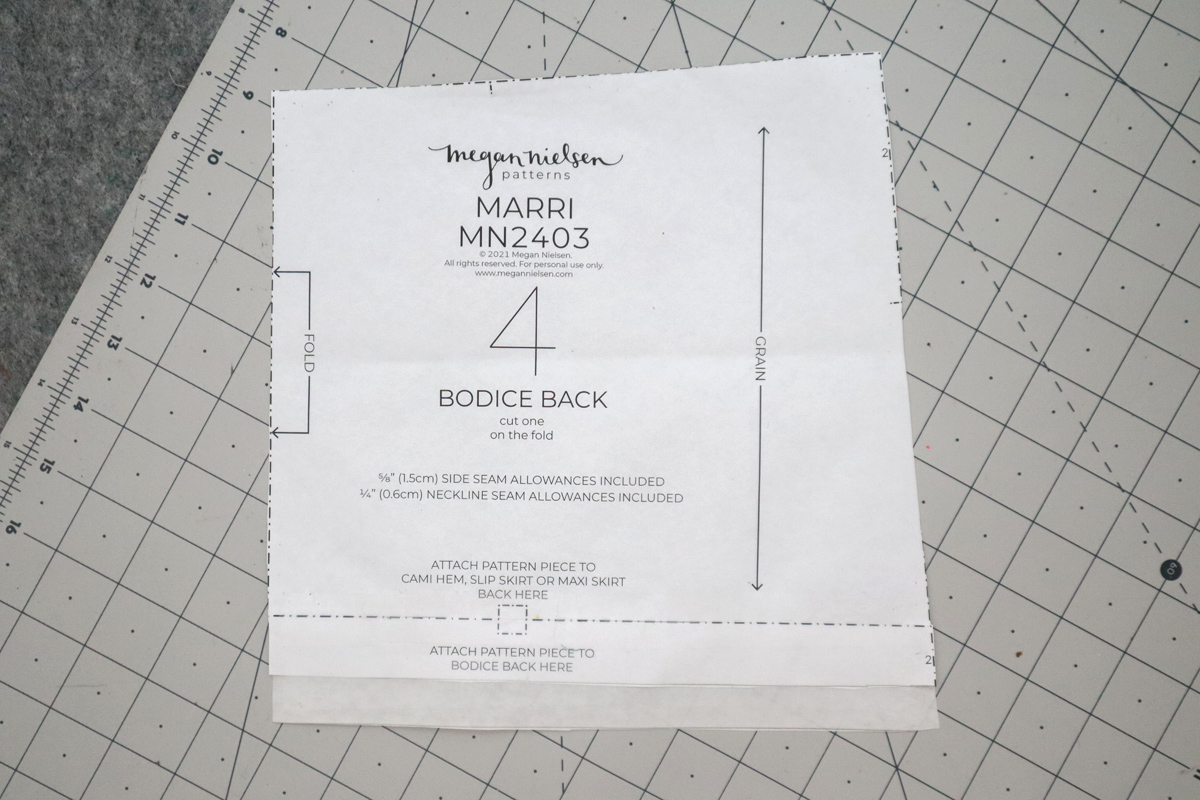
With the top half, again use scrap paper to add 5/8″(1.5cm) along the bottom edge.
*We don’t need to add seam allowance to the center back of the back top half, because we will still cut this piece on the fold.
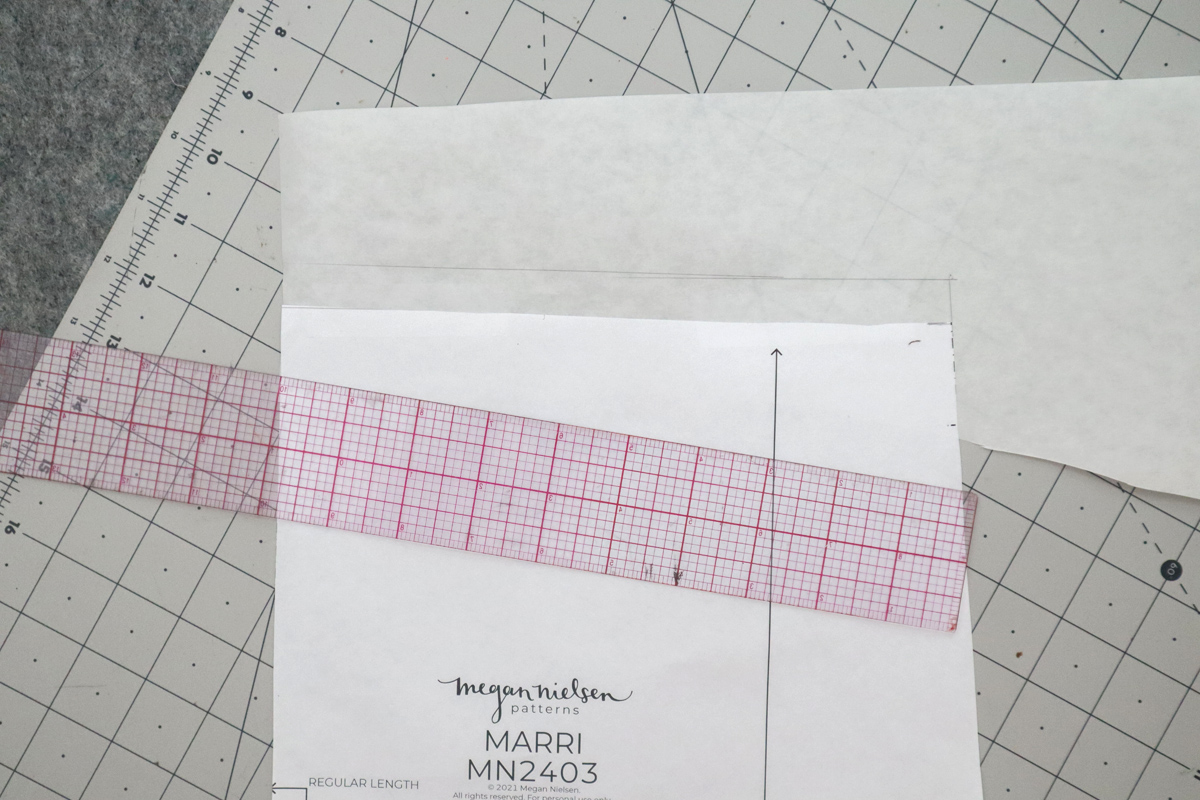
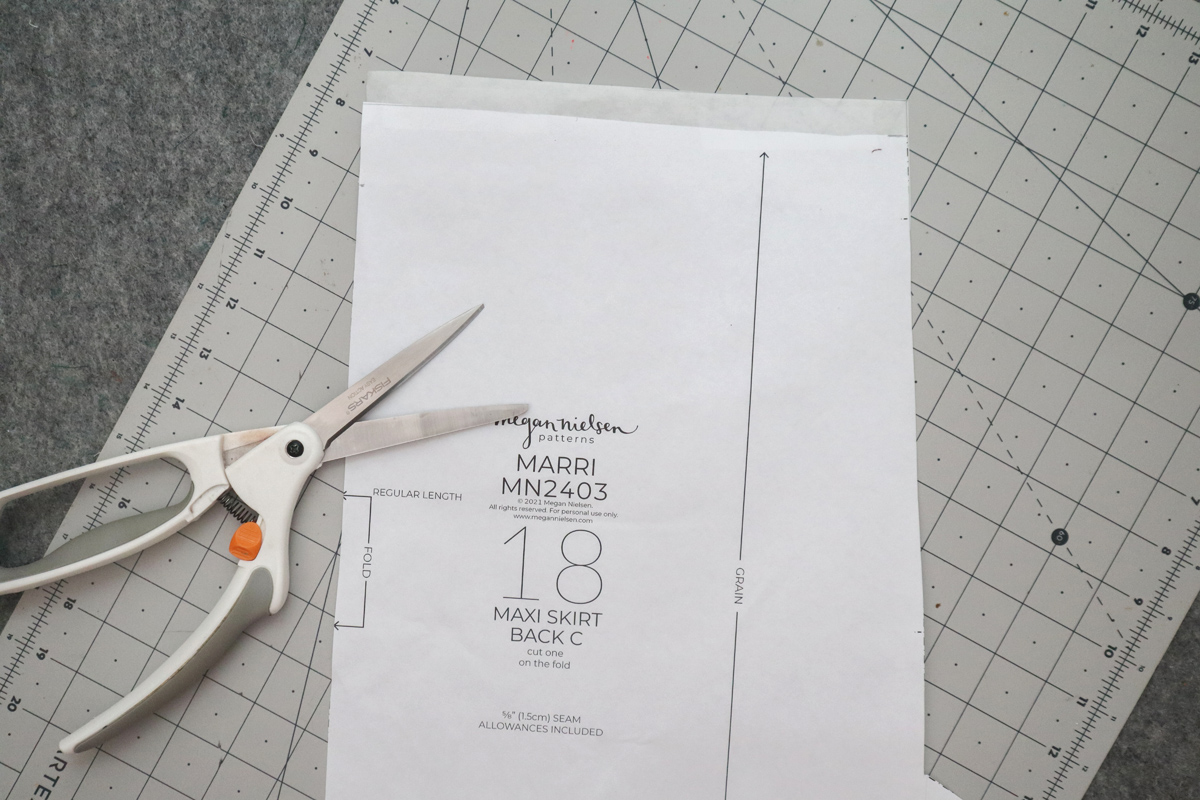
Now add your 5/8″(1.5cm) seam allowance to the top edge of the back bottom.
You DO need to also add 5/8″(1.5cm) seam allowance to the centre back of the bottom half, just like with the front. I just forgot to photograph it.
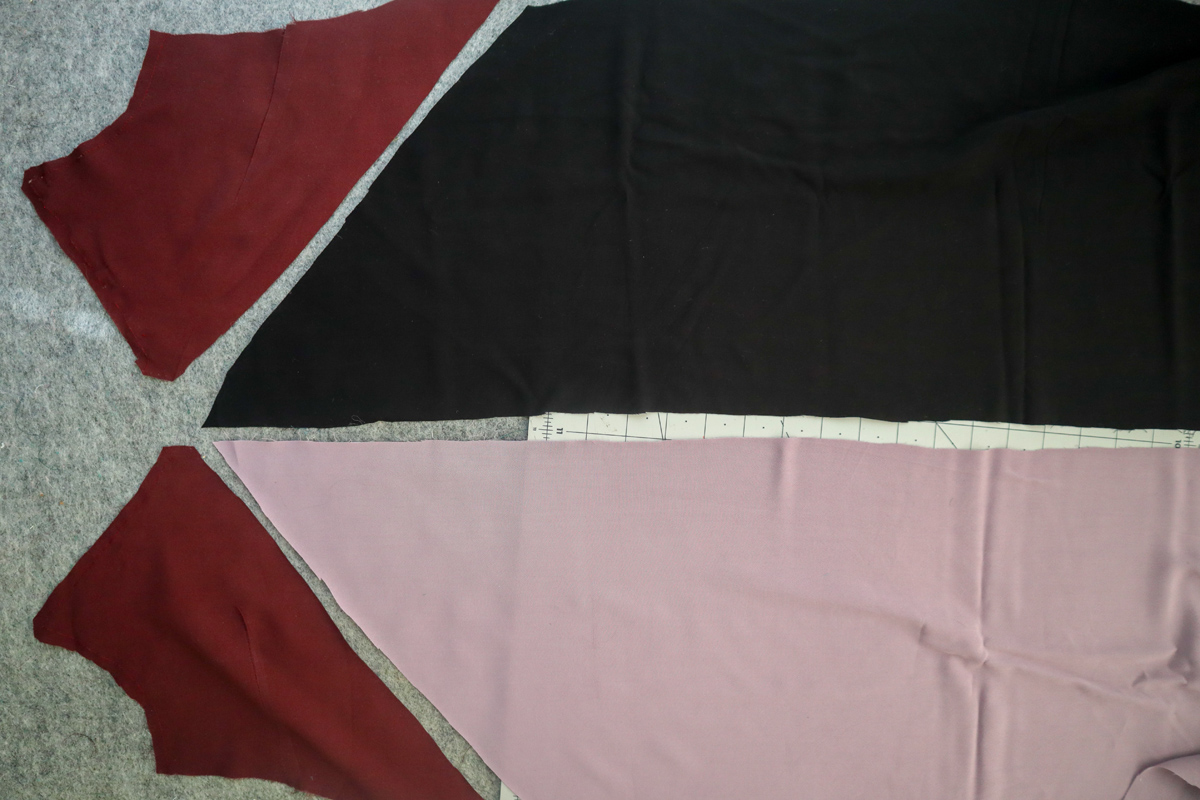
For the front, you will cut two pieces, mirrored of the top half in color 1. One piece of the bottom half in color 2, and one mirror image piece in color 3.
*You don’t need to make adjustments to the facing pattern piece. Once these dress pieces are sewn together, the regular facing piece will line up with the usual.
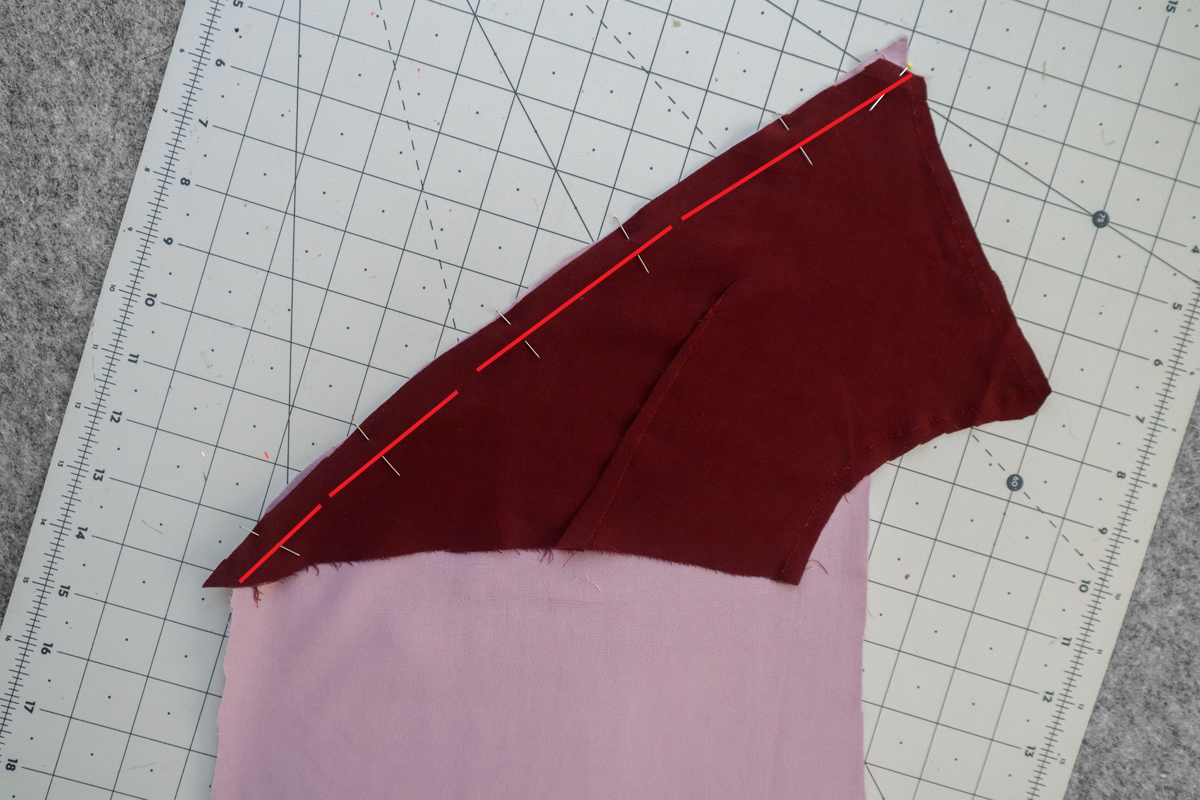
We’re going to work with one half at a time. Take the top half, with right sides together, align the raw edge with the corresponding bottom piece. Pin in place, a sew together 5/8″(1.5cm) from the raw edge.
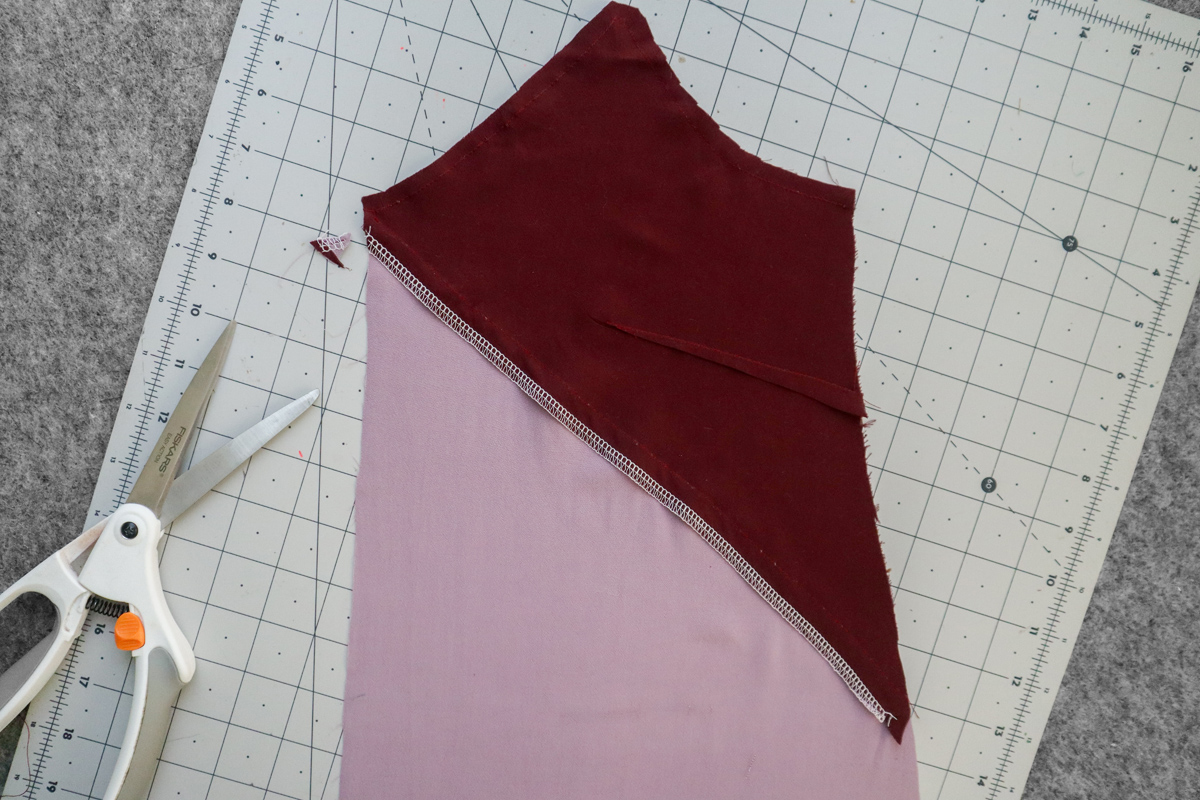
Finish the raw edge, and press the seam down. You can also trim off any excess at the center front, and side seams, if necessary.
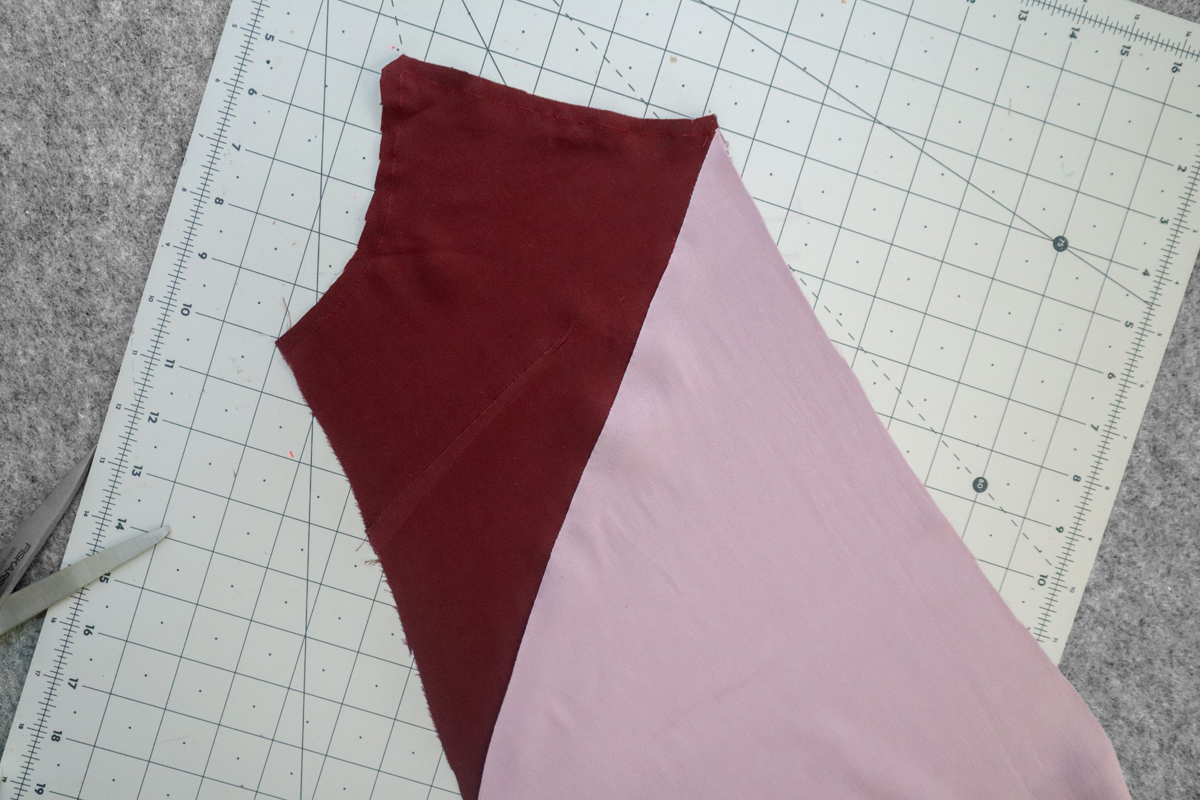
Here it is from the front.

Repeat those steps with the other front top half and front bottom half.
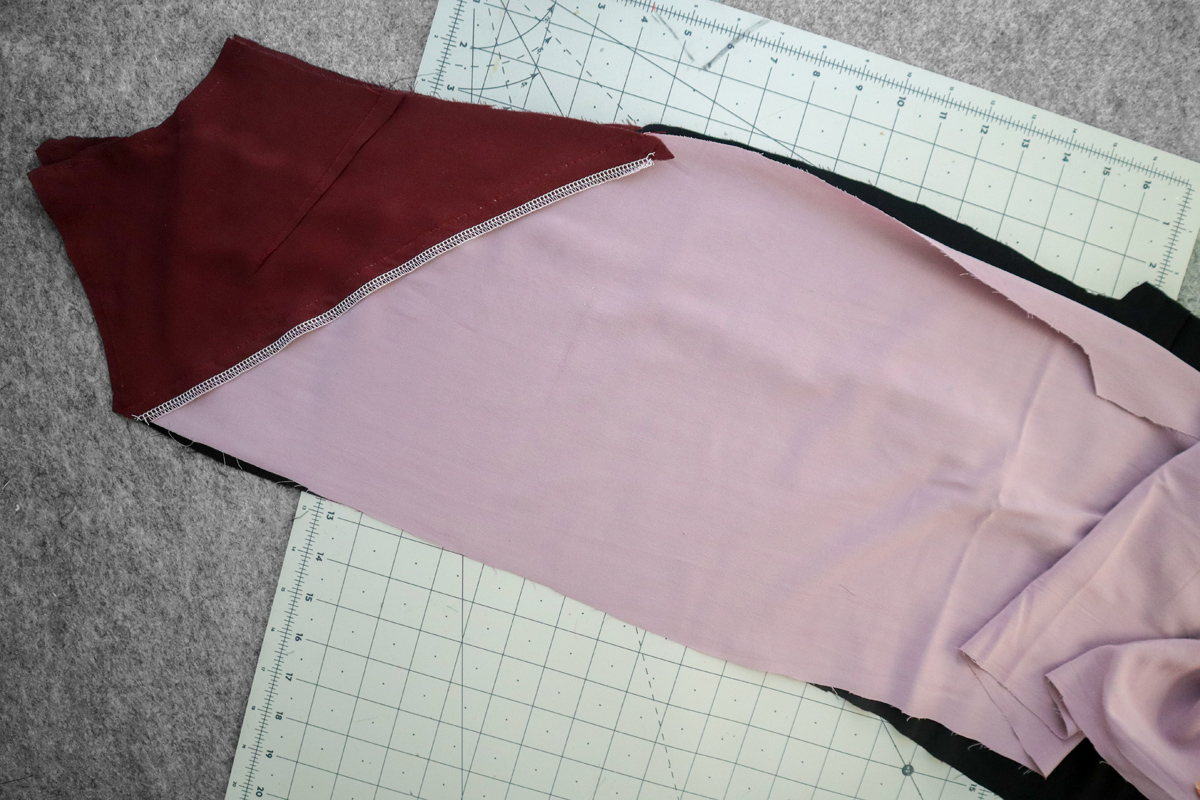
*** At this point you should finish the raw edges of each center front separately. I forgot to do it here.
Then take the two front pieces, and place on top of each other with right sides of the fabric together.
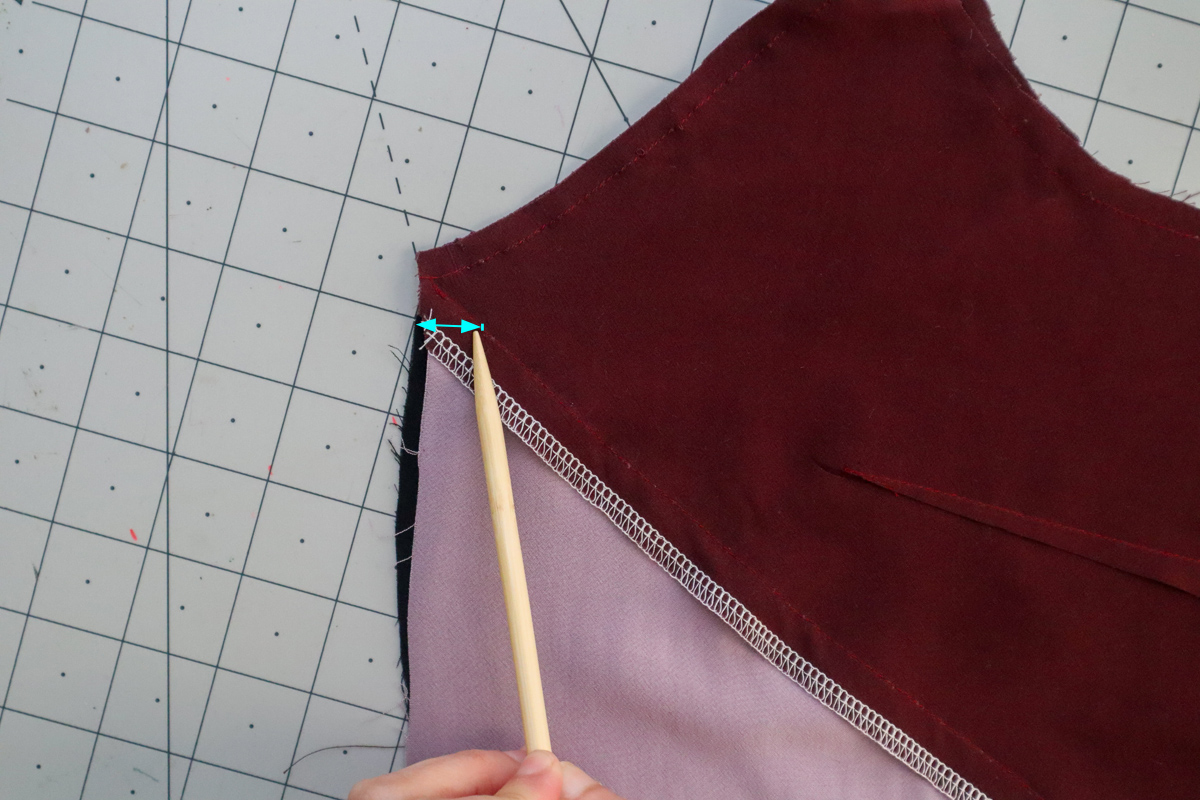
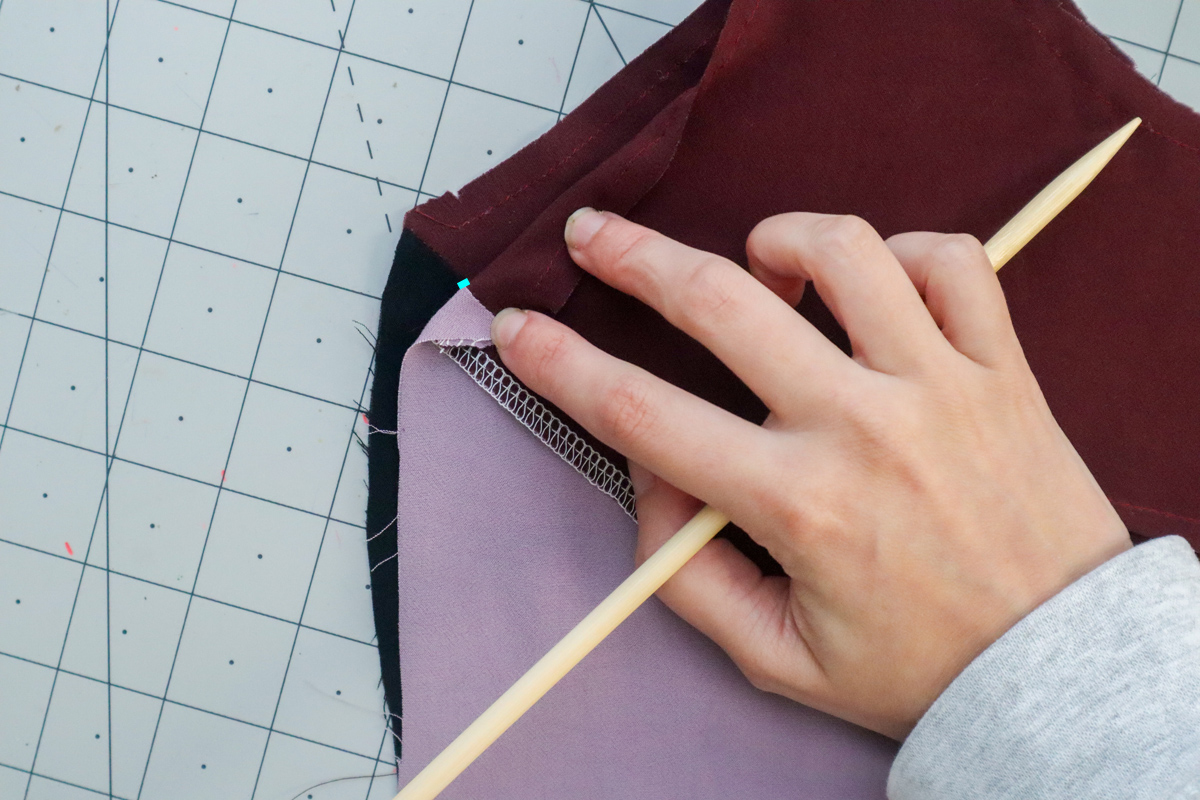
You really want to make sure the colorblocked seam lines line up at centre front. Not just the the very edge of the fabric, but at the 5/8″(1.5cm) seam line. Take extra care to make sure it is lined up. Use plenty of pins if needed.
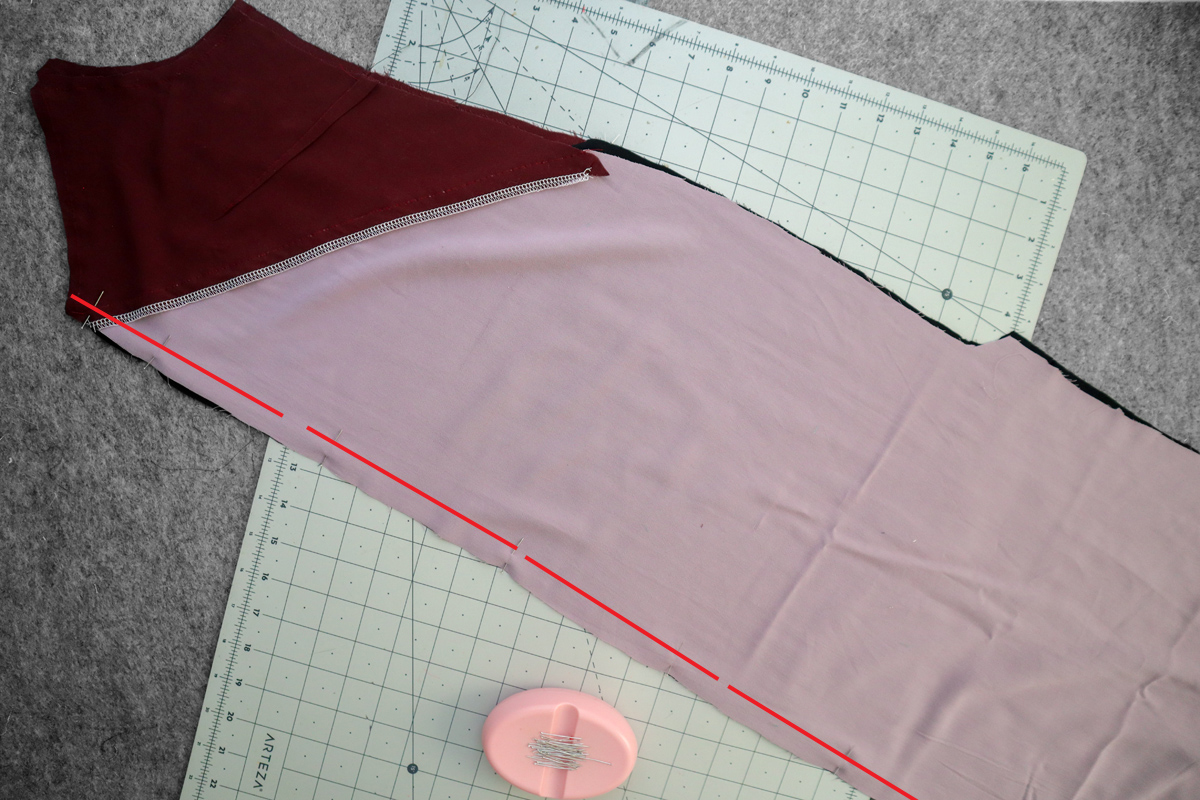
Line up the center front raw edges, and sew together 5/8″(1.5cm) from the raw edge, from top all the way to the hem.
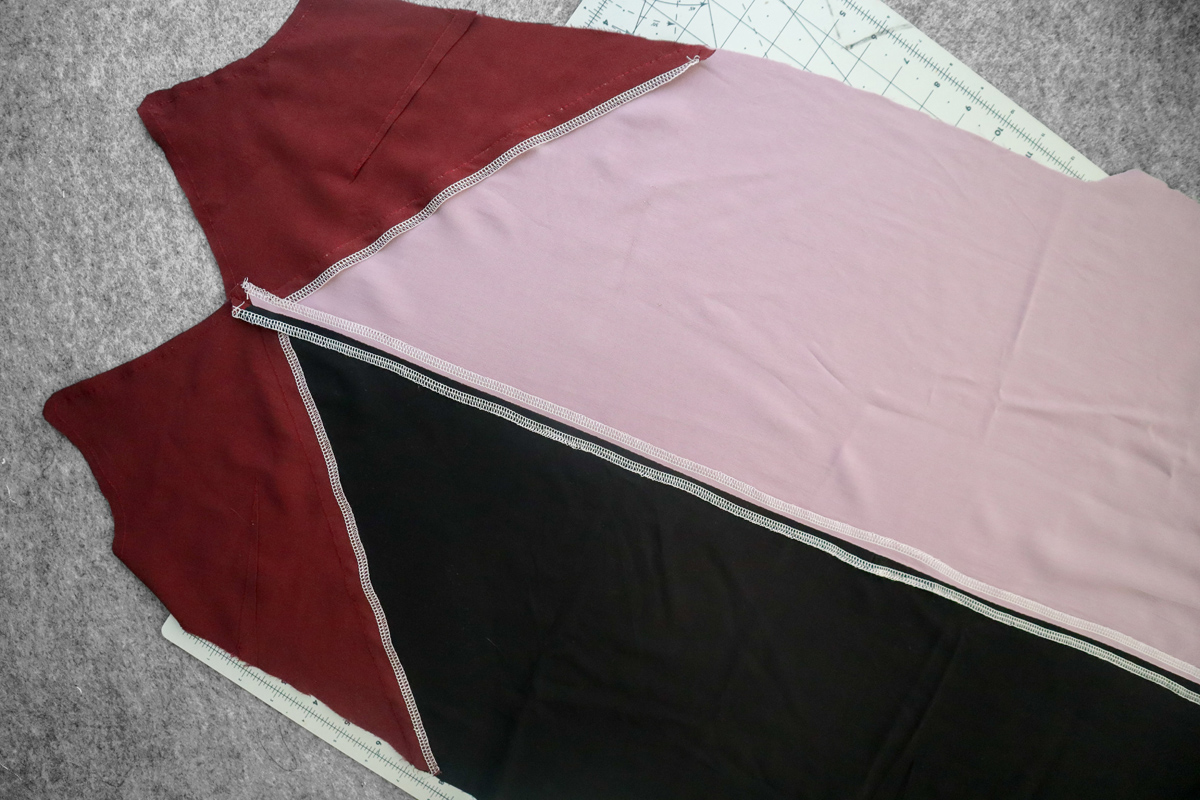
Press the seam open.
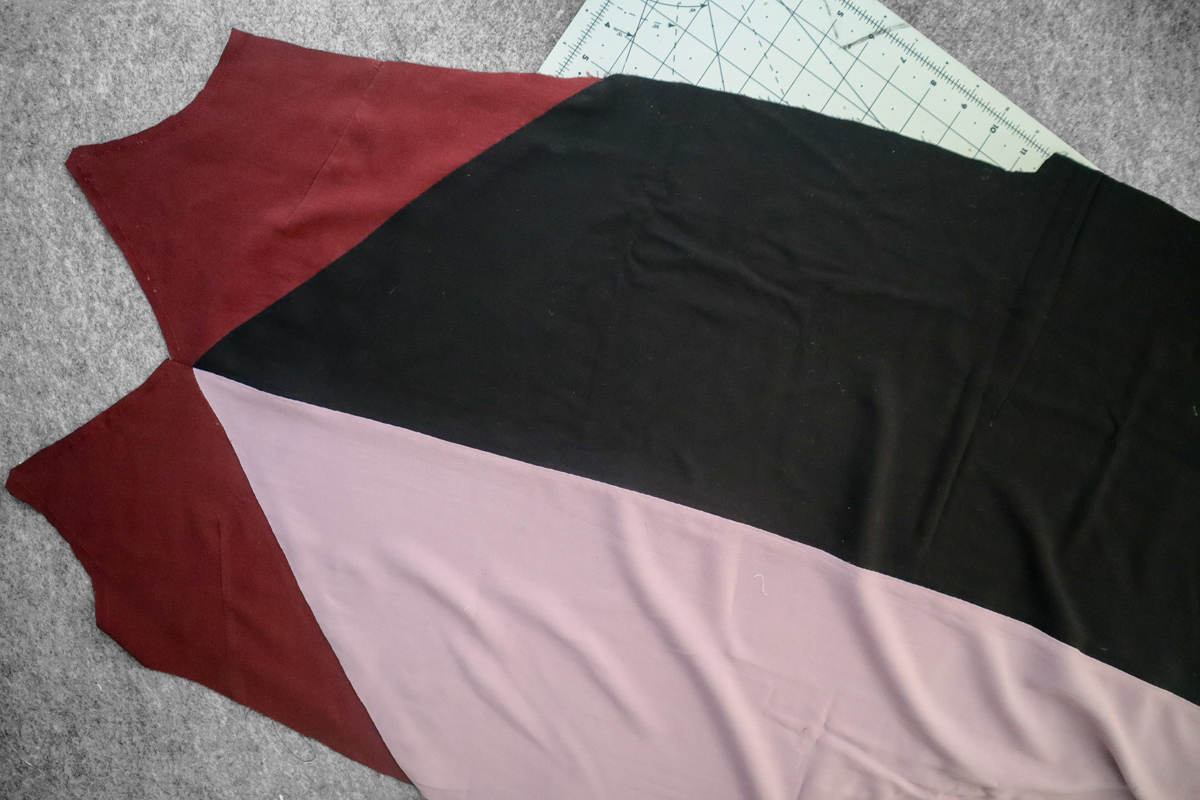
Here it is from the right side.
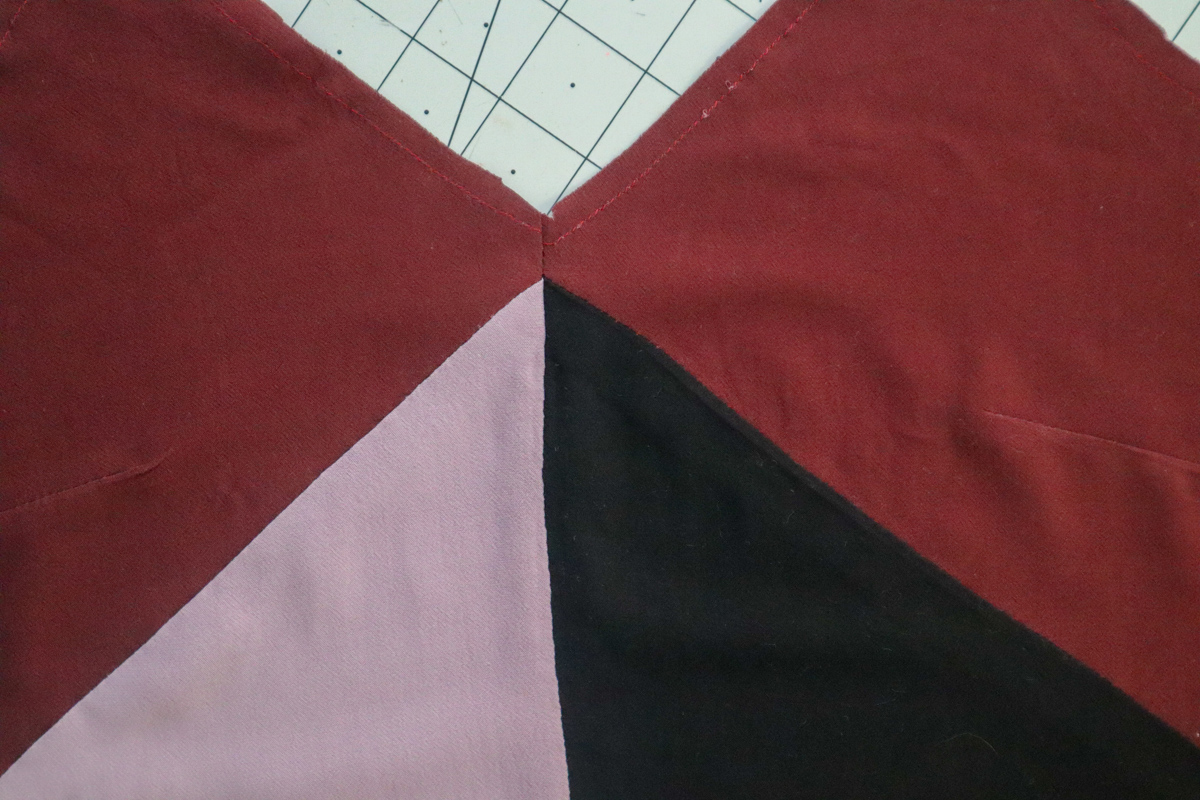
Look at those seam lines match up almost perfectly!
You can now attach your straps and front facing as directed in the instructions.
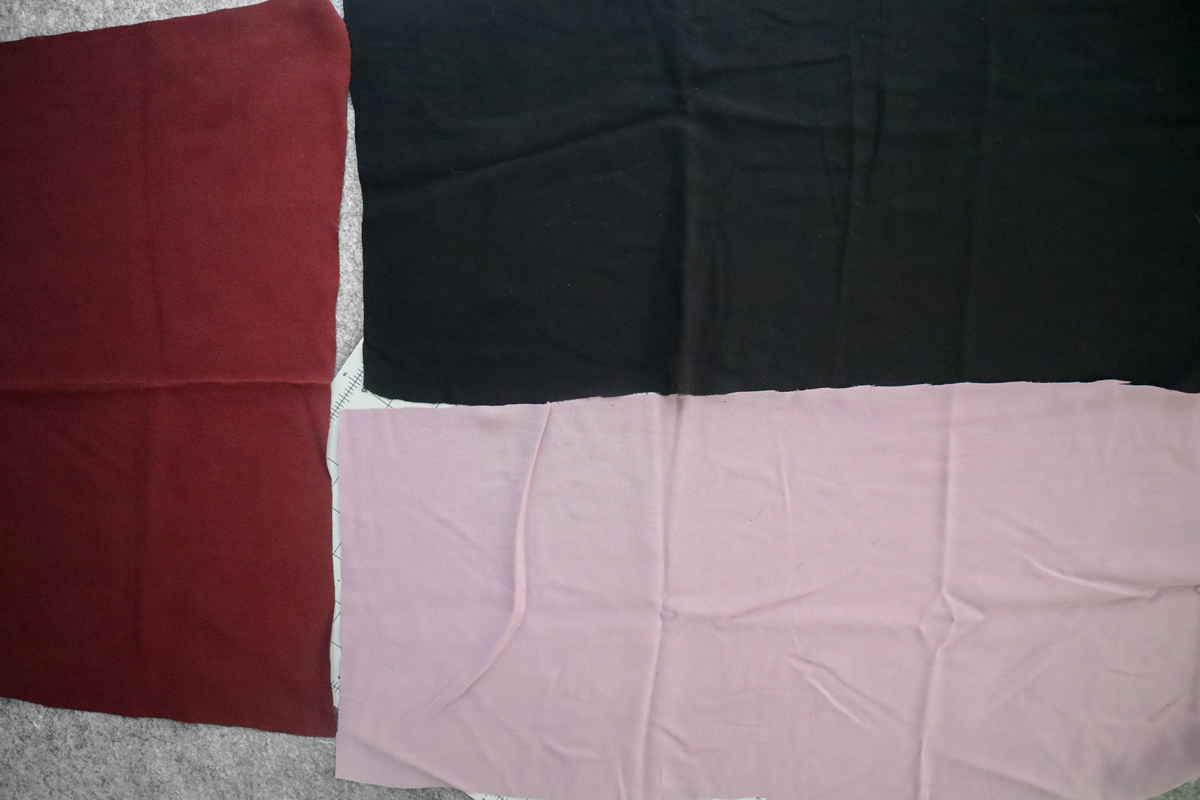
Now on to the back. The top half will be cut once on the fold. The bottom half should be mirror images in your two colors.
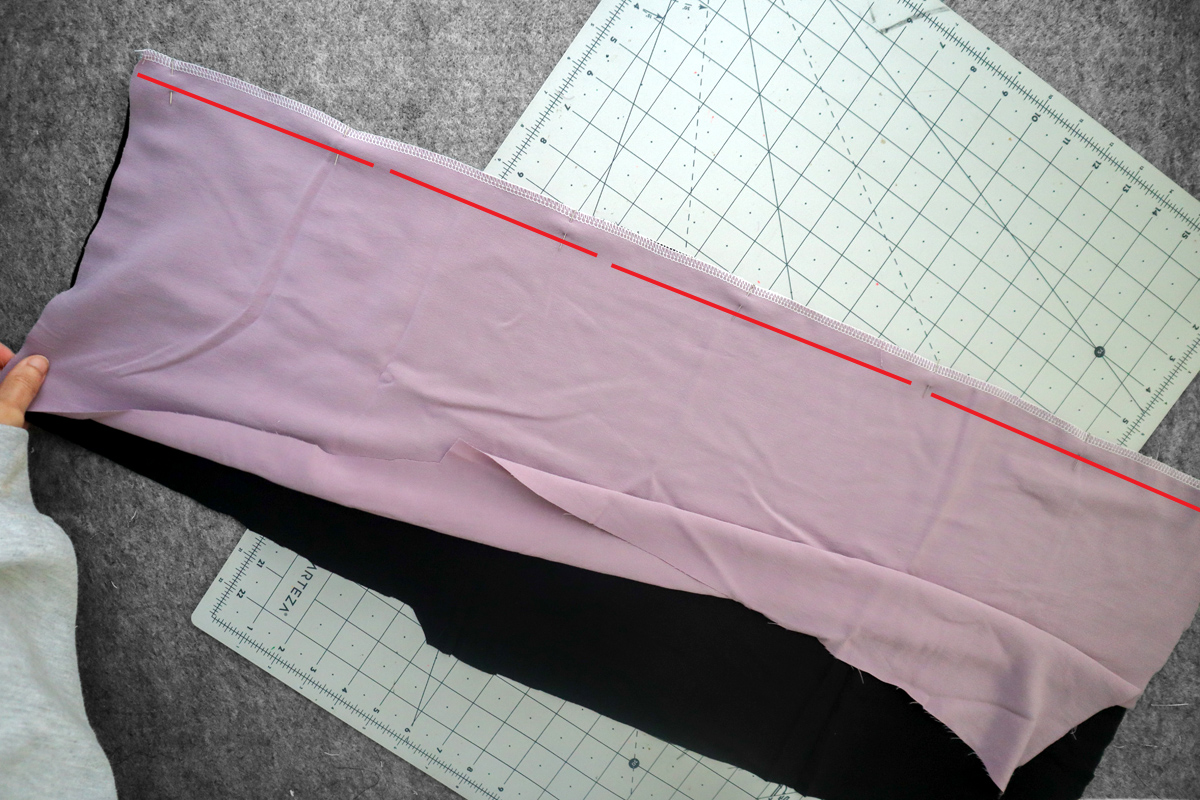
Finish the raw edges of each center back separately. Place the back bottom halves on top of each other with right sides together. Line up the raw edges, and sew 5/8″(1.5cm) from the raw edge.
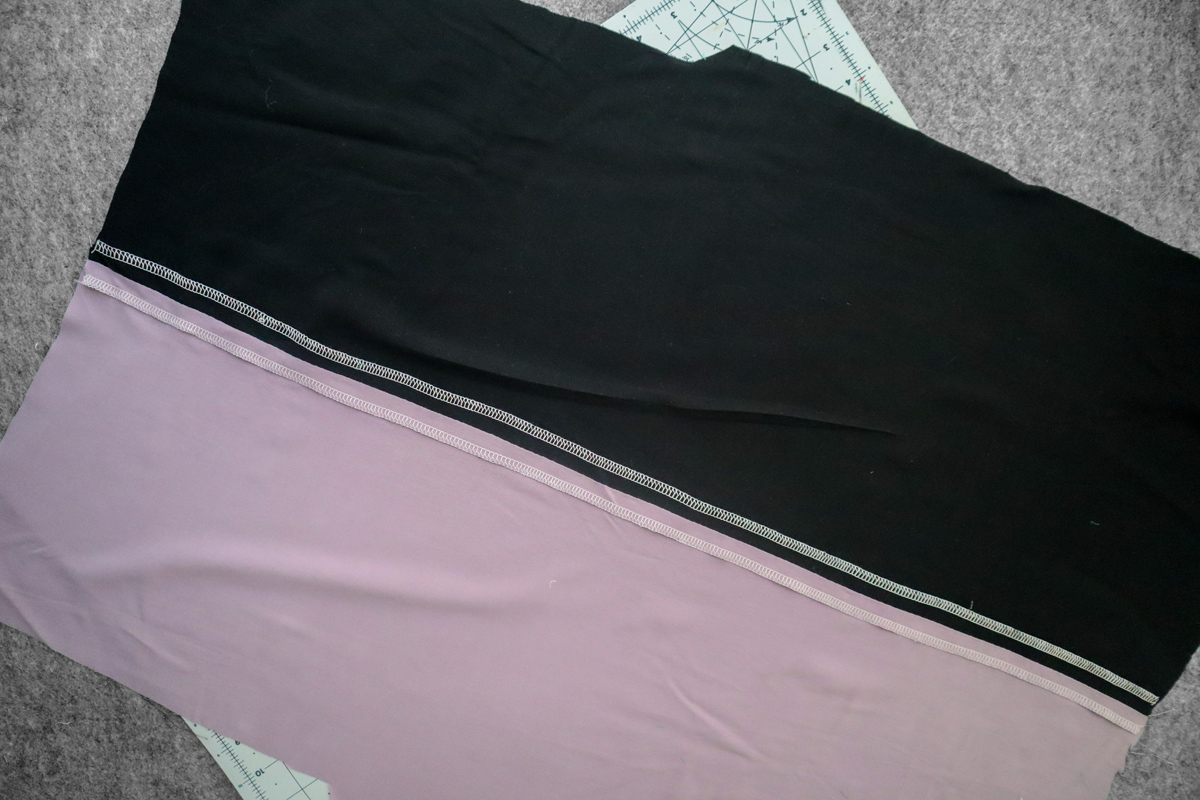
Press the seam open.
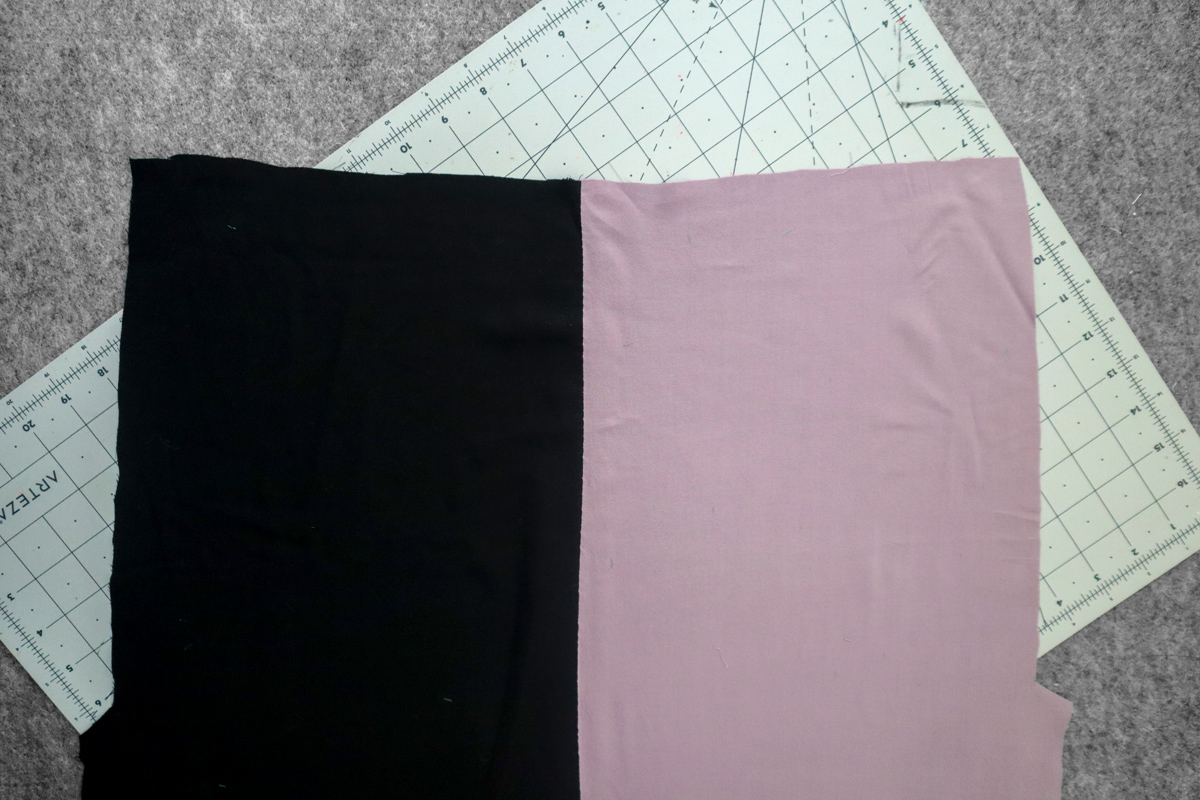
And here it is from the front.
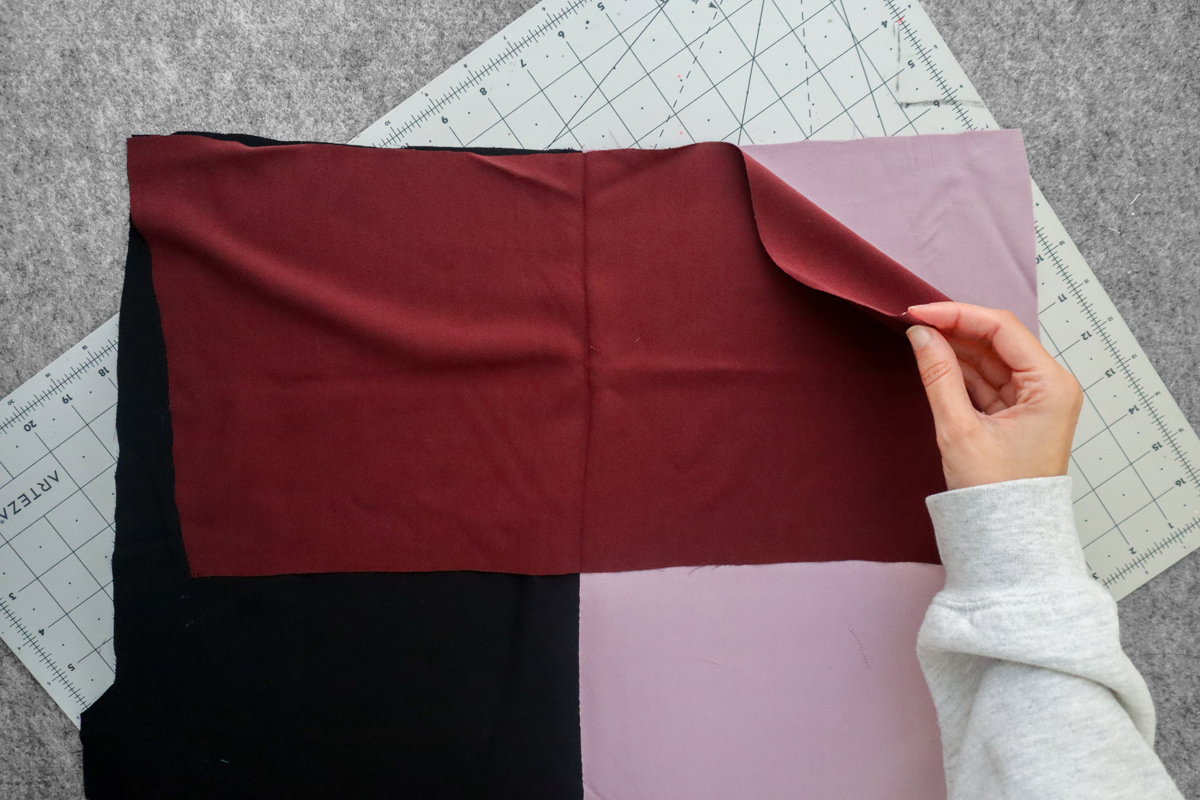
With right sides together, place the back top half on top of the bottom half, lining up the raw edge.

Pin in place, and sew 5/8″(1.5cm) from the raw edge.

Finish the raw edge with your preferred method and press the seam down.
You can now attach your back facing as directed in the instructions.
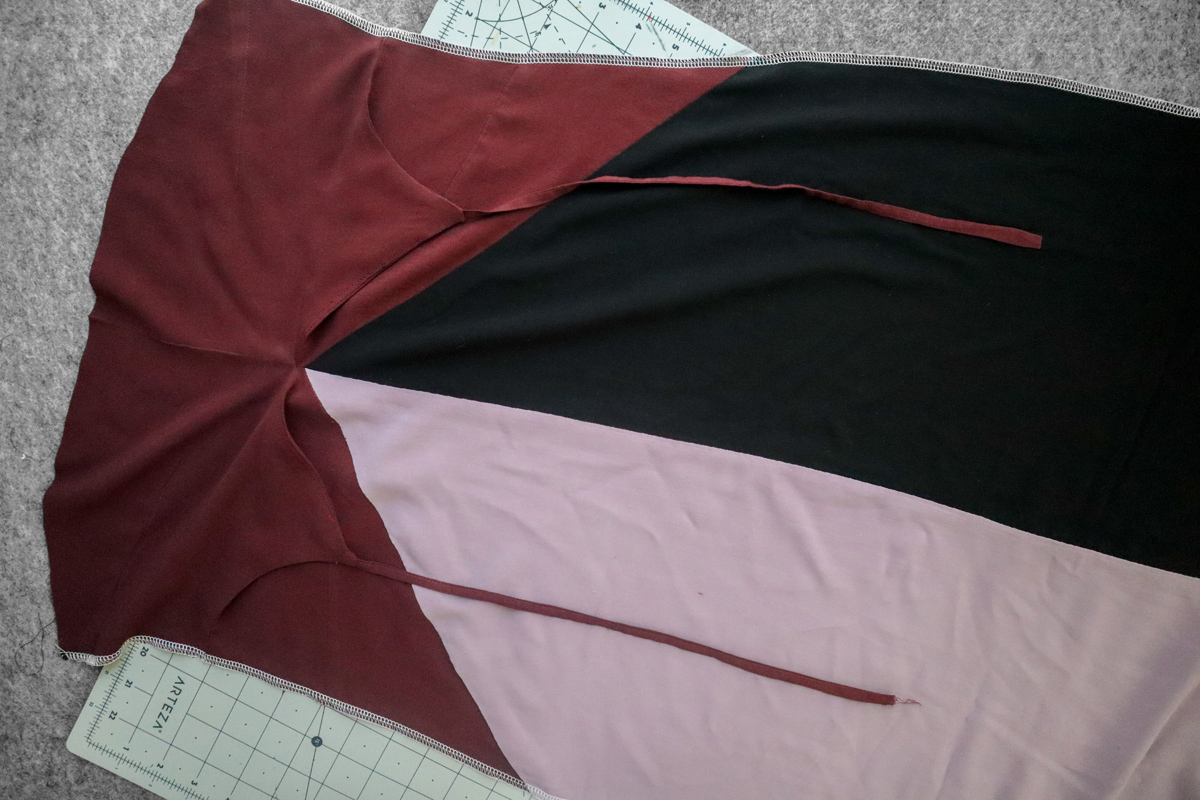
Lay your dress front down in front of you with the facing flipped up and flat, right side of the fabric facing up.

Place your back dress down on top of it, facing flipped up and flat, with right sides of the fabric together.
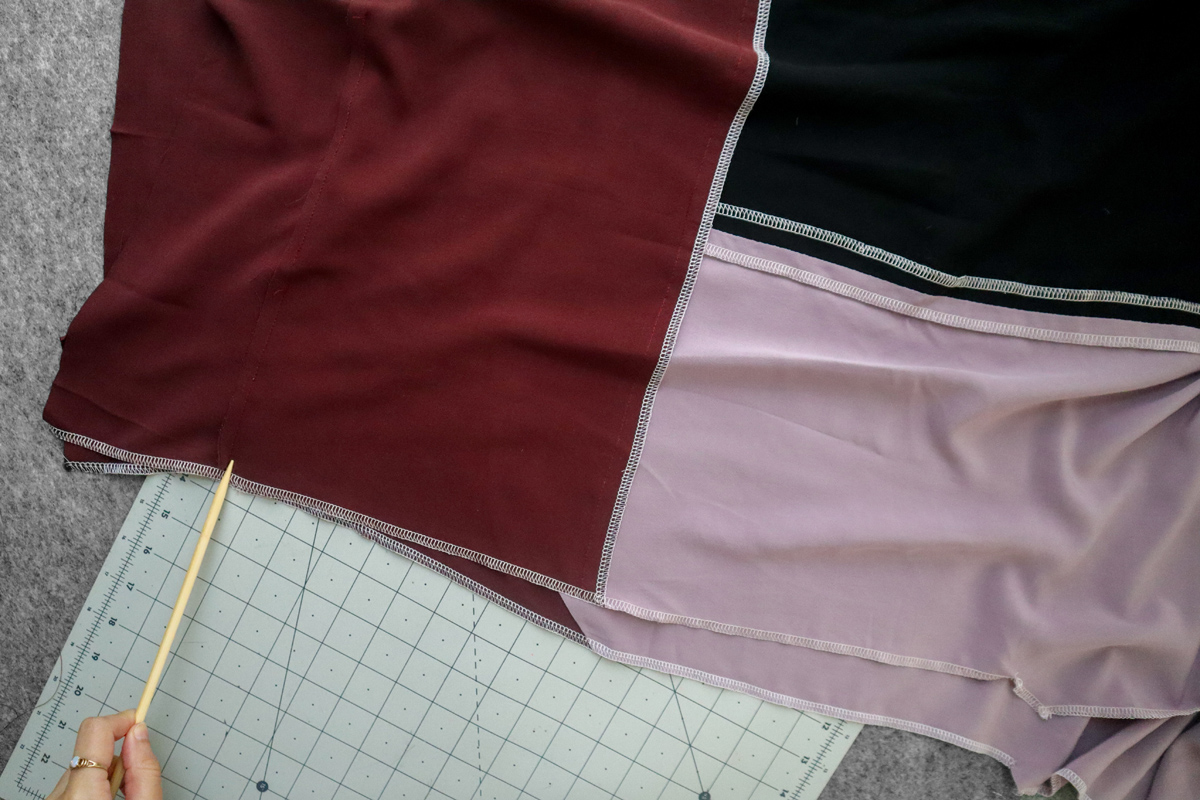
Its time to sew the side seams. but in addition to making sure the facing seams are aligned (what I am point to here), we have another colorblocked seam we want to make sure line up.

This one may be a little trickier since the front seam is angled.
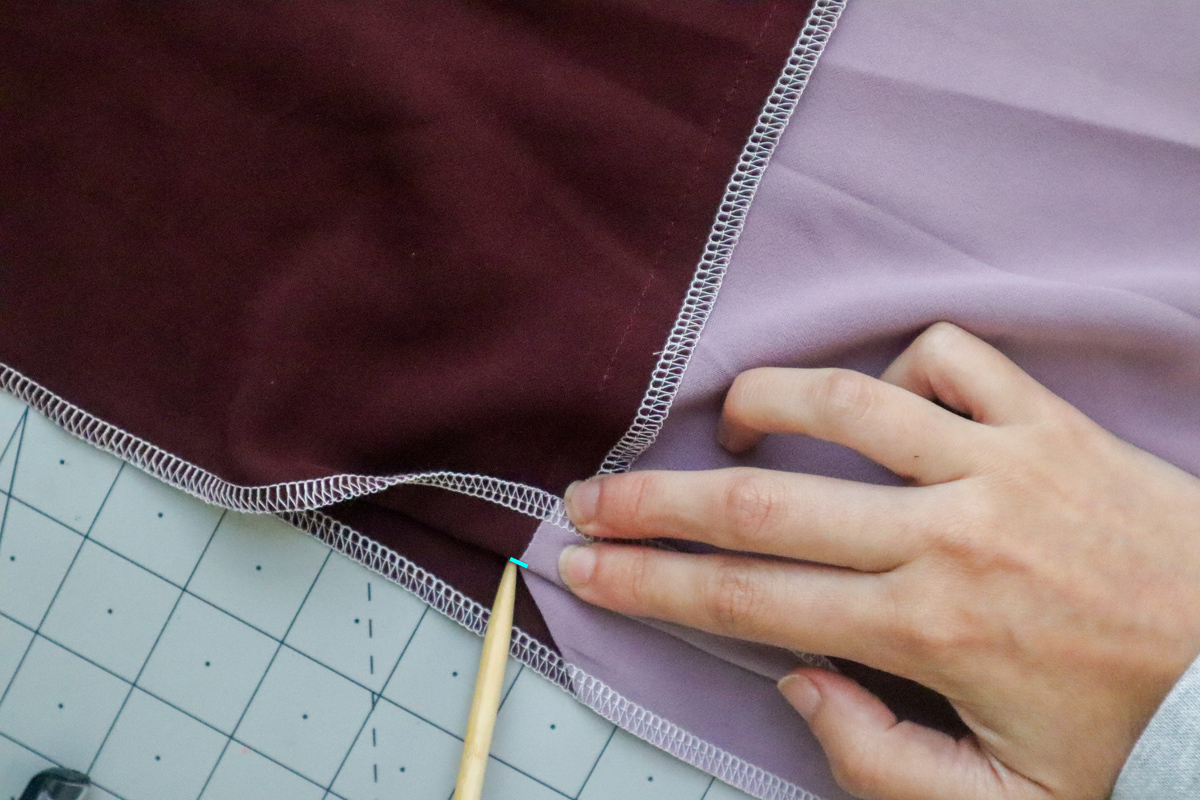
I suggest making a small mark on the back colorblocked seam, right at the 5/8″(1.5cm) seam line, using a fabric marker or something similar. IT will then be easier to line up with the front colorblocked seam.
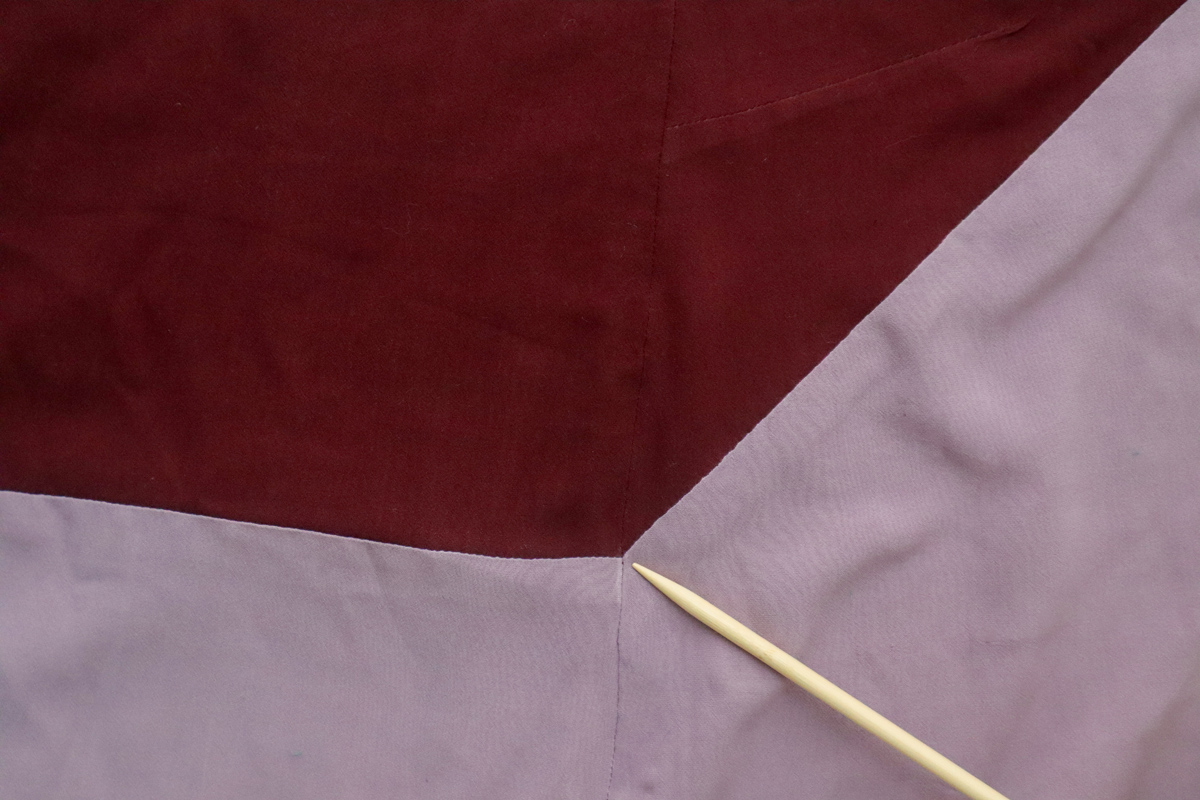
Once your sure that point is lined up correctly, you can line up the rest of the raw edge and sew your side seam (and optional pockets) as directed in the instructions.
Again, look how neat these points line up when you take extra care!
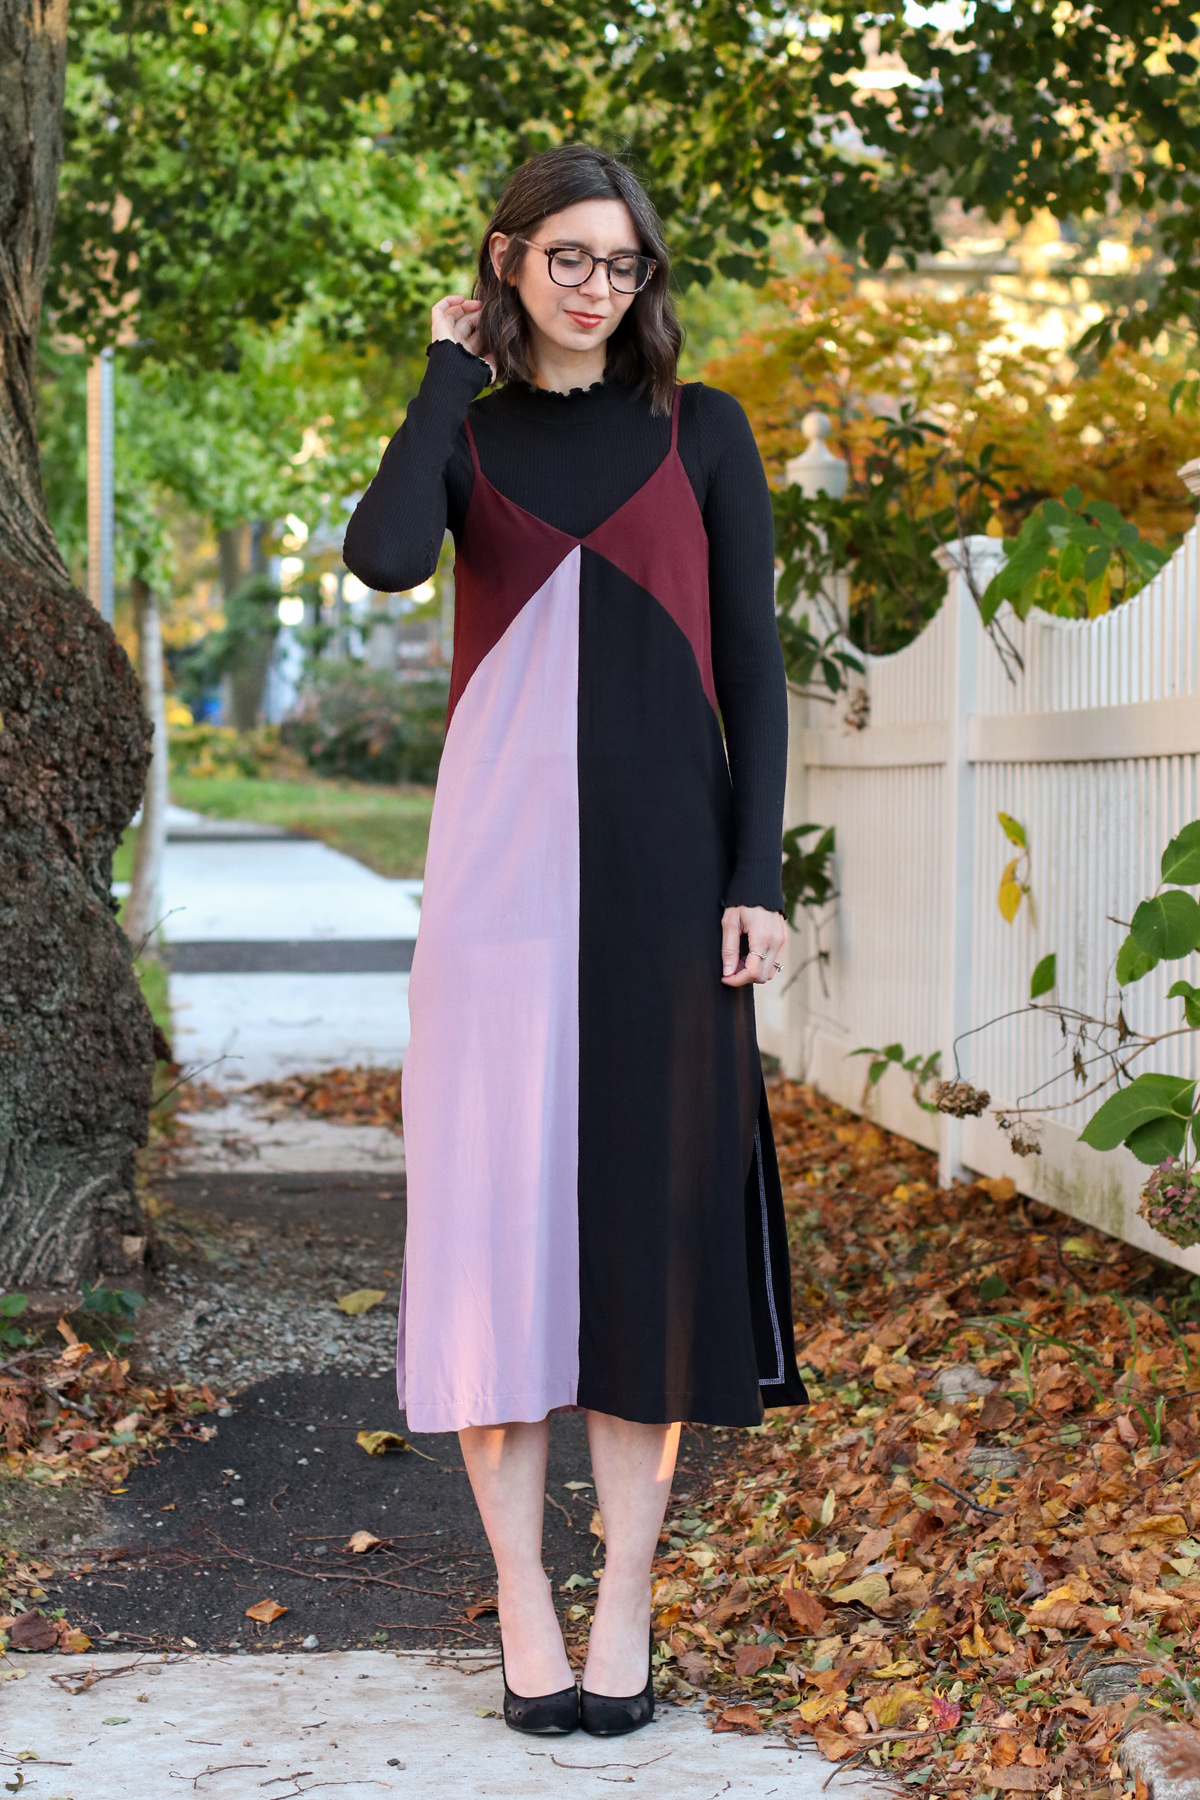
You can now finish sewing the rest of your dress following the regular instructions.
LOOKING FOR MORE MARRI POSTS?
- How to choose between Marri & Marri Curve
- Marri Inspiration & Ideas
- Marri Sewalong : Joining pattern pieces
- Marri Sewalong : Darts & Staystitching (all views)
- Marri Sewalong : View A Straps, facings and side seams
- Marri Sewalong : View A Cami hem facing
- Marri Sewalong : View B (All steps)
- Marri Sewalong : View C Straps & facing
- Marri Sewalong : View C Pockets, side seams and finishing the straps and facing
- Marri Sewalong : View C Hem & slits
- Marri Bonus : French seams
- Marri Hack : Colour blocked (this post!)
- Marri Bonus : Fabric belt & thread chain loops
Don’t have the pattern yet?