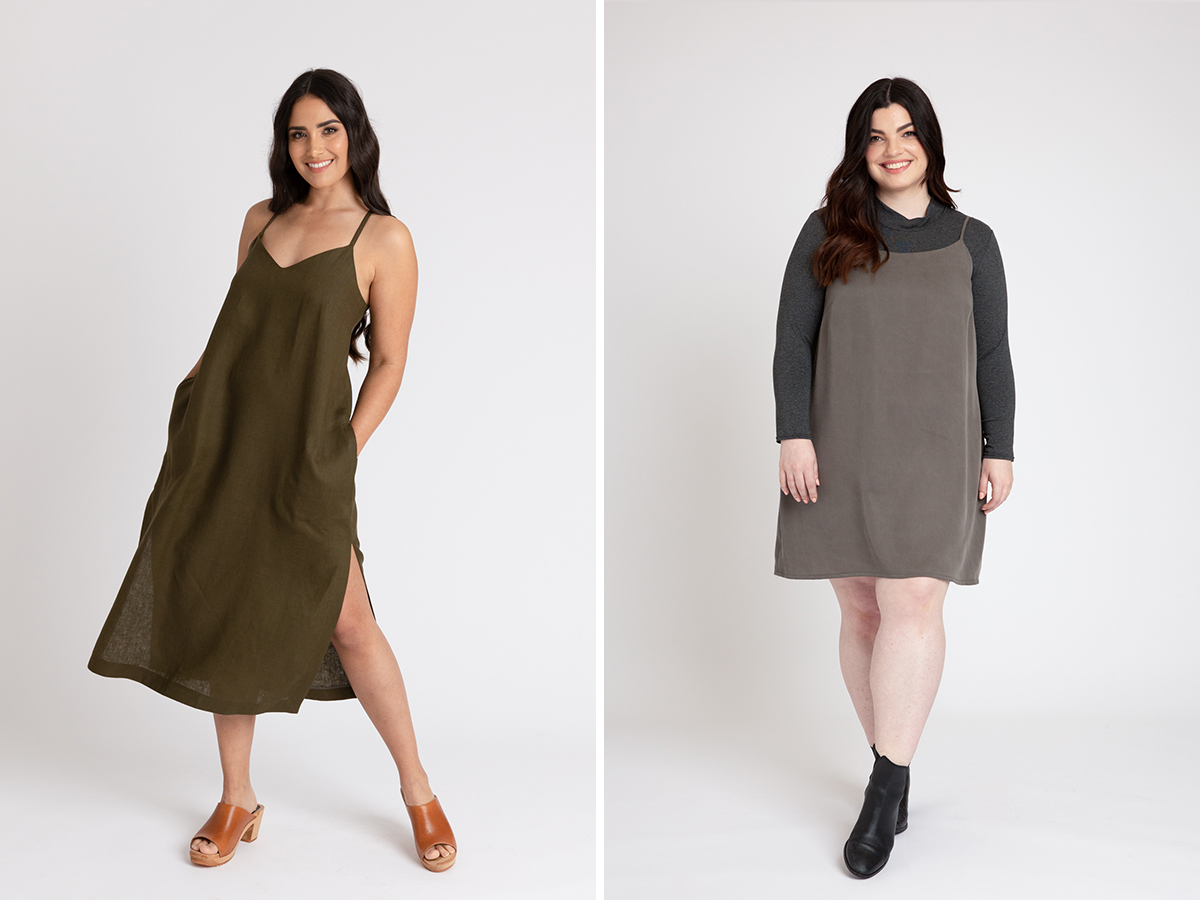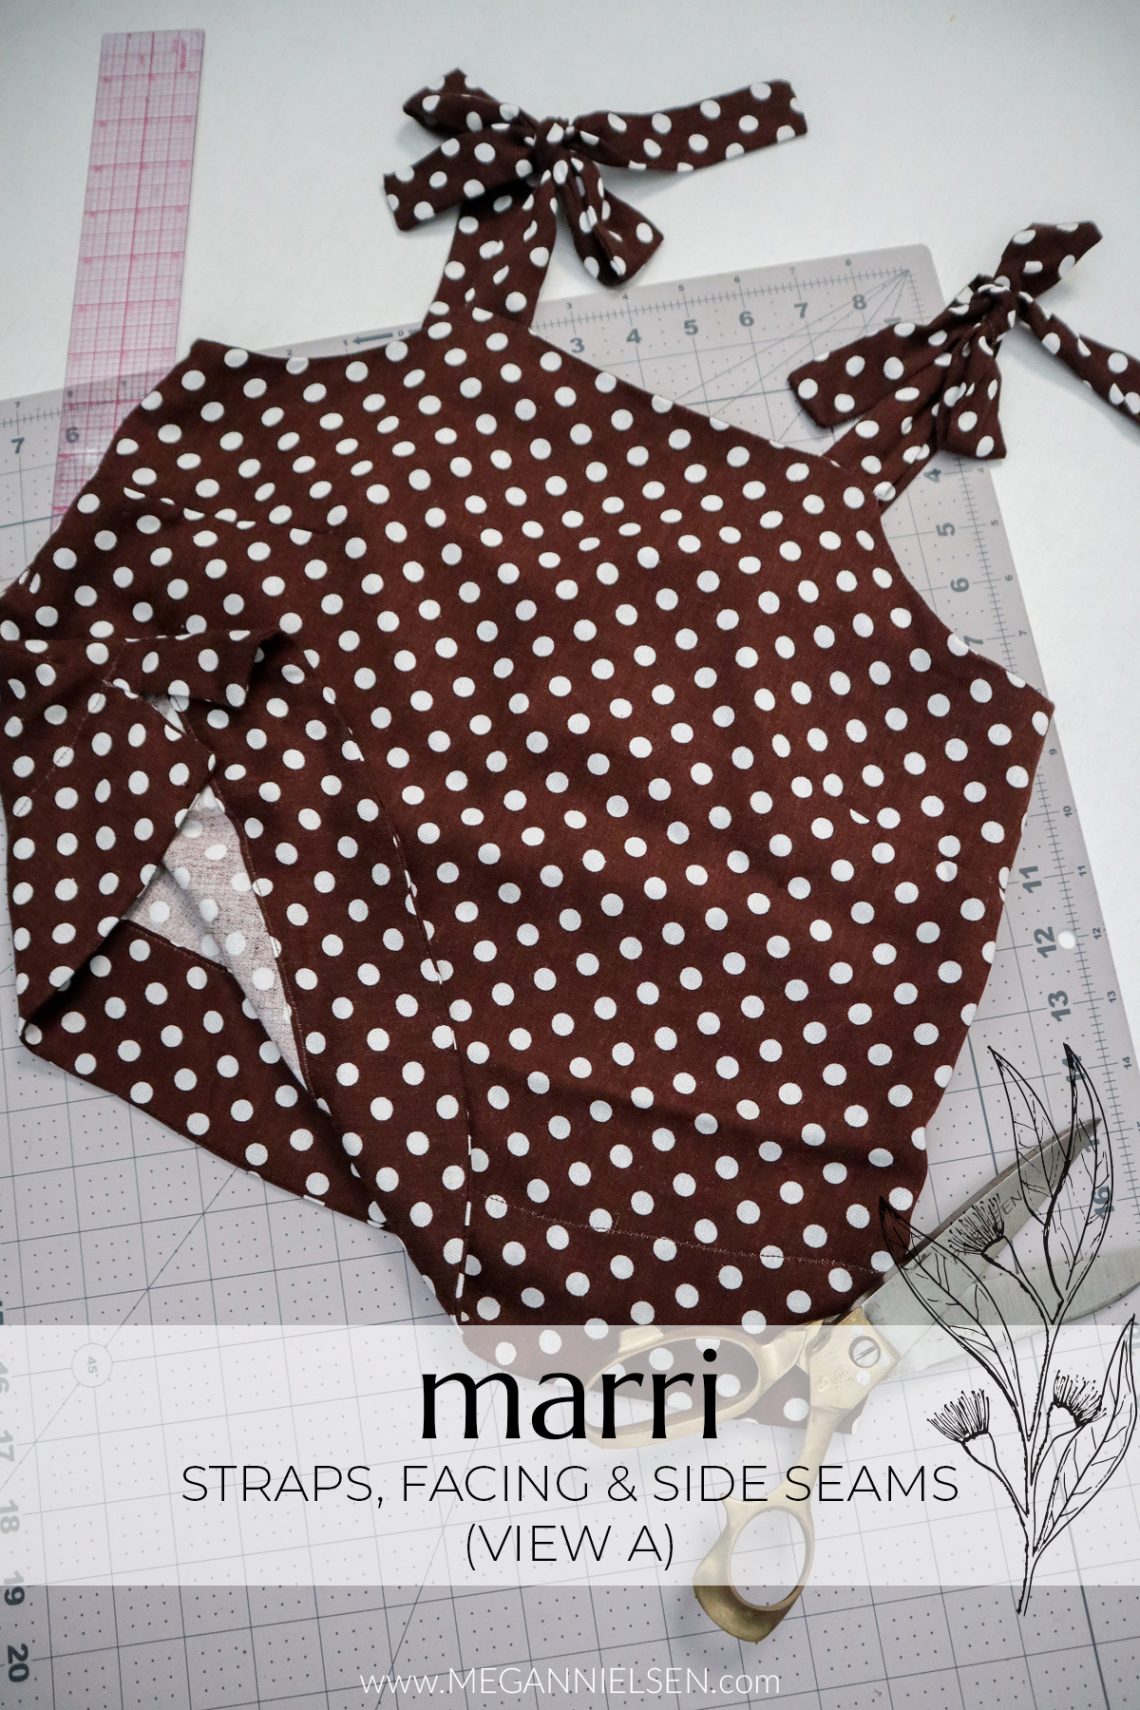

Today, we’ll be working on View A of the Marri pattern!
*Because of the mix-and-match nature of this pattern, there are many different variables to go over for construction. It’s the best, organizational wise, to keep the posts grouped together for each individual view. So while I’ll be going over a straight View A here (square neckline, wide straps, camisole length), feel free to mix and match steps from this post with other steps that will be included later on for other views!
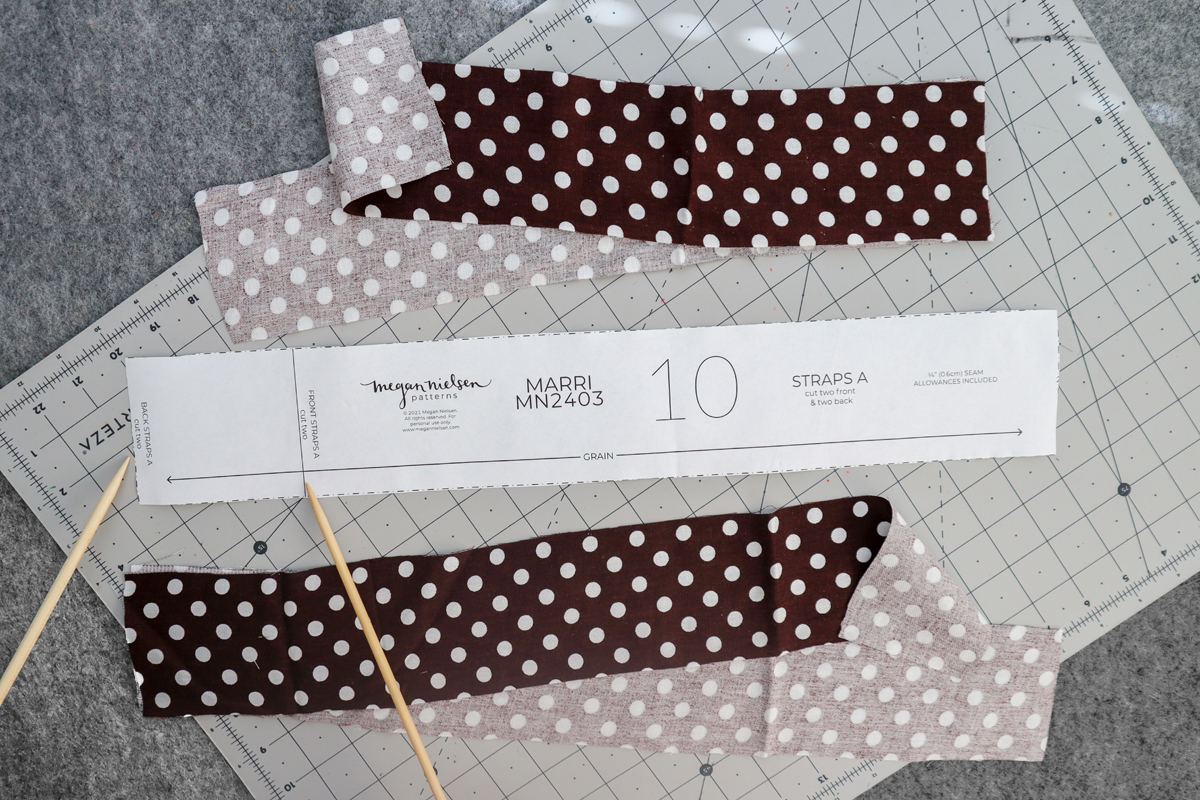
View A uses the wide tie straps. You can also use the thinner straps (View B + C) with the square neckline. But I’ll be going over the wide straps now.
On the pattern piece for the wide straps, you will notice that there are two cutting lines. One line for the front straps, and one line for the back straps. Make sure that you cute one pair at each cutting line (two of each, four total).
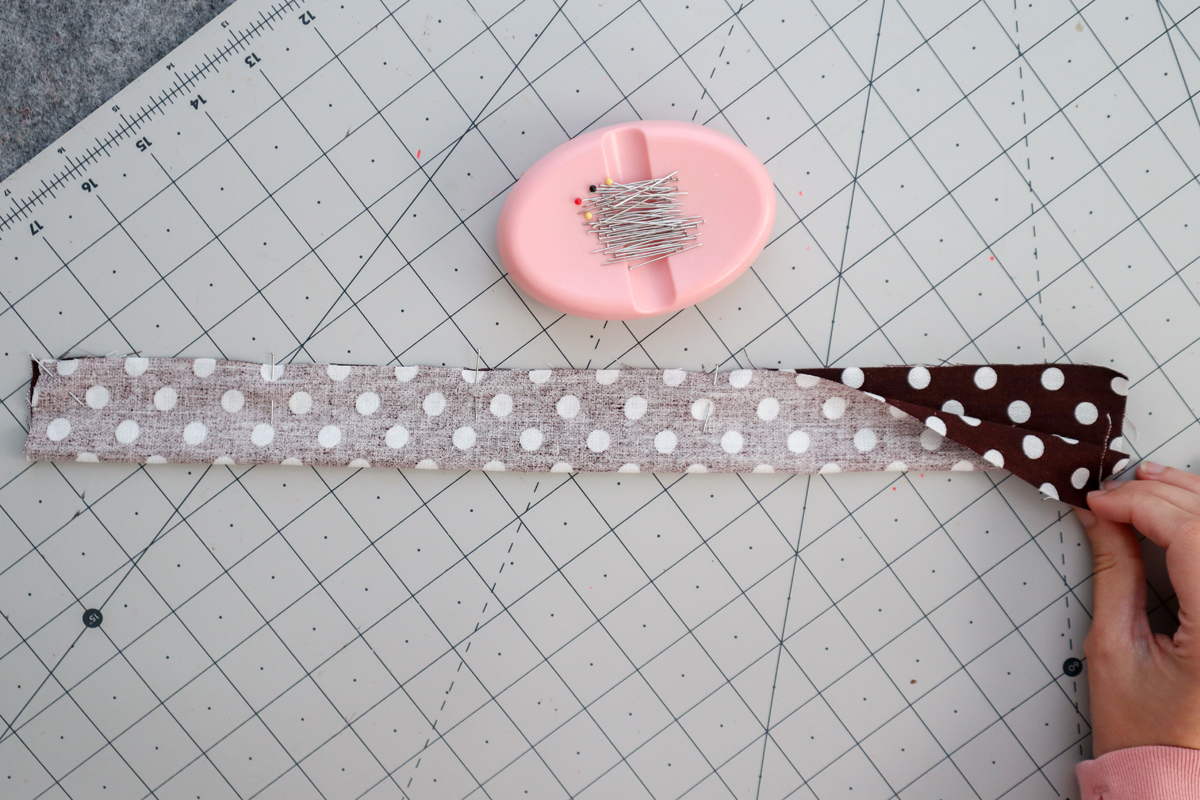
Take each of the four straps, and fold in half, with right sides together.
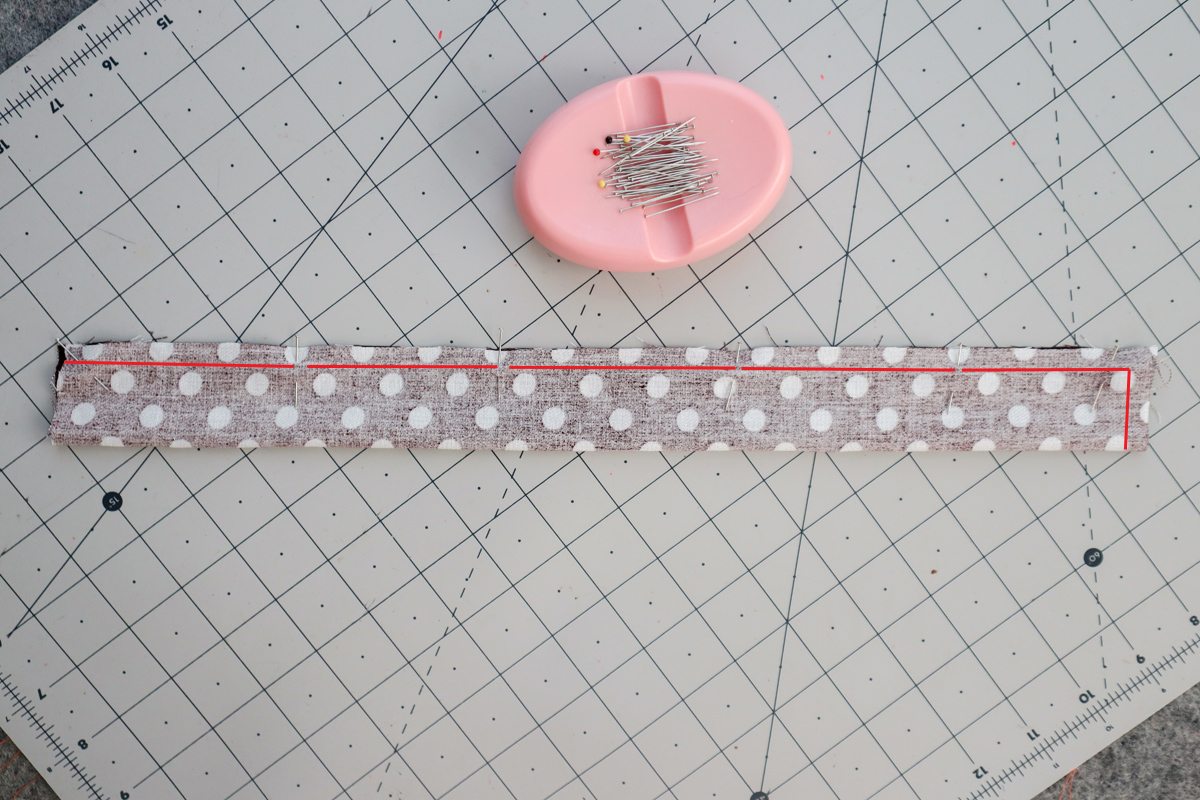
Sew each one along the long raw edge, pivot, and sew along one of the short ends. 1/4″(6mm) away from the raw edge. Leave one short end open.
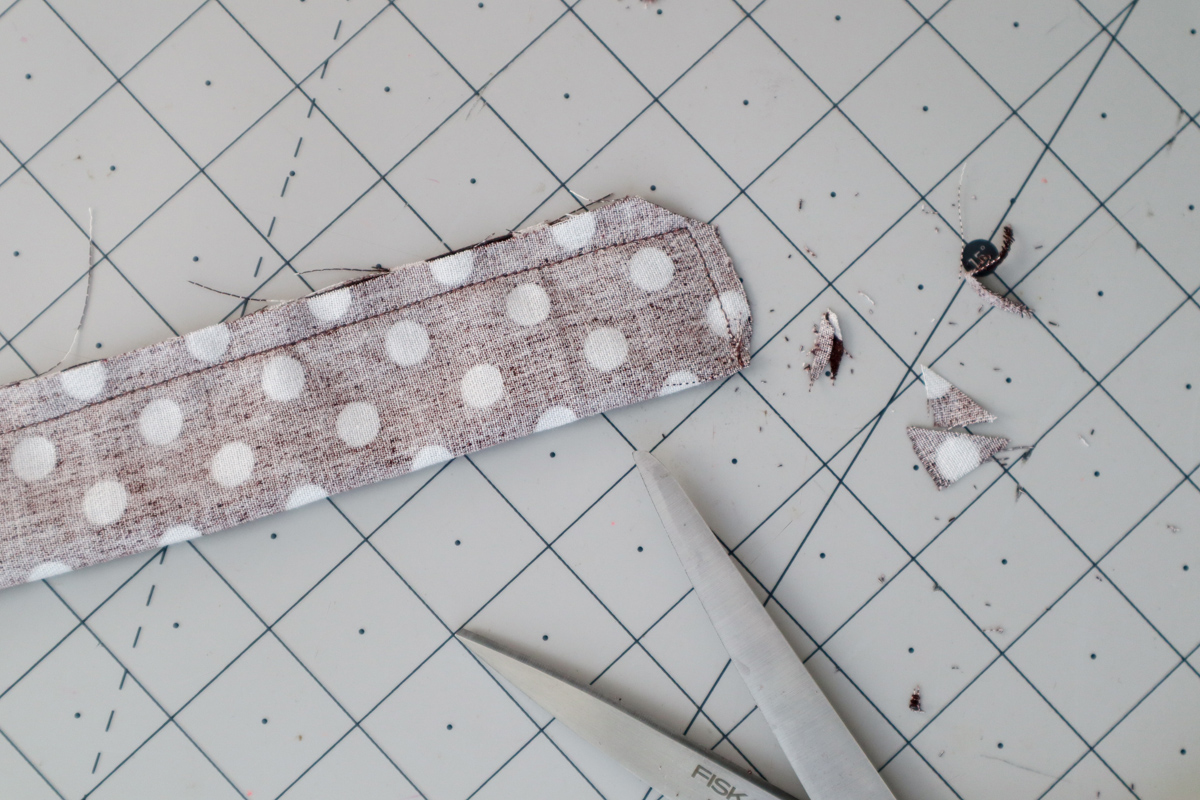
Trim the corners of the seam allowance on each strap.
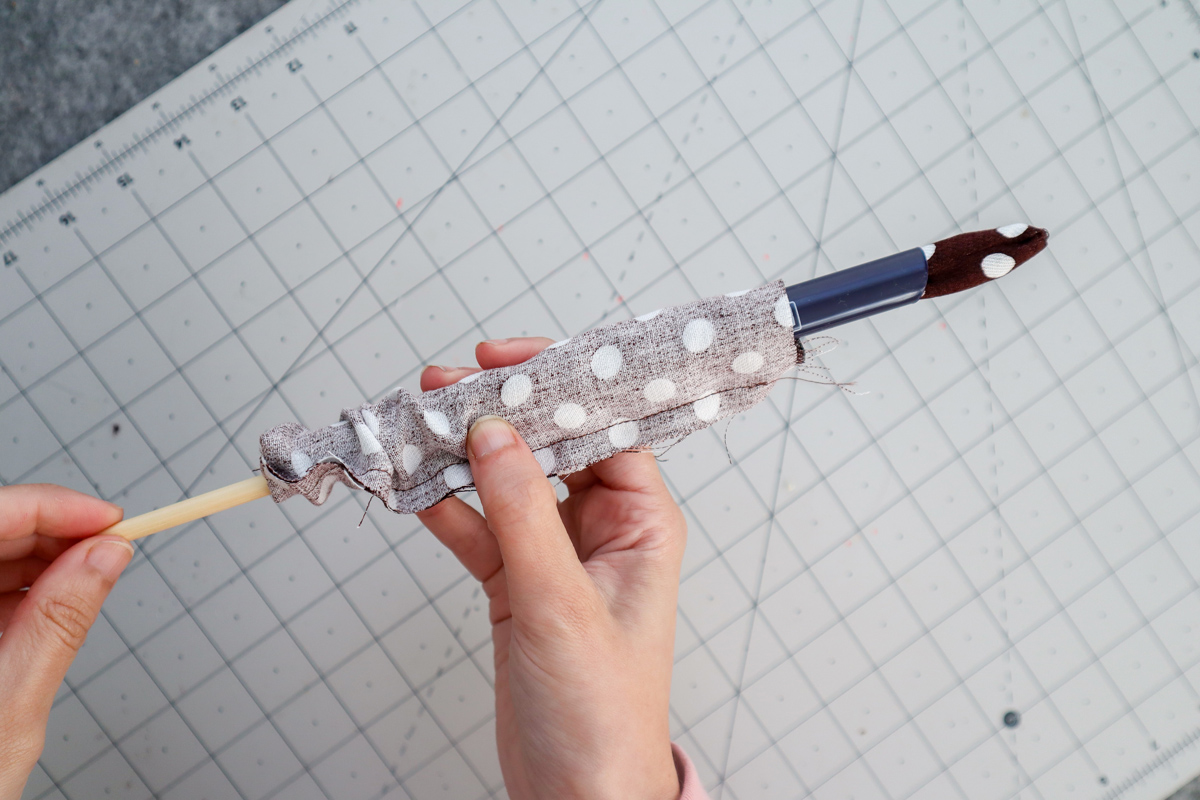
Turn each strap right side out, using a turning tool, safety pin, or blunt object.
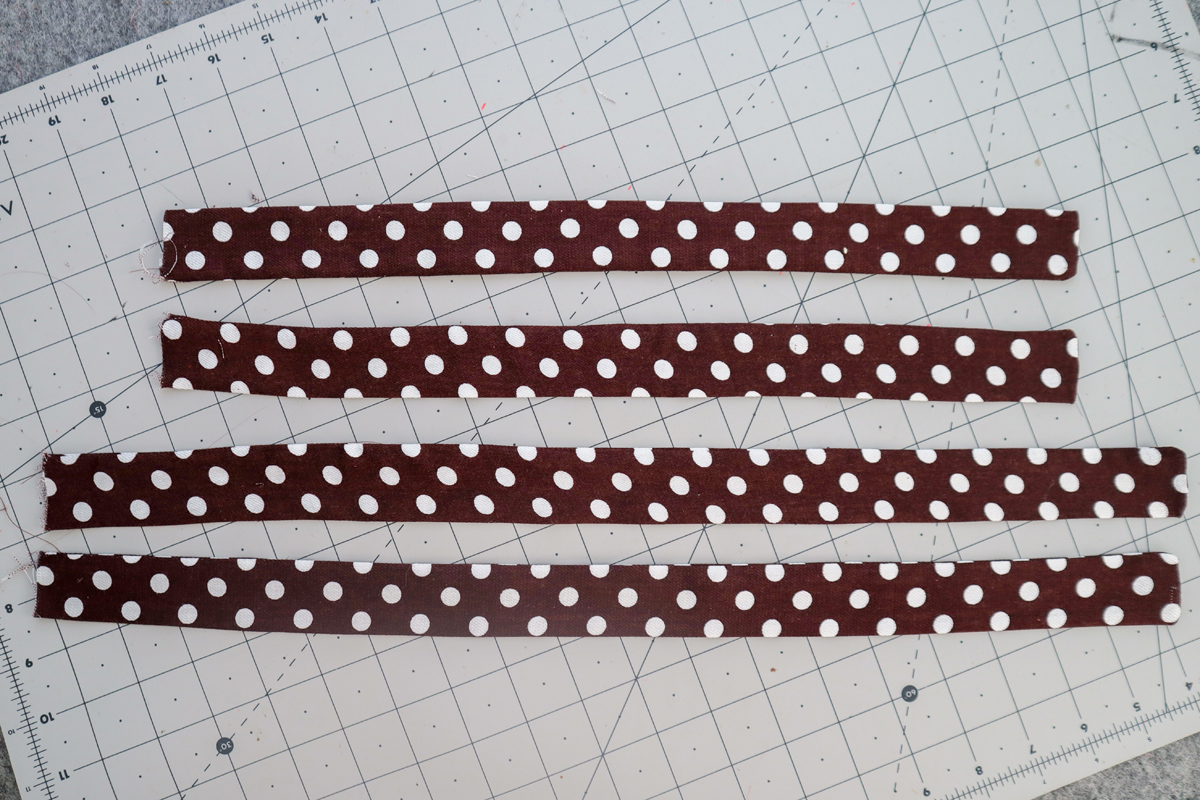
Press each strap well.
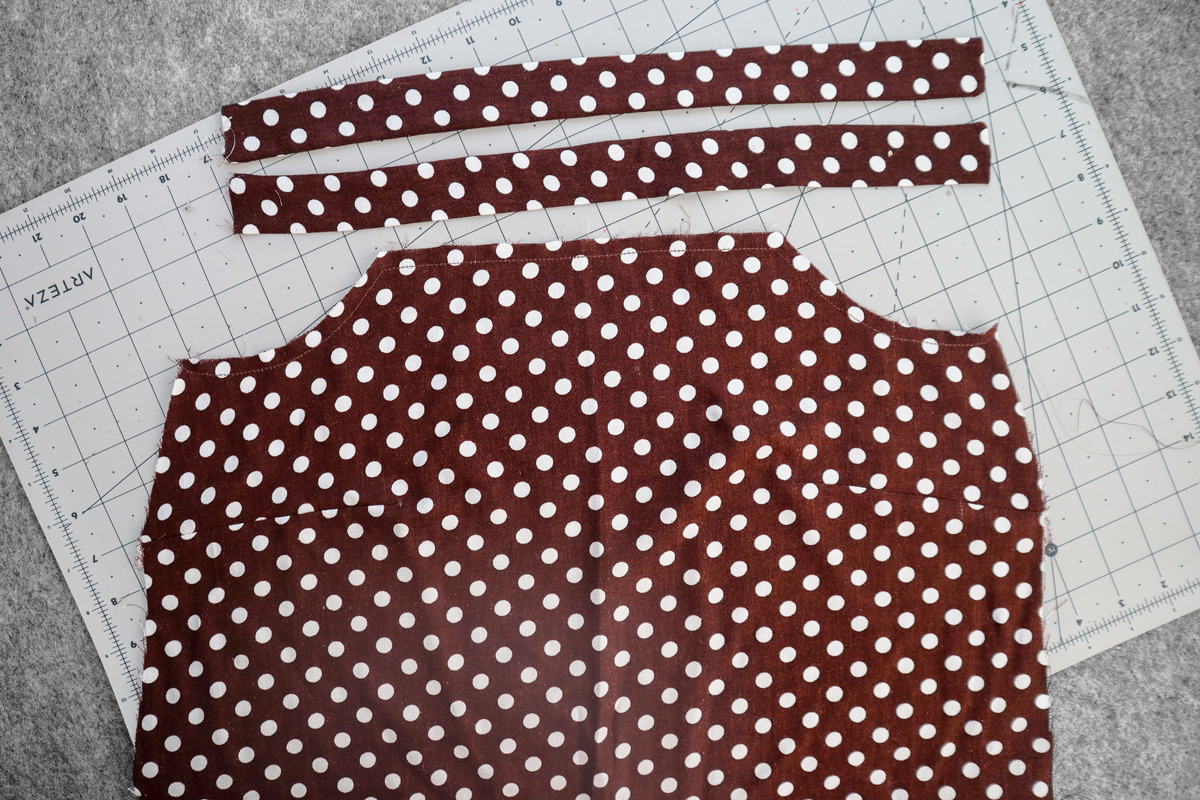
Now lay down your square neck front bodice, with right side of the fabric facing you. Grab your front straps (the shorter ones). Make sure they are the front ones!
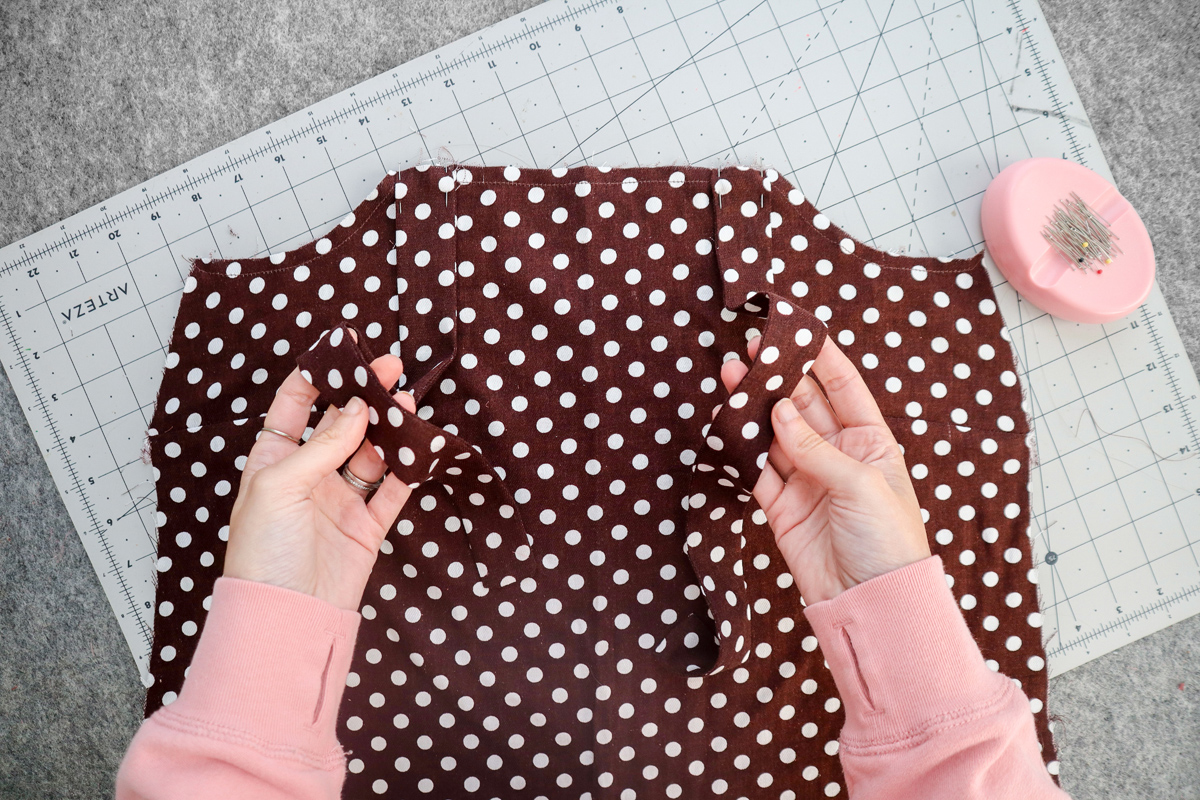
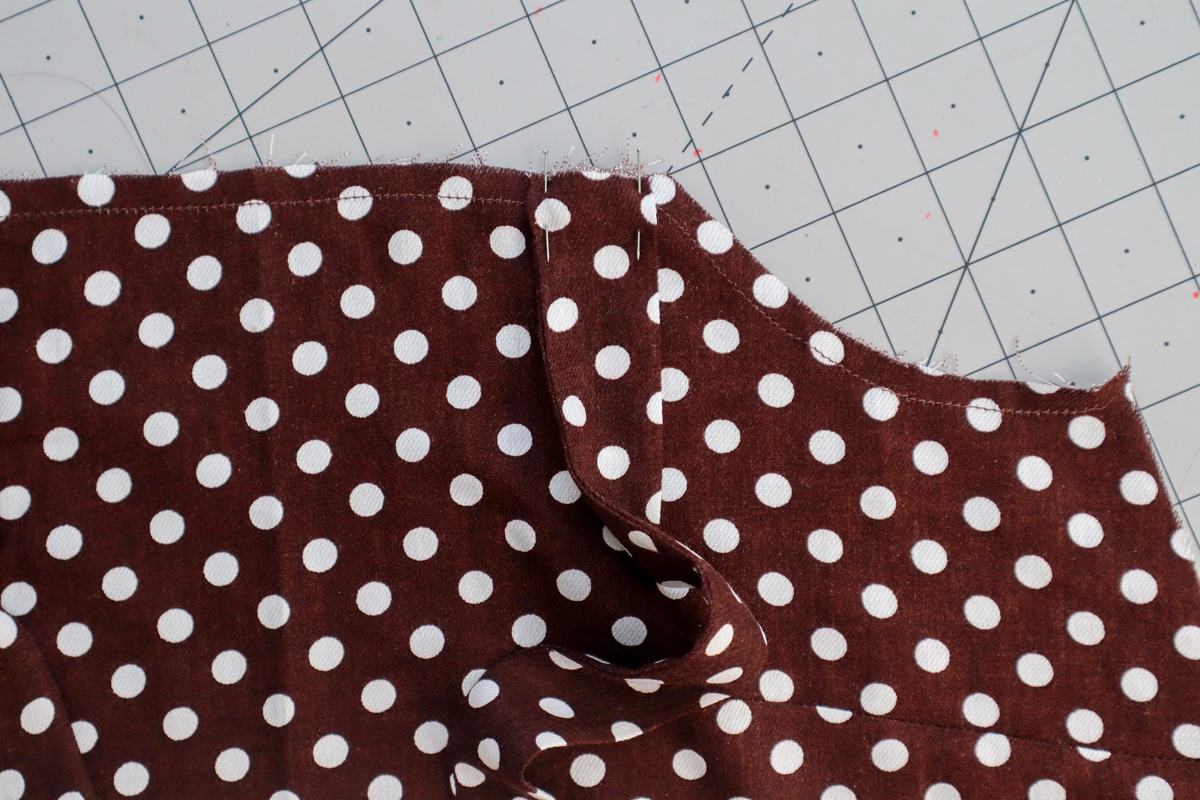
Lay your straps down onto the bodice, so that the open short end lines up with the raw edge of the neckline, and the edge of each strap lines up with the corner of the staystitching (1/4″(6mm) away from the raw edge of the armhole).
Pin in place. You can also choose to baste stitch in place, or just keep them pinned).
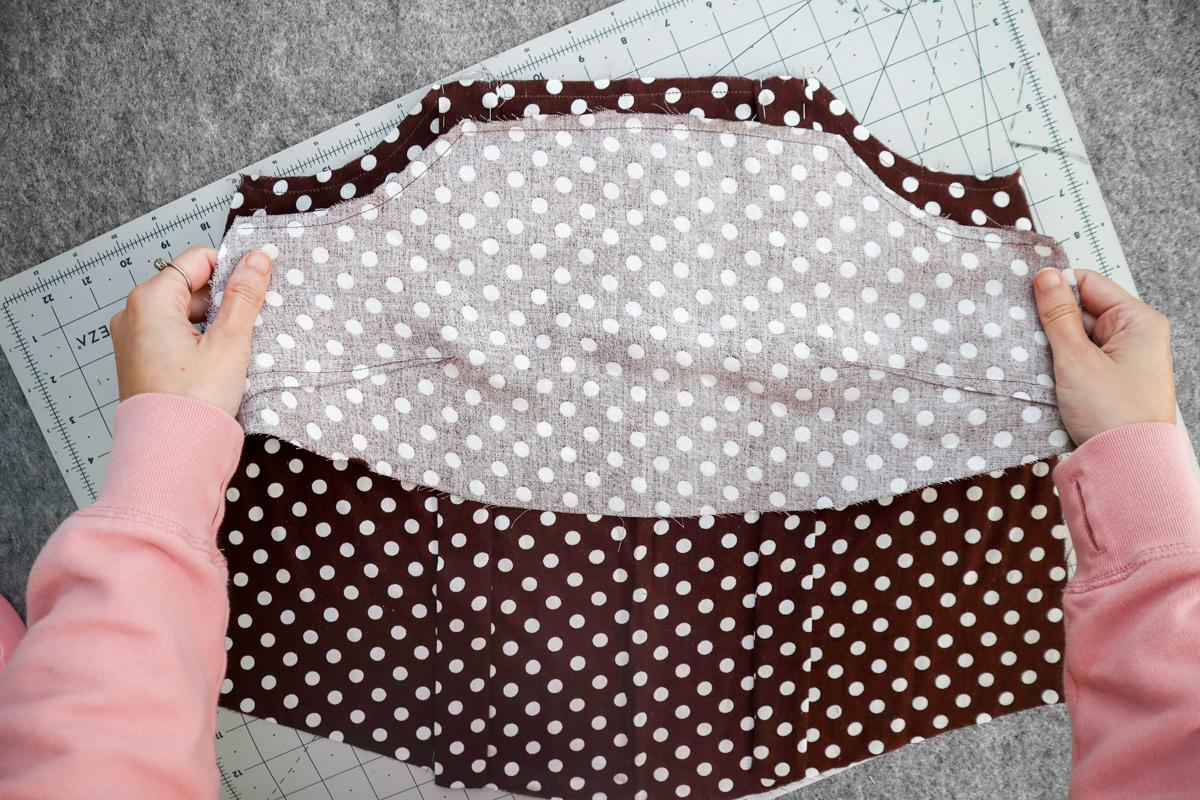
Now take your front facing, and place down on top of your bodice with right sides together.
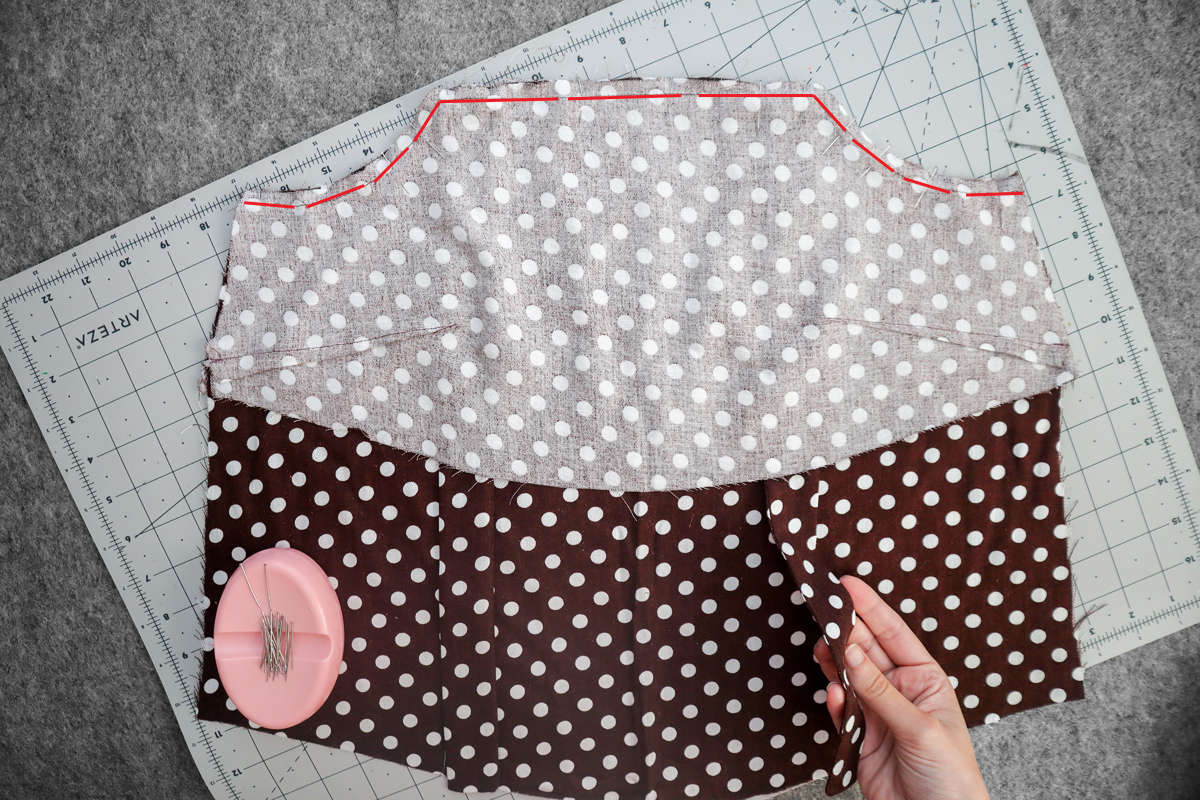
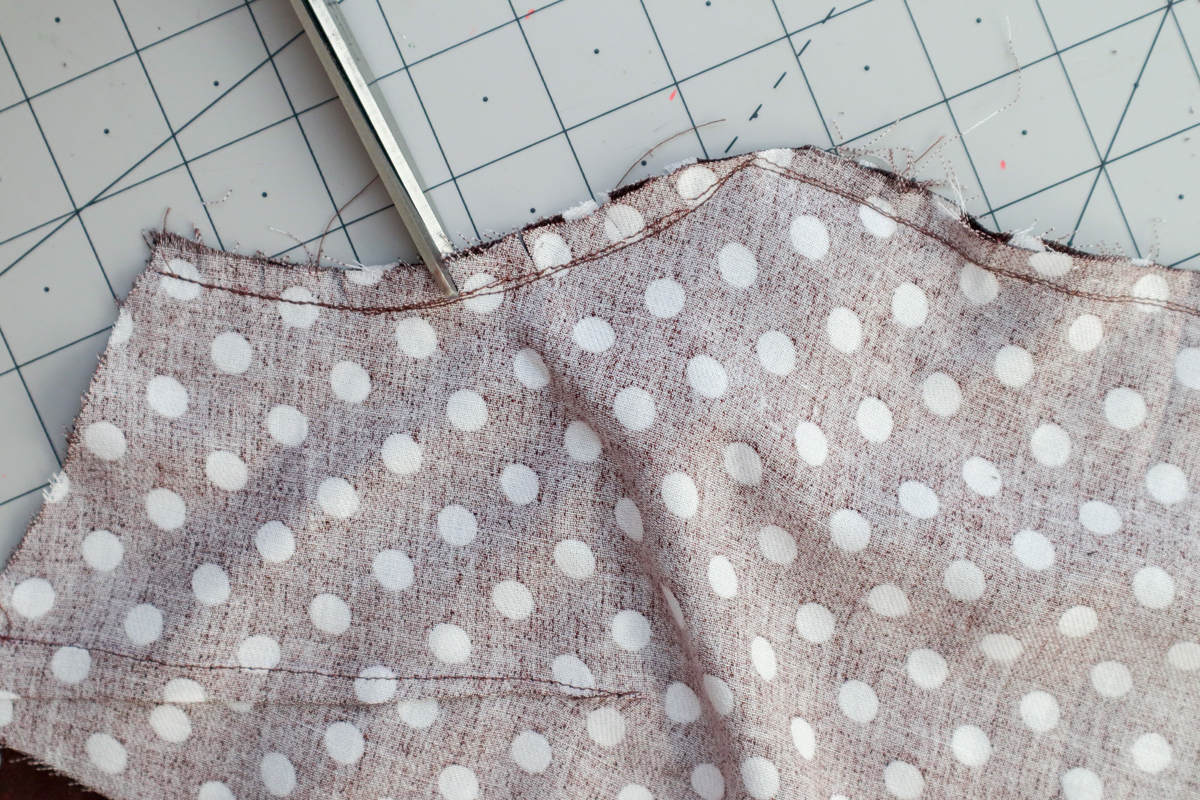
Line up all raw edges of the underarms and neckline, and sew together 1/4″(6mm) from the raw edge. The straps will be sandwiched in between.
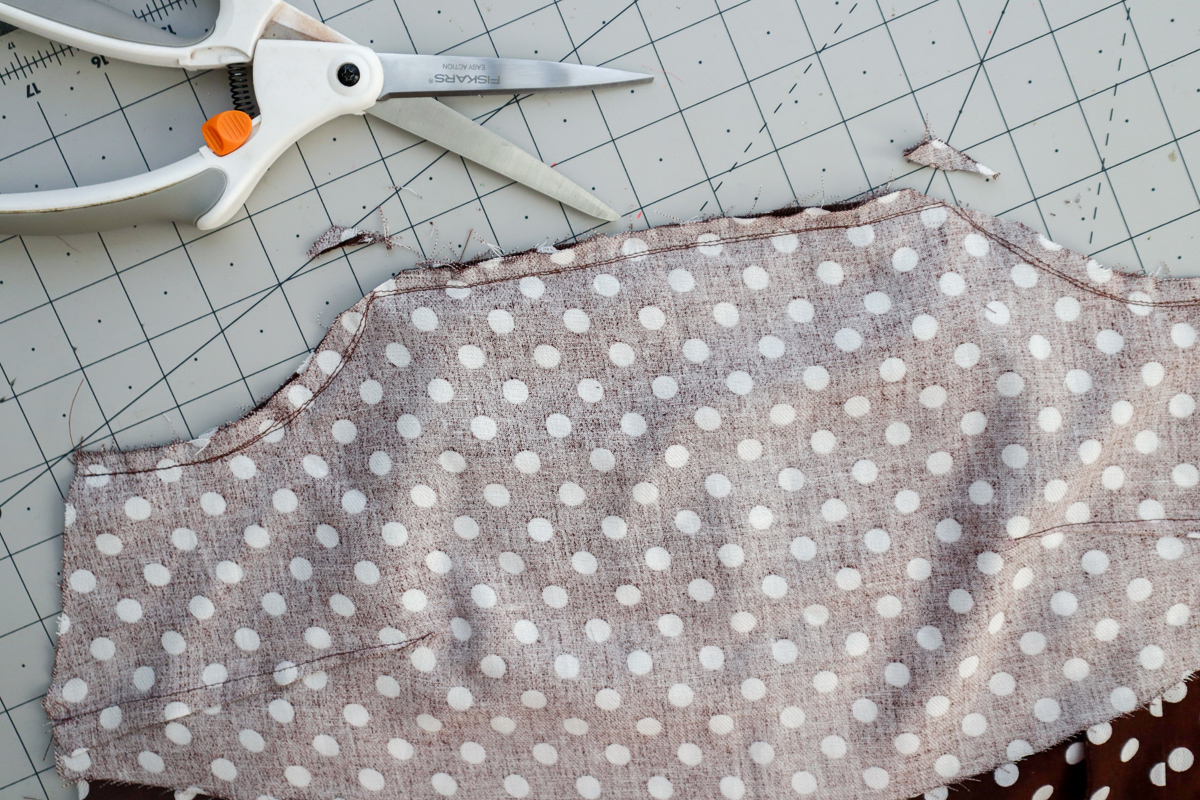
Clip the corners of the square neckline.

Clip into the seam allowance along the curves of the underarms, every inch or so. Make sure you clip up to, not through, the stitching.
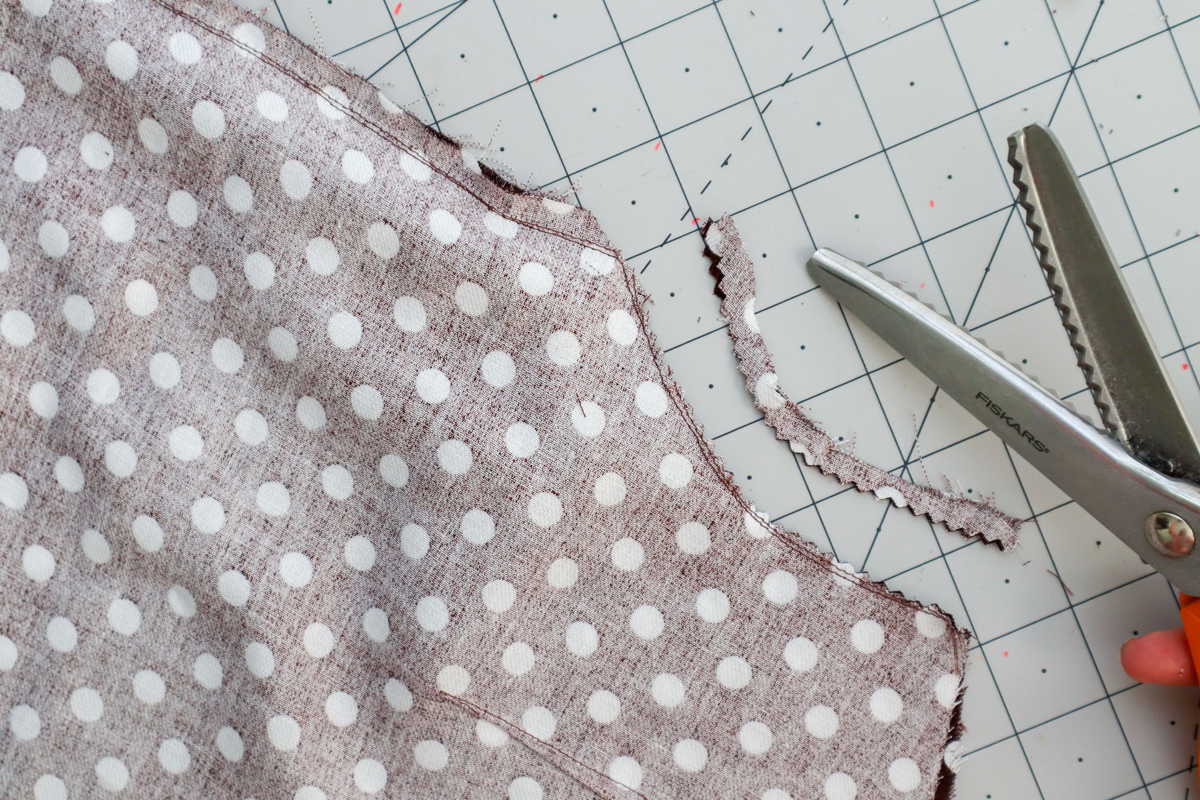
Alternatively, you can use pinking shears, which will automatically clip into the curve as well as trim back the seam.
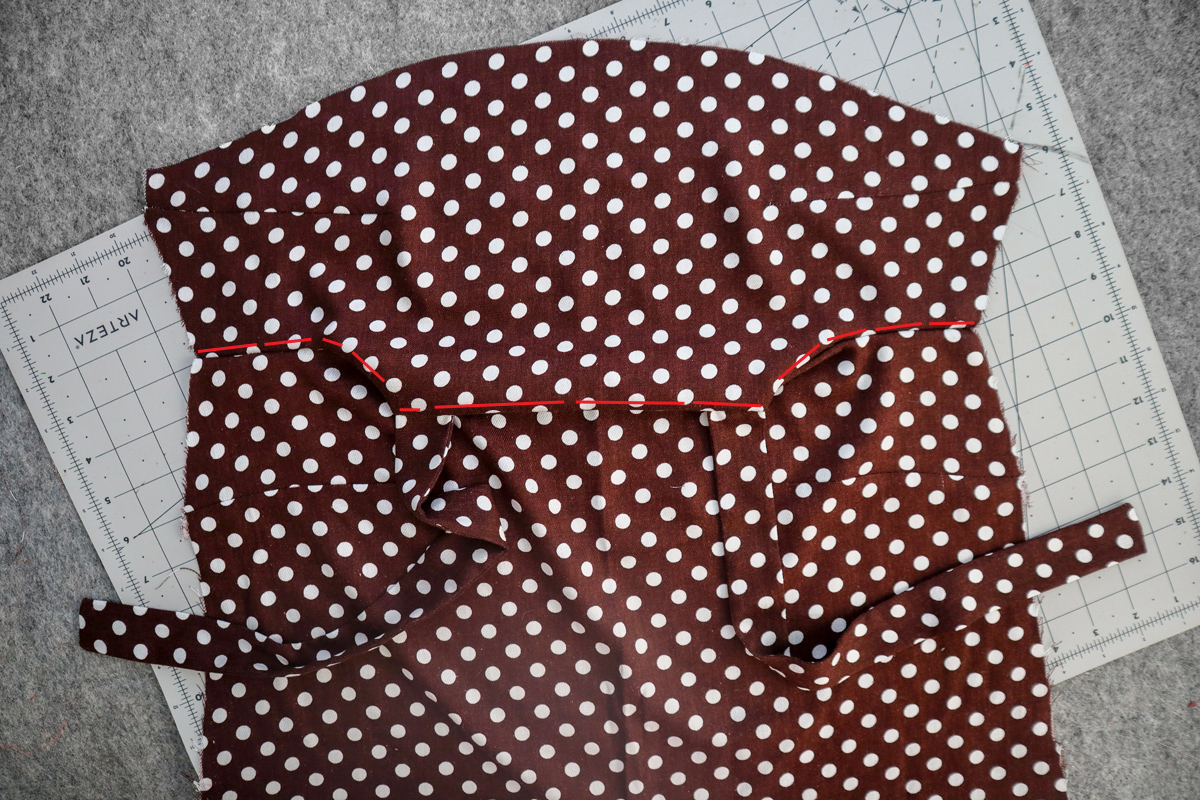
This step is optional, but you can choose to understitch along the underarms and neckline to prevent the facing from rolling to the outside.
To do this, press the seam allowance and facing away from the bodice. On the facing, stitch close to the seam, about 1/8″(3mm) away, through the facing and seam allowance. You won’t be able to understitch the entire thing in one go because of the corners. So just get as close to the corners as you can.
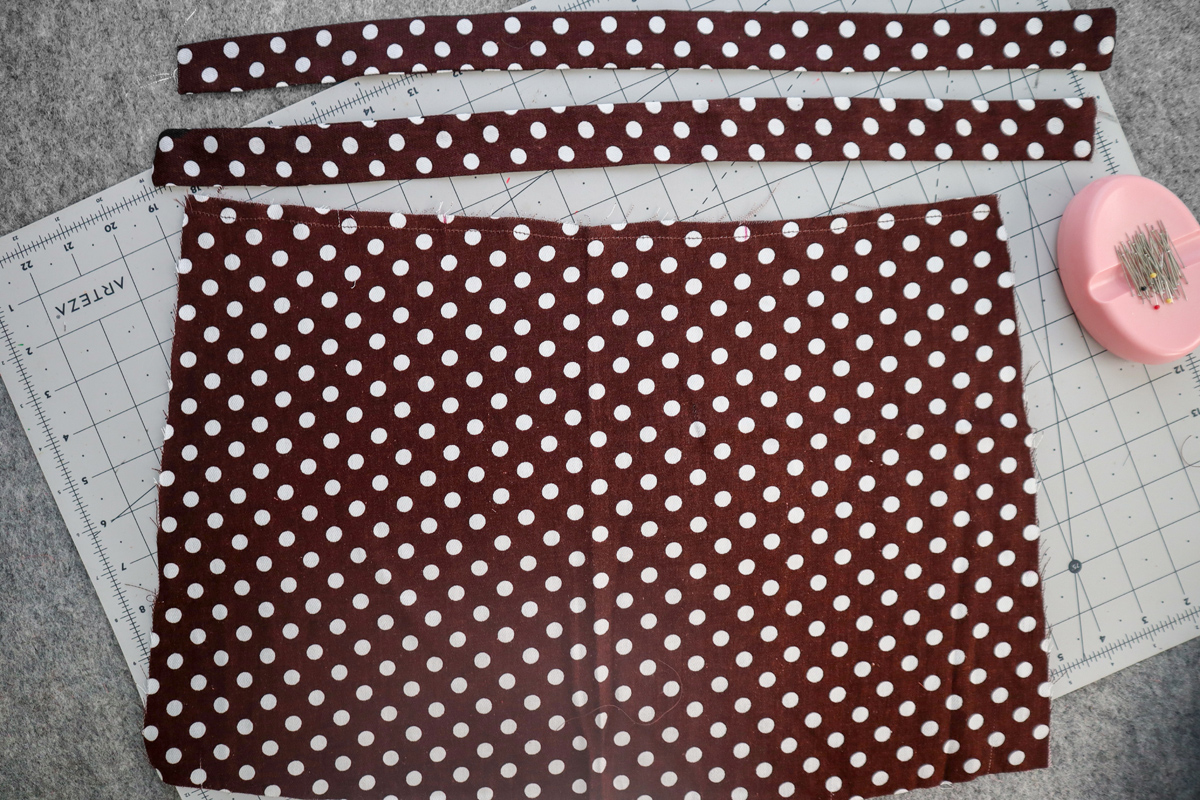
Now lets move on to the back. Lay down the back bodice with right side of the fabric facing you. Grab your remaining two longer back straps.
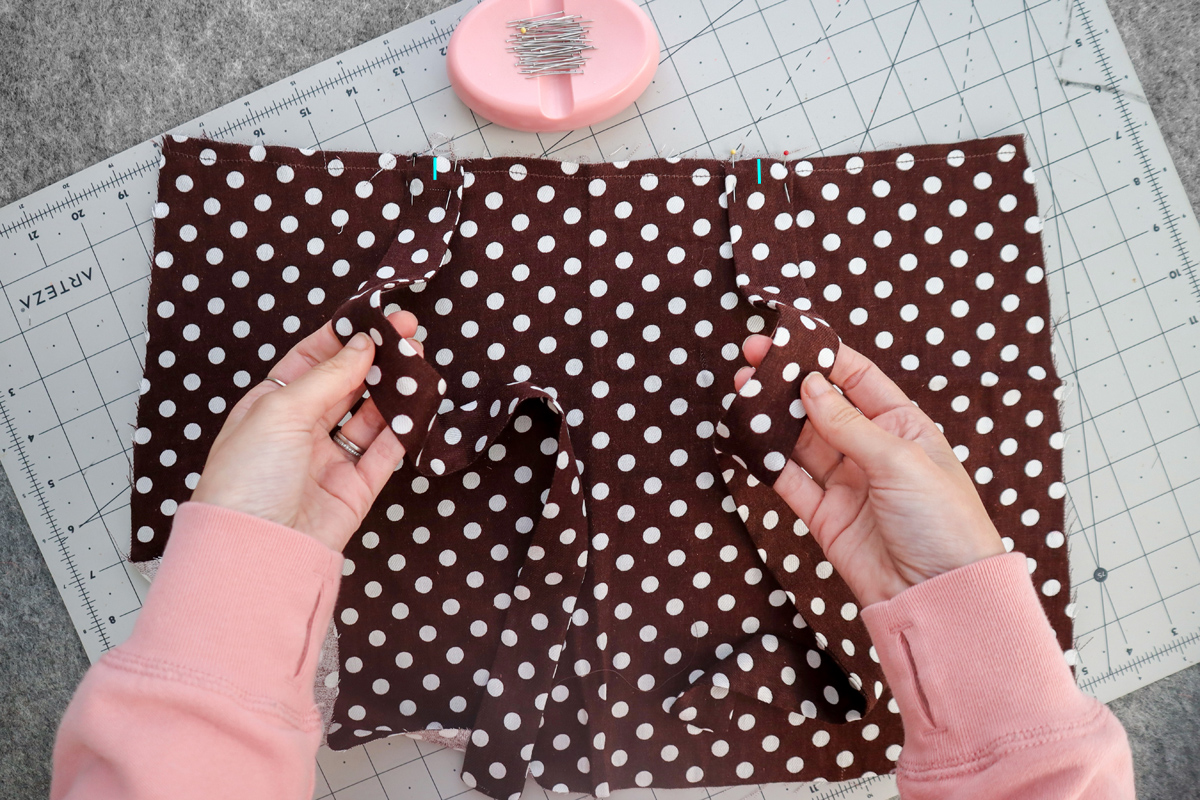
Place your straps on the back bodice, so that the open short ends of the straps line up with the raw edge of the bodice, and they are centered over the notches.
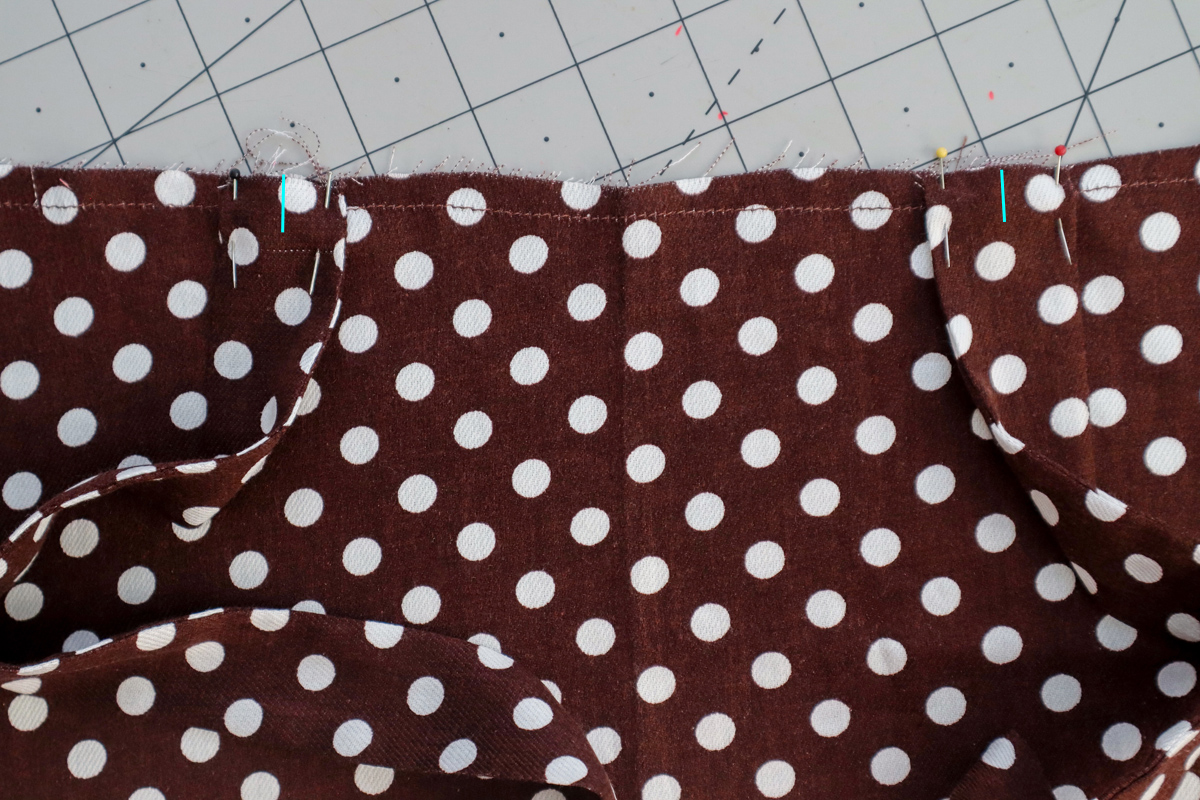
Pin or baste in place.
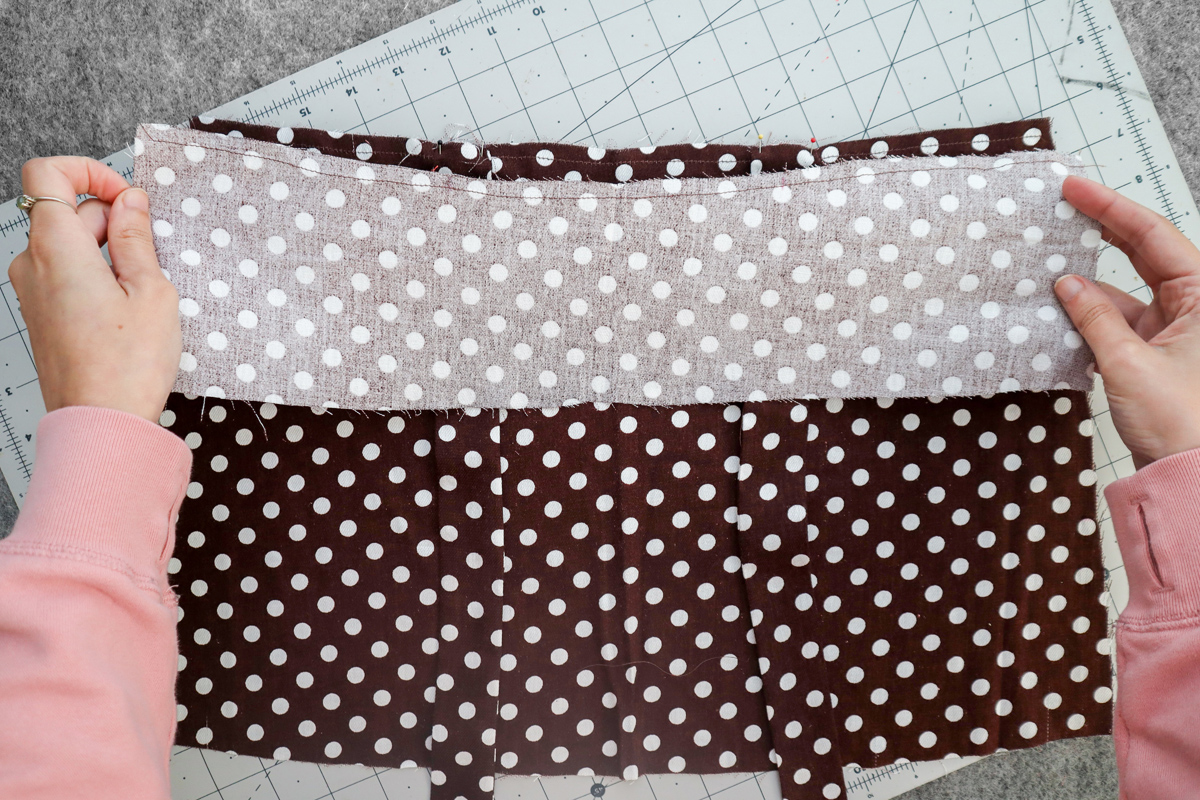
Take your back facing and place on top of the back bodice, with right sides together.
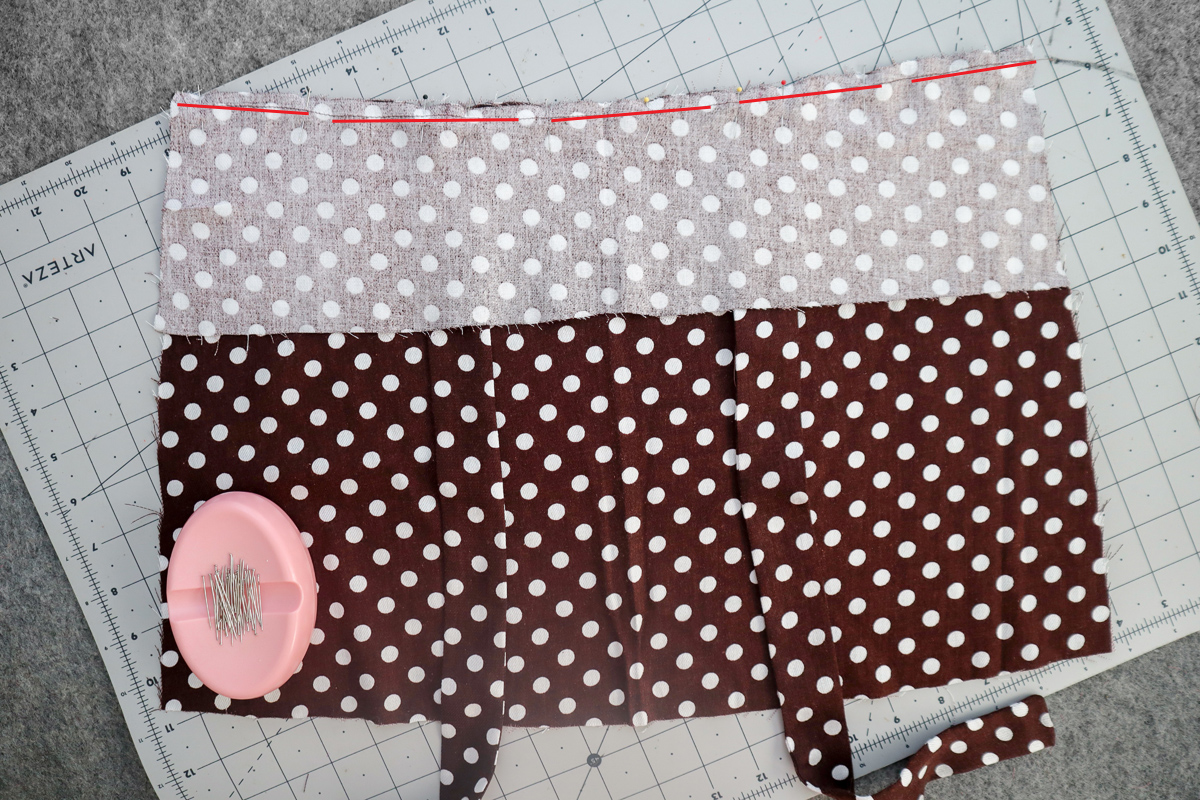
Line up the raw edges, and stitch together 1/4″(6mm) away from the raw edge. The straps will be sandwiched in between.
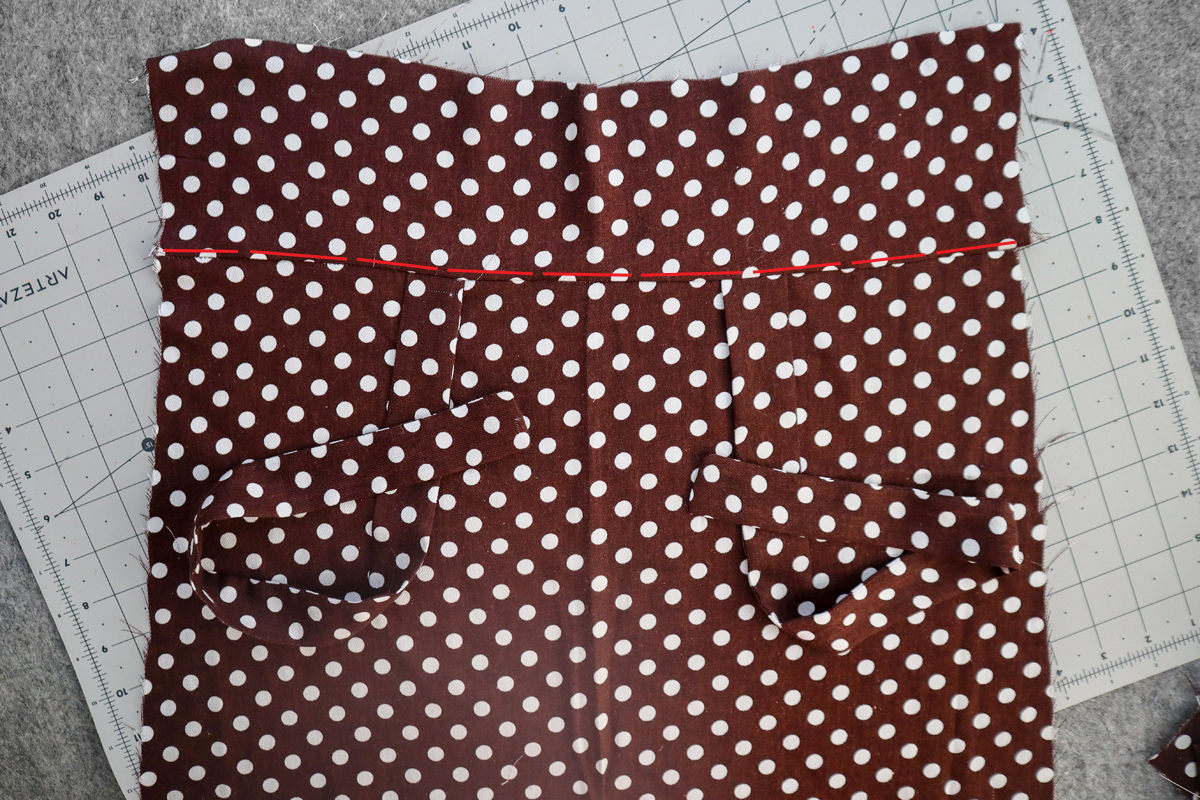
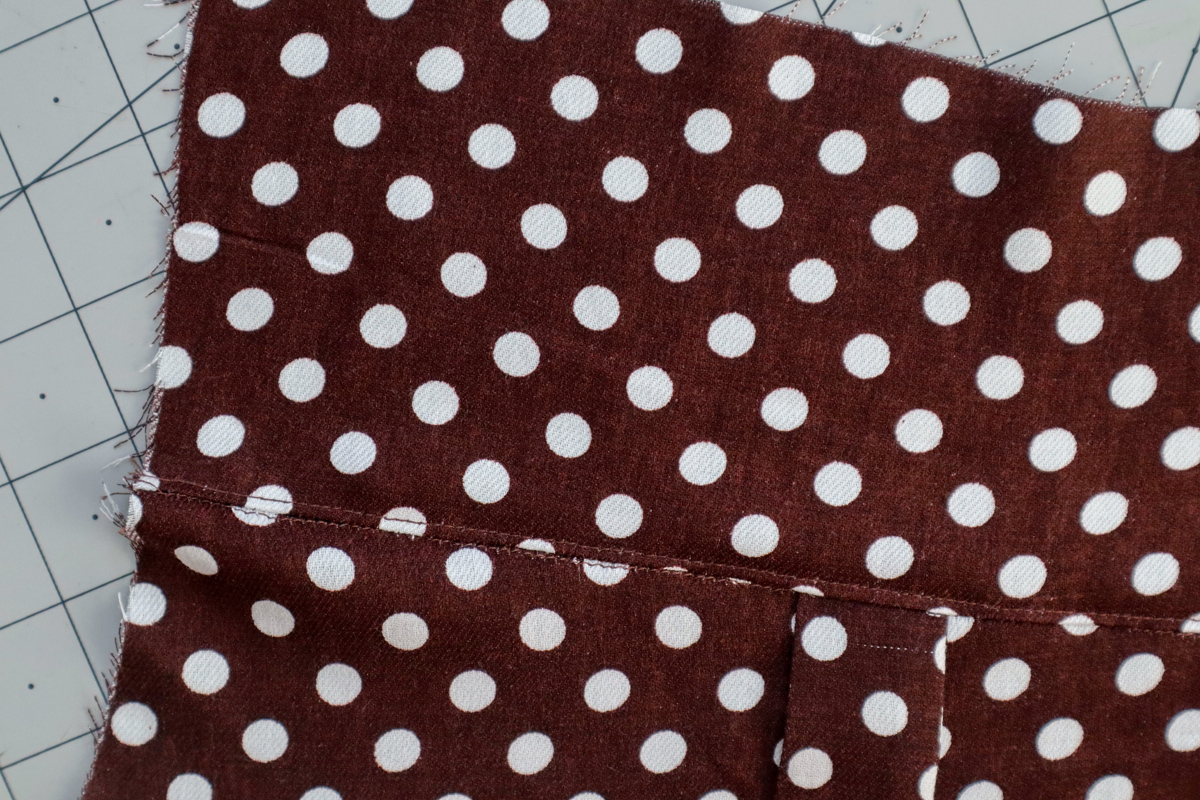
Press the facing and seam allowance up away from the bodice. Understitch on the facing through the seam allowance, close the seam.
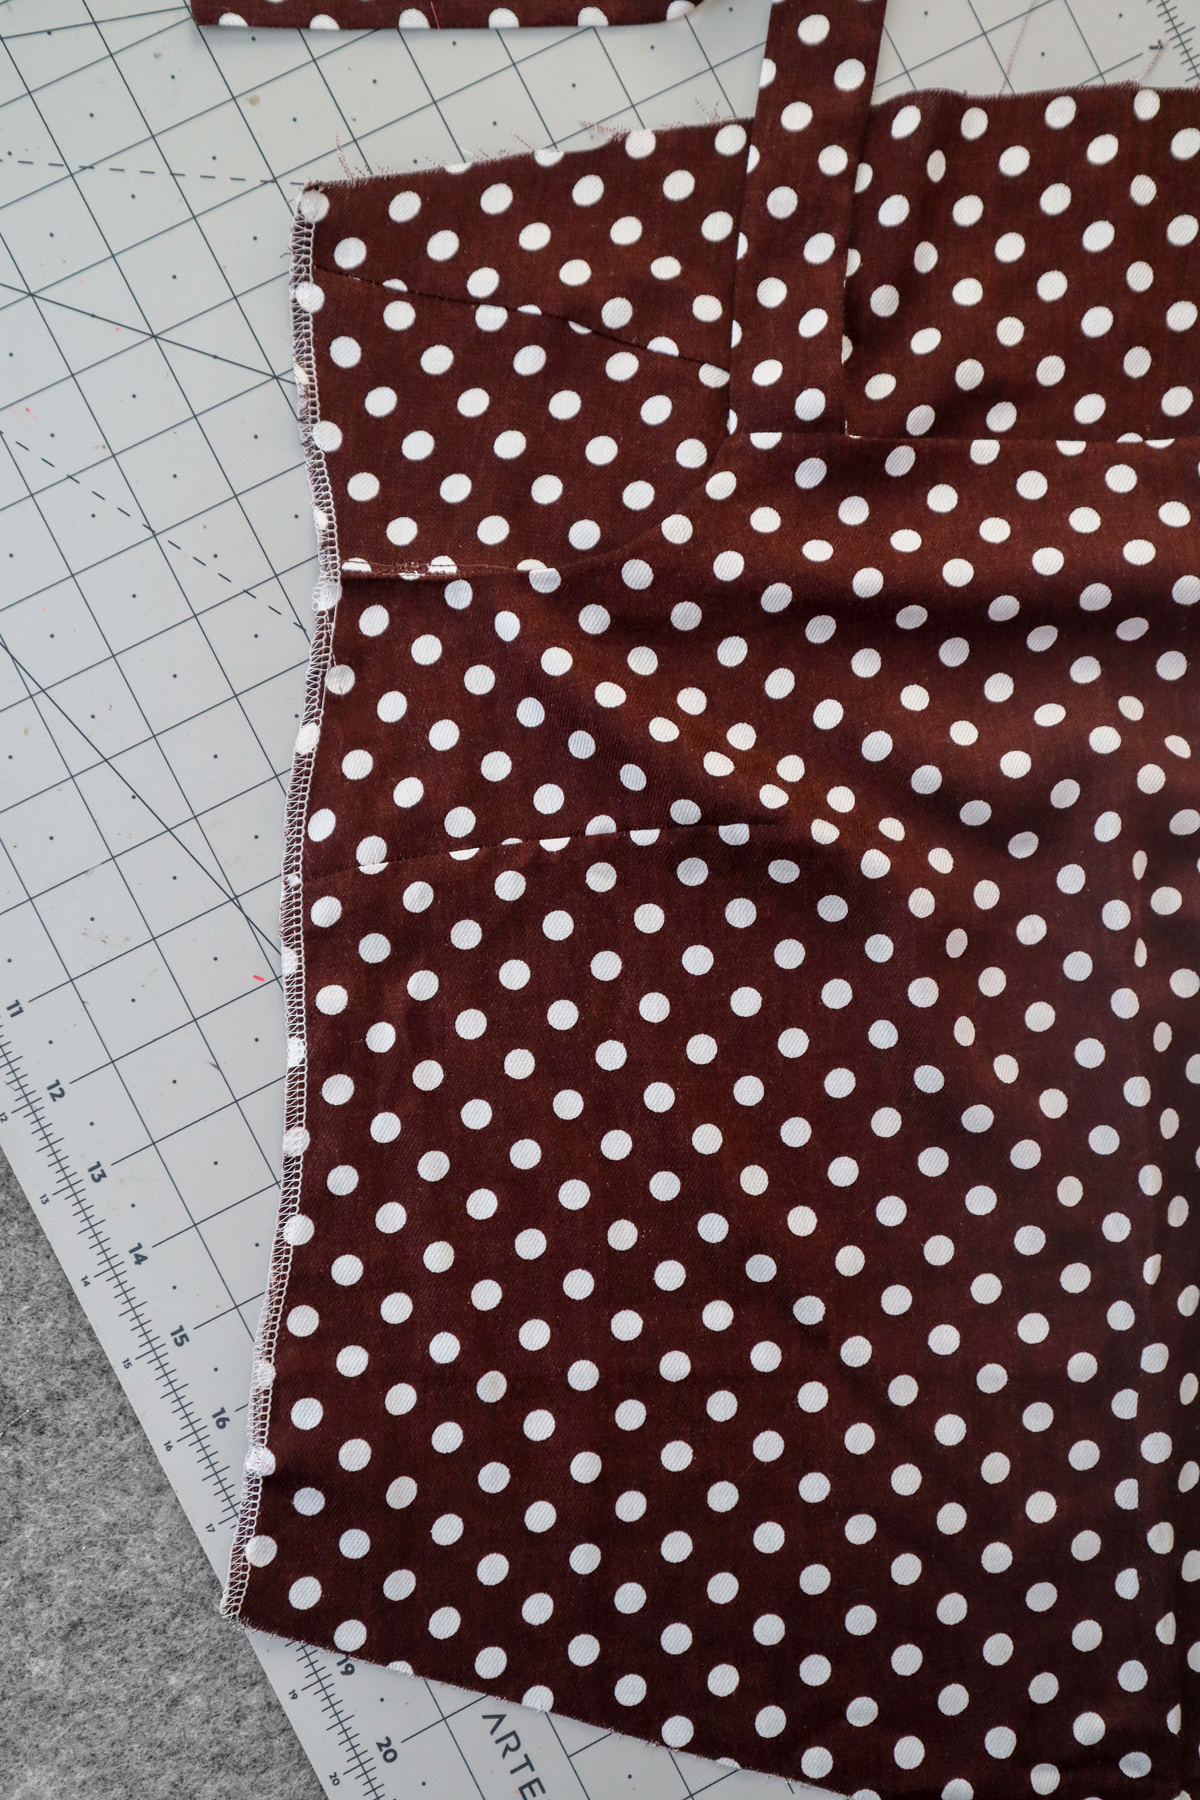
With the facings still flipped up and everything lying flat, finish the raw edges of the side seams on both the front and back bodices. You can use a serger, zig zag stitch, or whatever method you prefer.
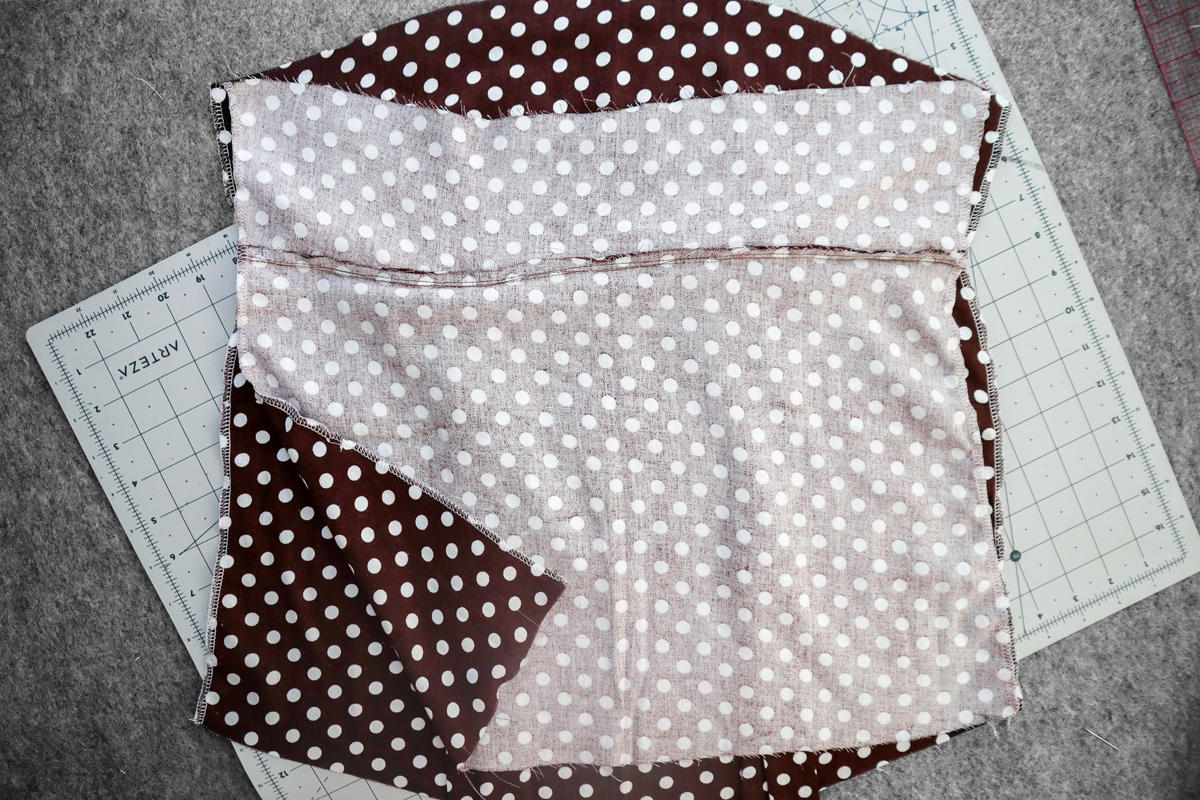
With right sides together, place the back bodice on top of the front bodice.
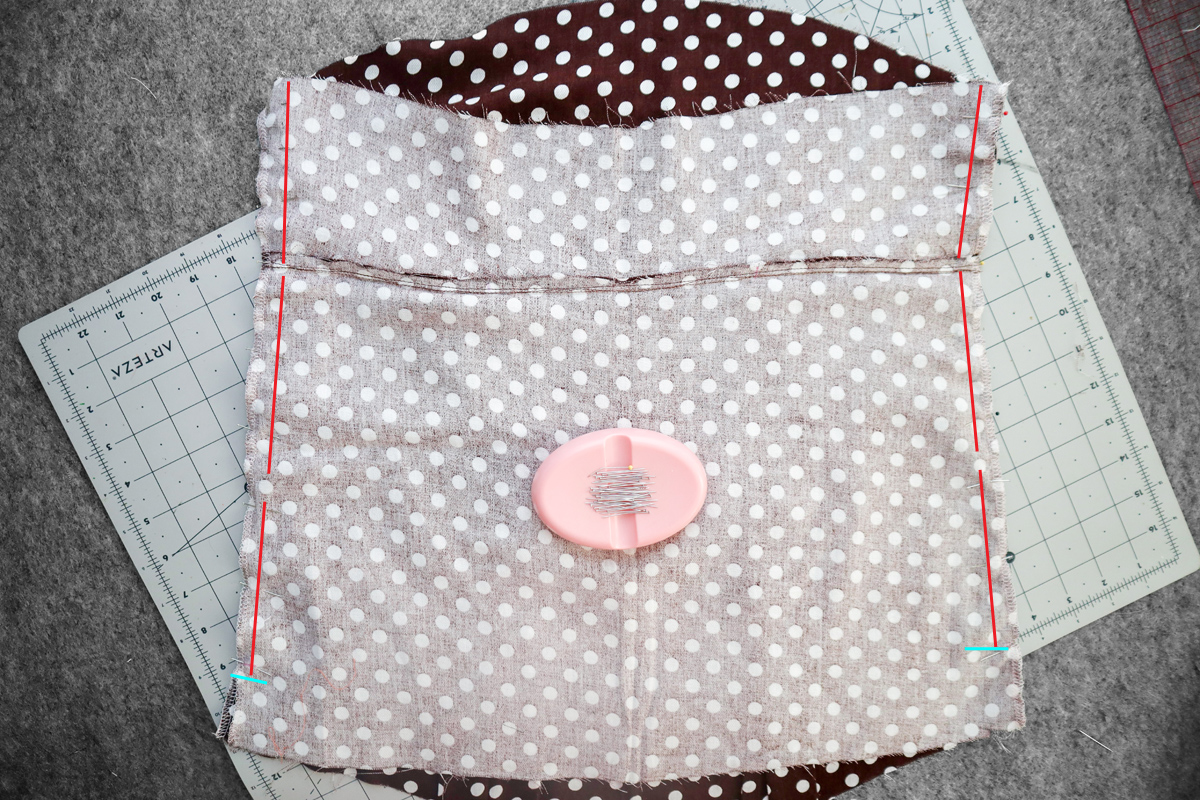
Align the raw edges of the side seams, and match up the seams where the facings meet the bodice.
Sew each side seam together from the top edge of the facing, down to the hemline notch. Backstitch at the notch.
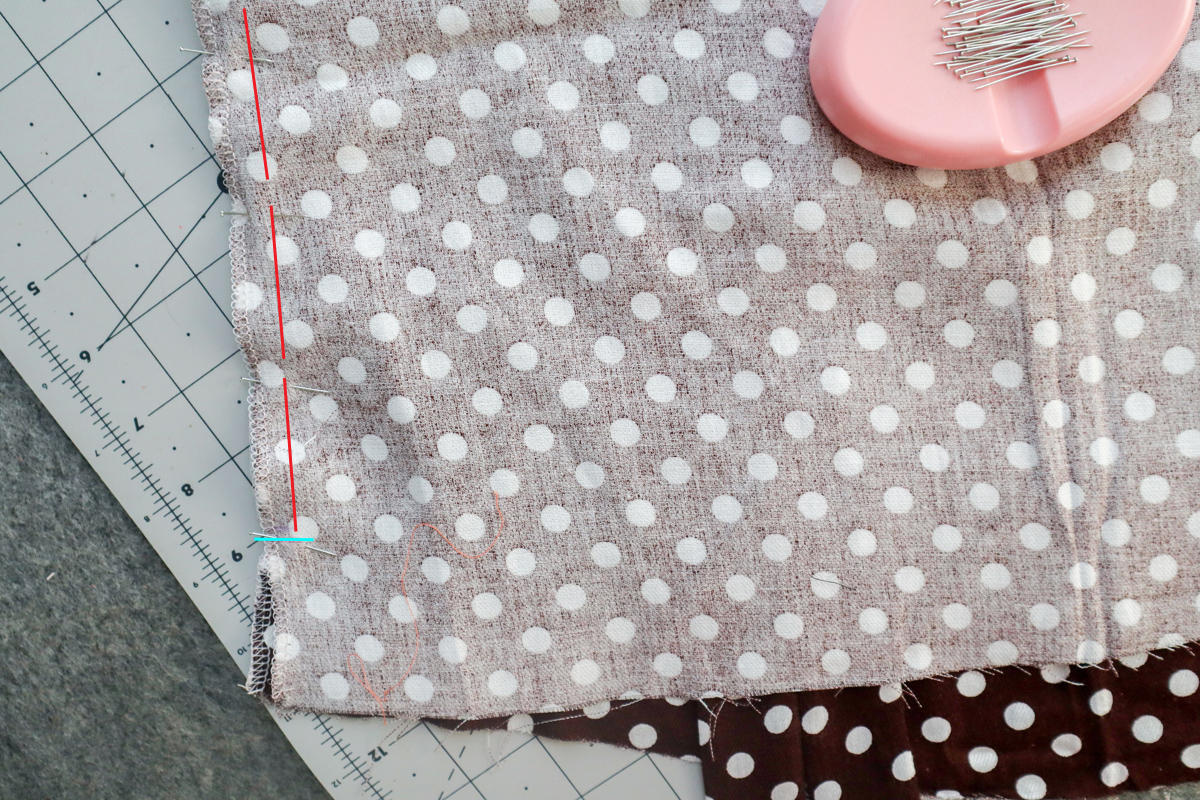
Make sure you only stitch up to that notch!
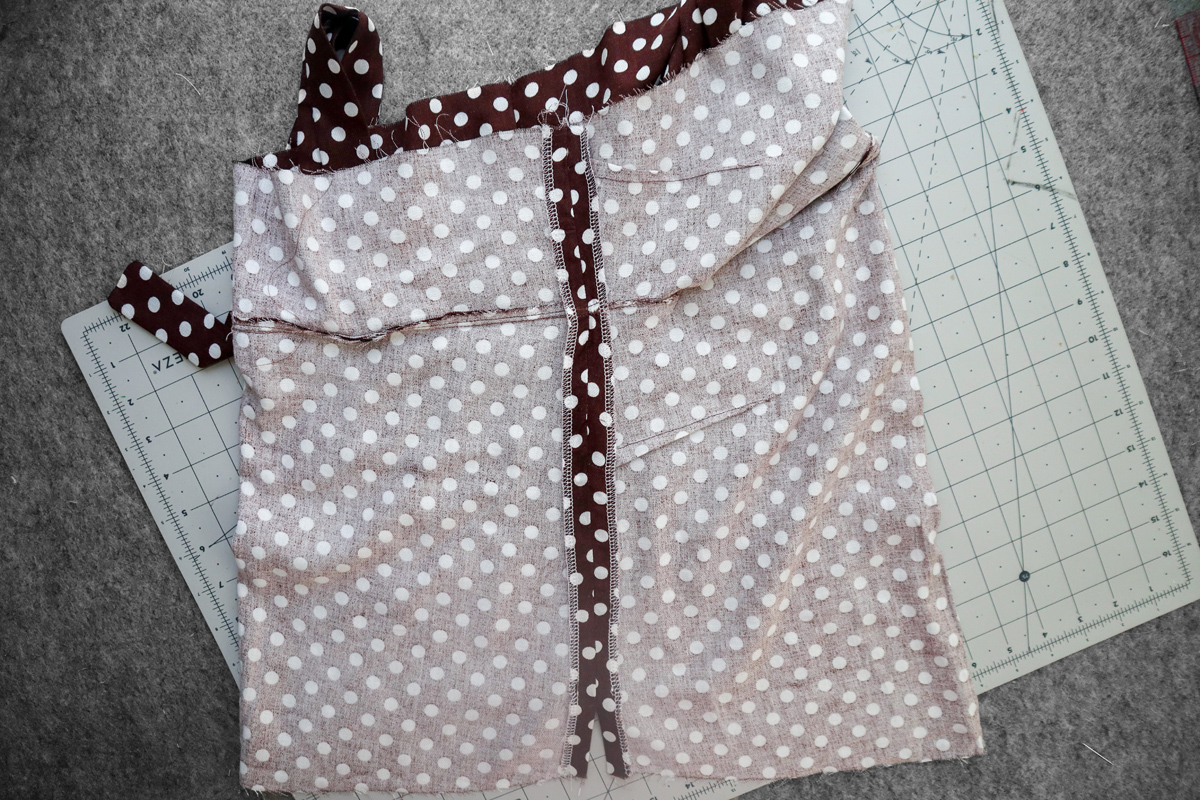
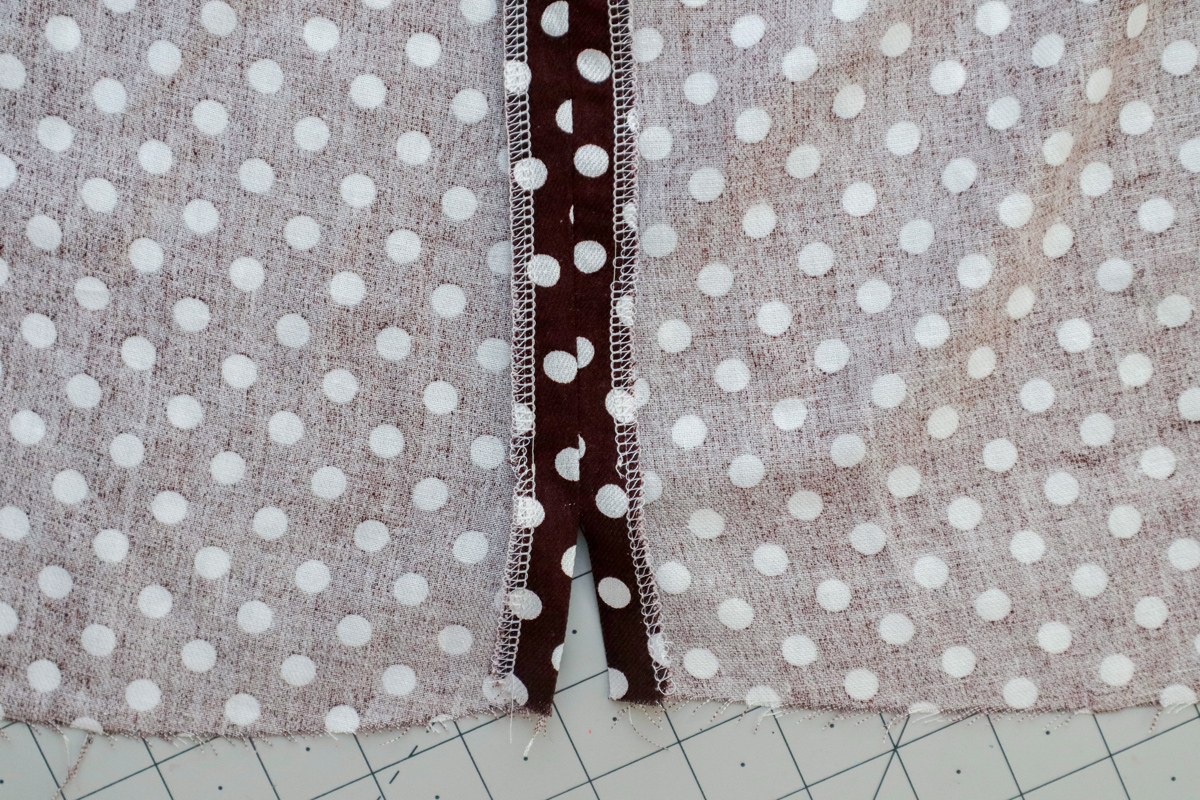
Press the side seams open. Again you can see how it is left open below the notch.
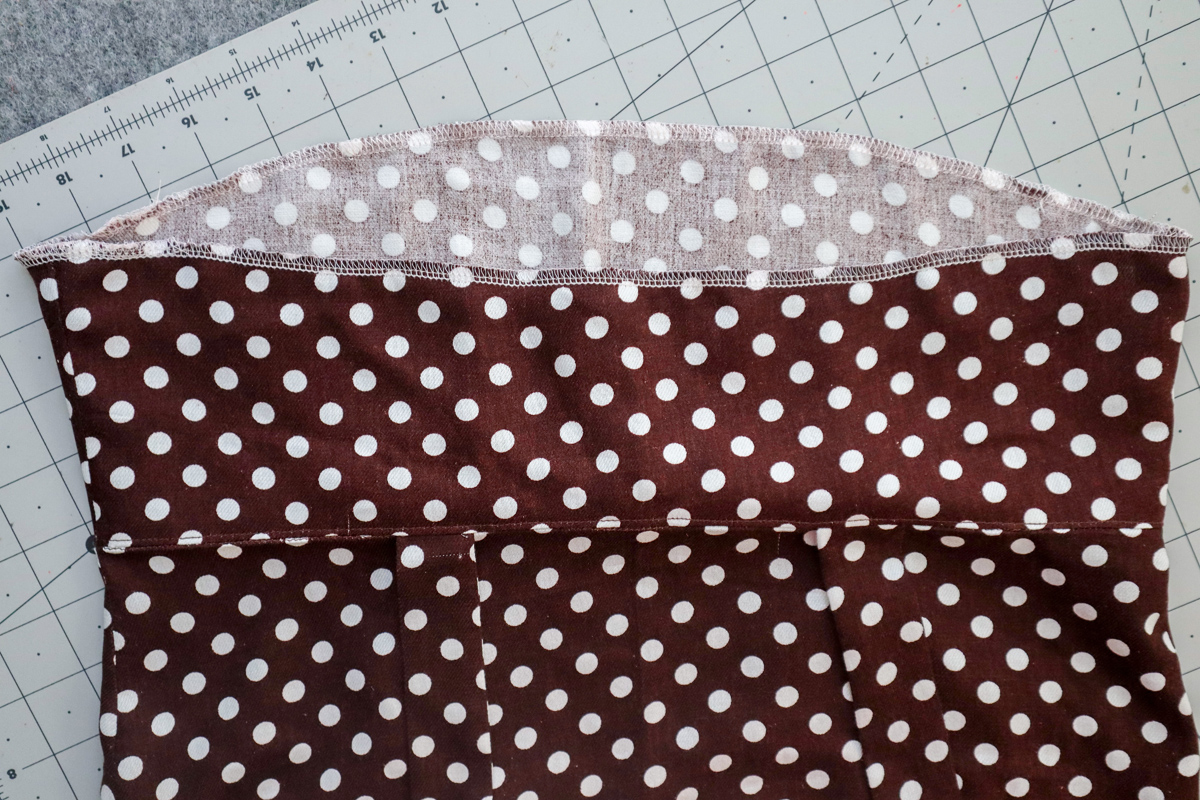
Finish the bottom edge of the facing with your preferred method.
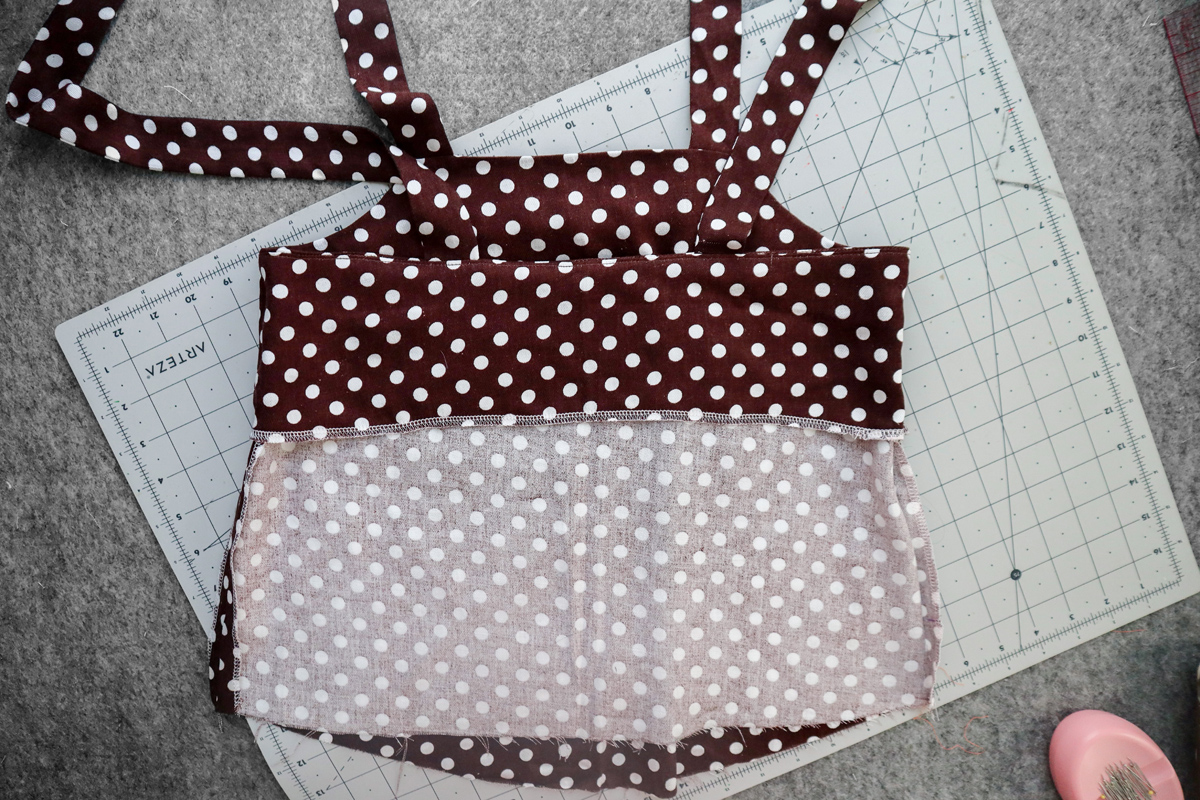
Turn the facing towards the inside of the garment and press the neckline well.
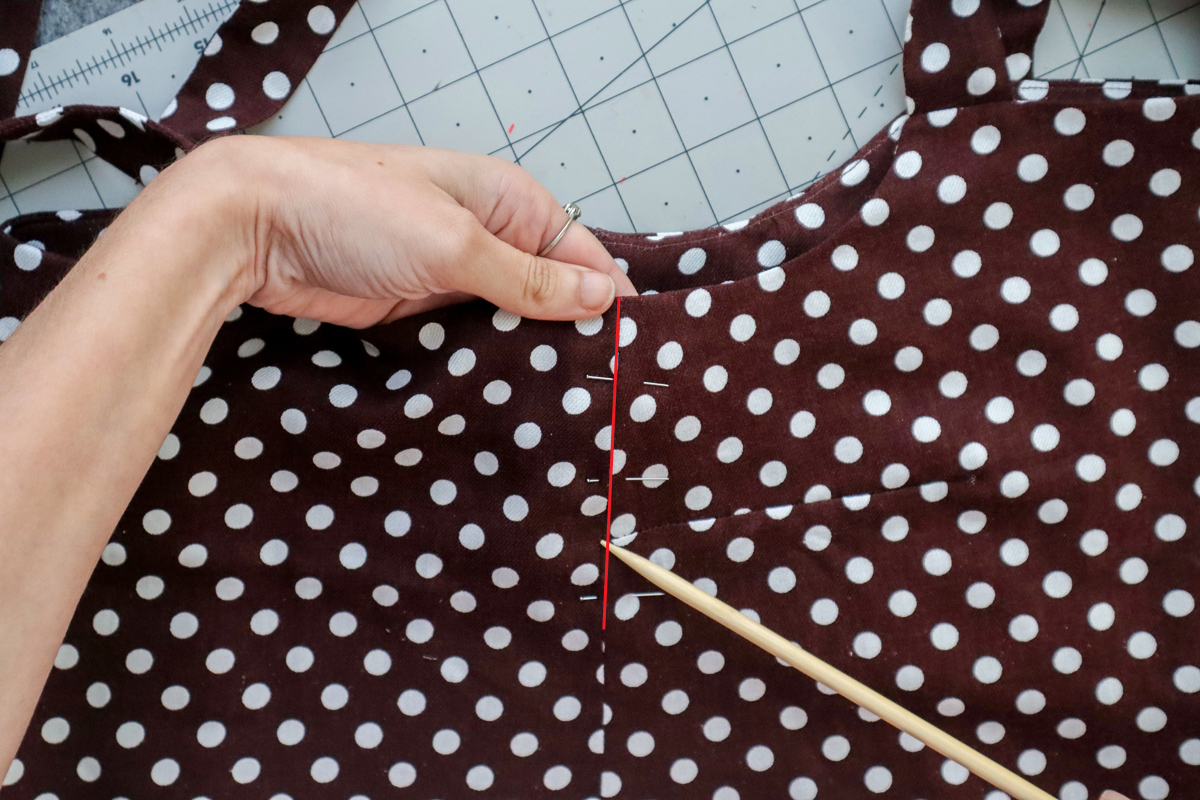
Turn right side out. Now is a good time to try your garment and see if you like the fit. You can let out or take in the side seams at this point.
Once satisfied, from the right side of the garment, place a few pins along the side seams through the main fabric and facing. Stitch in the ditch right in that side seam to secure the facing in place.
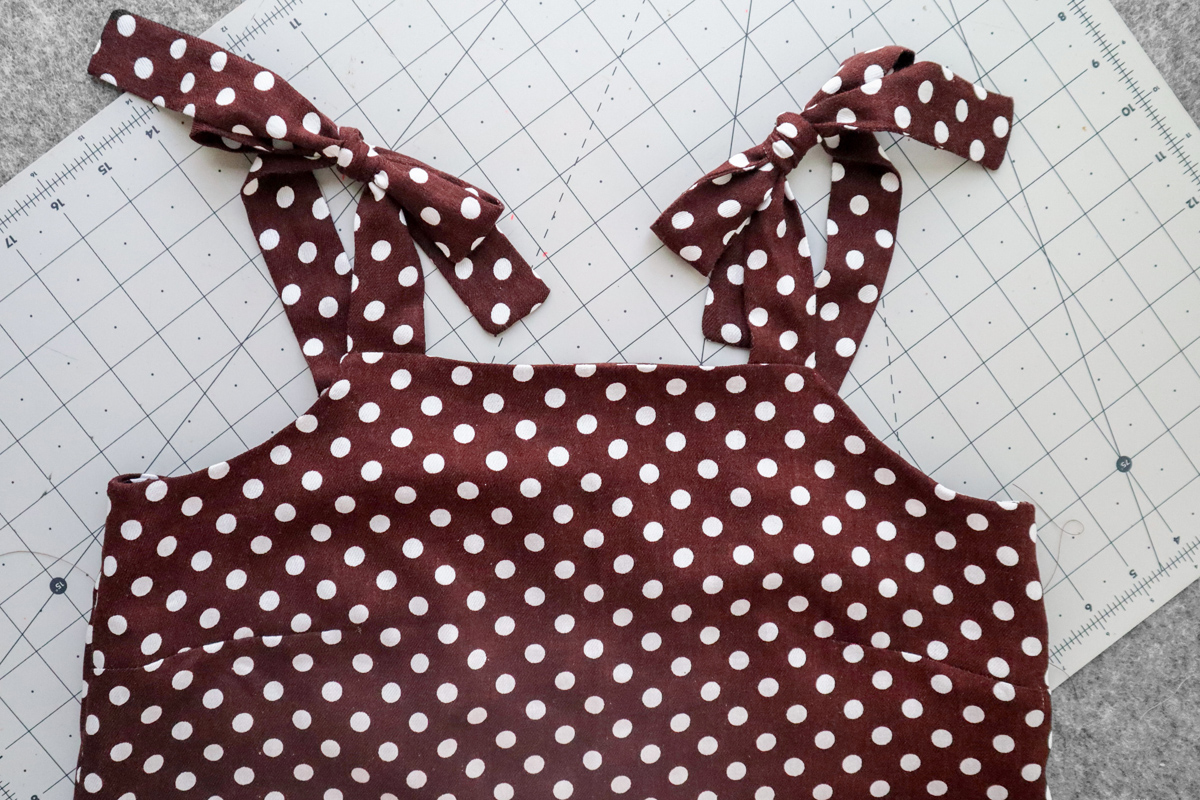
Tie your straps, and that part is done! We will move on to the cami hem facing finish in the next post.
LOOKING FOR MORE MARRI POSTS?
- How to choose between Marri & Marri Curve
- Marri Inspiration & Ideas
- Marri Sewalong : Joining pattern pieces
- Marri Sewalong : Darts & Staystitching (all views)
- Marri Sewalong : View A Straps, facings and side seams (this post!)
- Marri Sewalong : View A Cami hem facing
- Marri Sewalong : View B (All steps)
- Marri Sewalong : View C Straps & facing
- Marri Sewalong : View C Pockets, side seams and finishing the straps and facing
- Marri Sewalong : View C Hem & slits
- Marri Bonus : French seams
- Marri Hack : Colour blocked
- Marri Bonus : Fabric belt & thread chain loops
Don’t have the pattern yet?