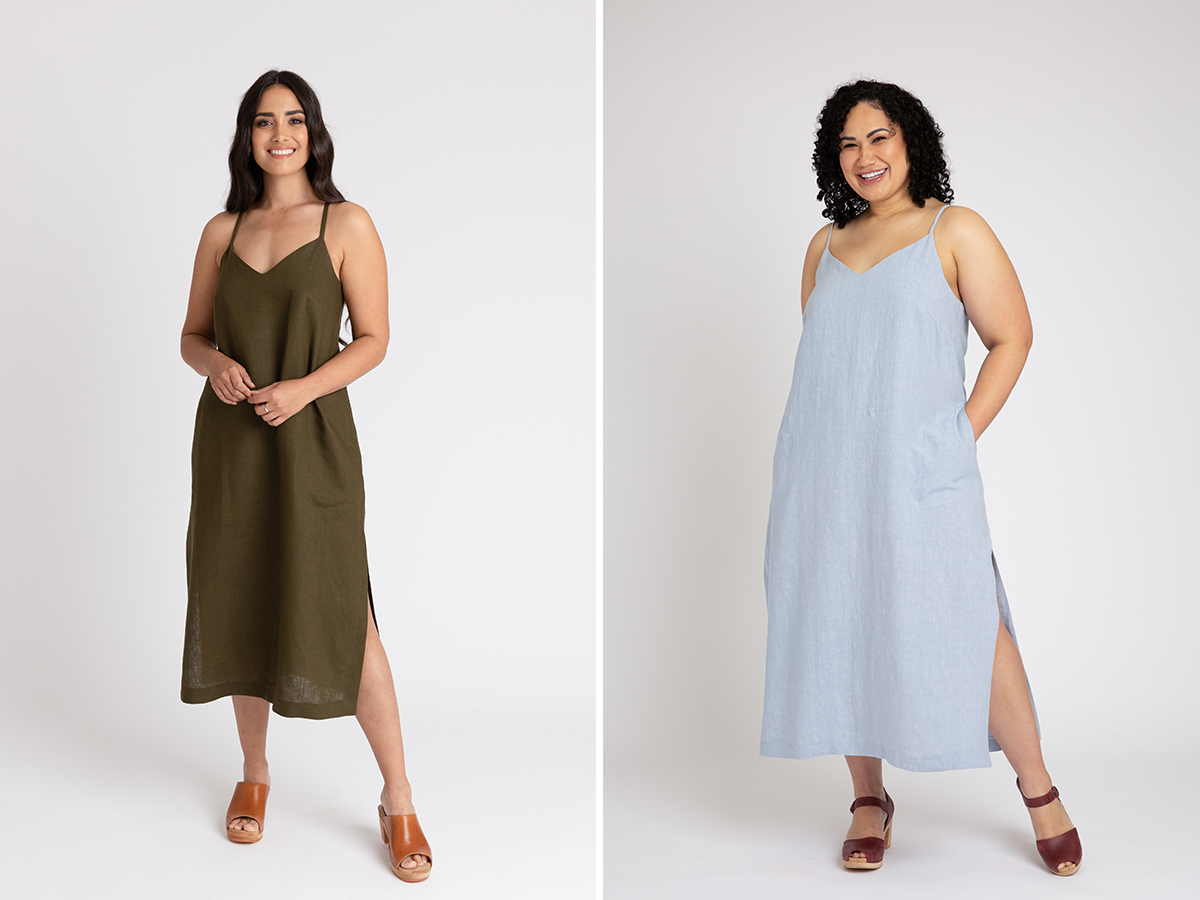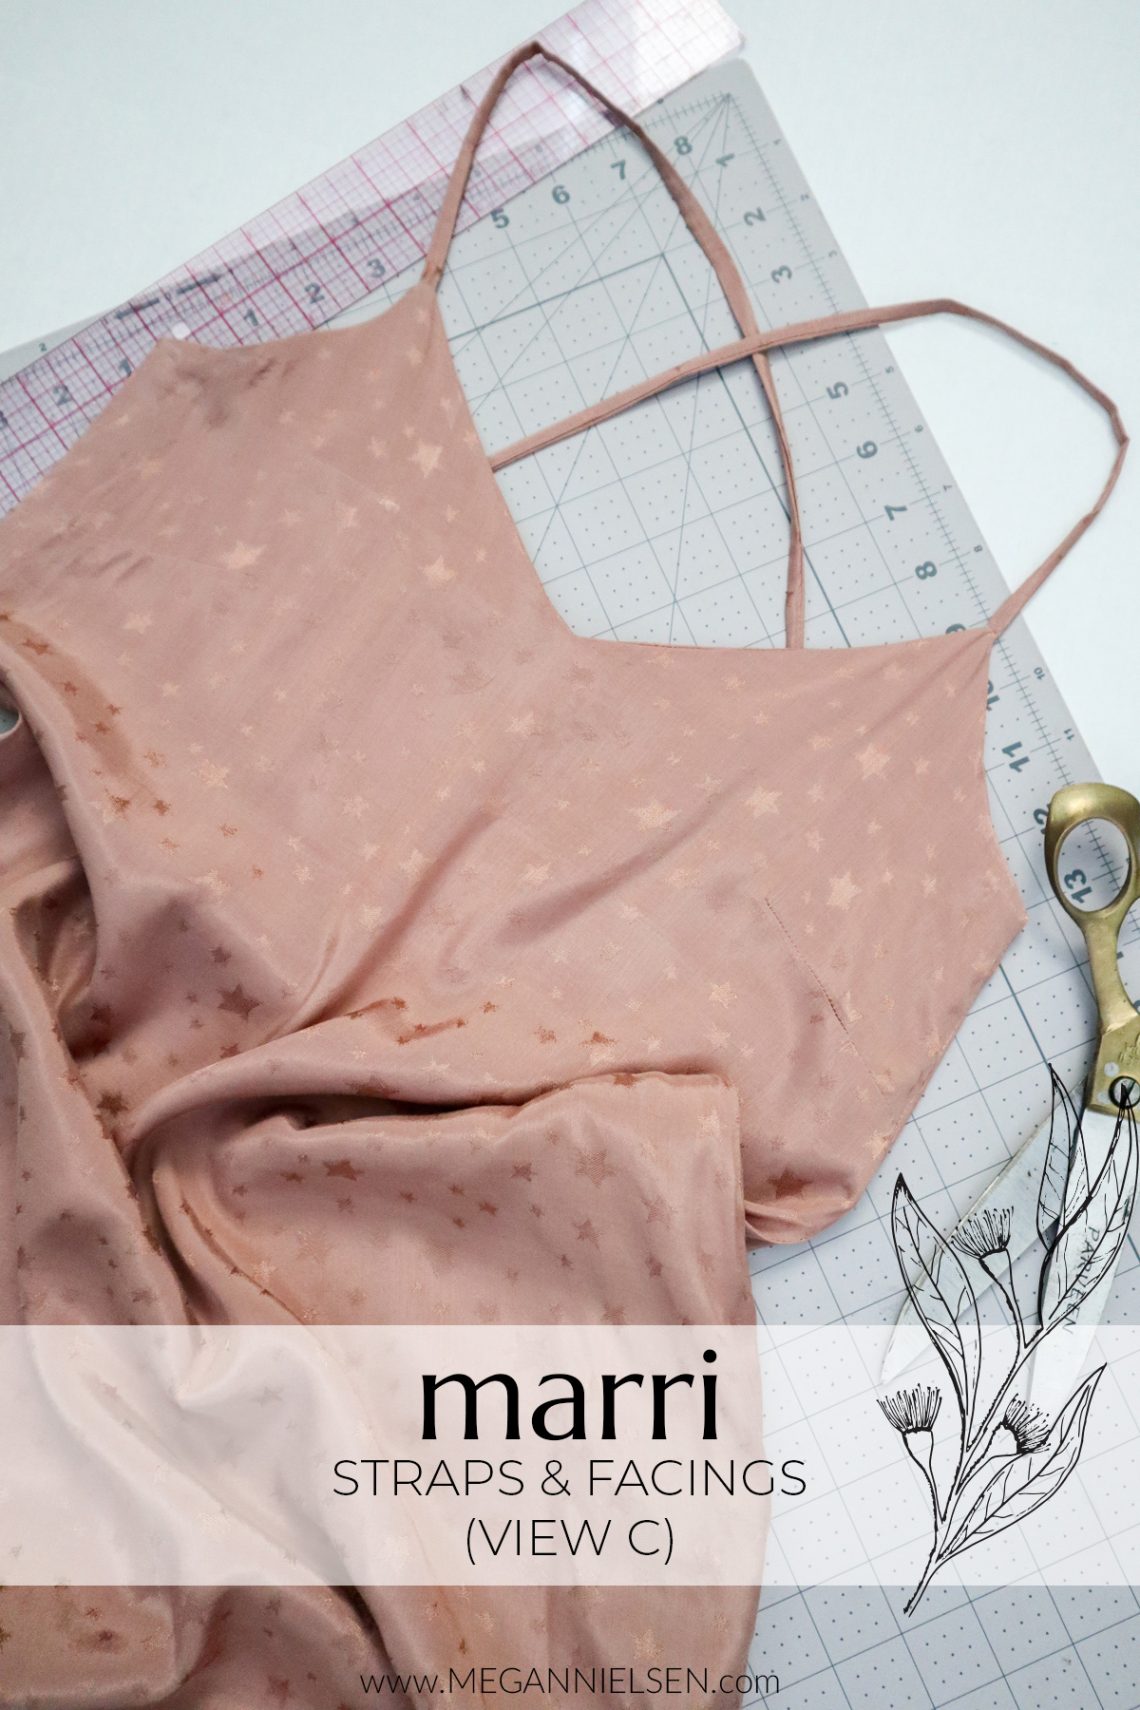

Moving on to View C of the Marri pattern – this view is a v-neckline with crossover straps and long dress length with side slits. I’ll be breaking this view into a few posts. So today, we’ll go over the straps and facing.
*Because of the mix-and-match nature of this pattern, there are many different variables to go over for construction. It’s the best, organizational wise, to keep the posts grouped together for each individual view. So while I’ll be going over a straight View C here (v-neckline, thin crossover straps, long dress length with side slits), feel free to mix and match steps from this post with other steps from other posts!
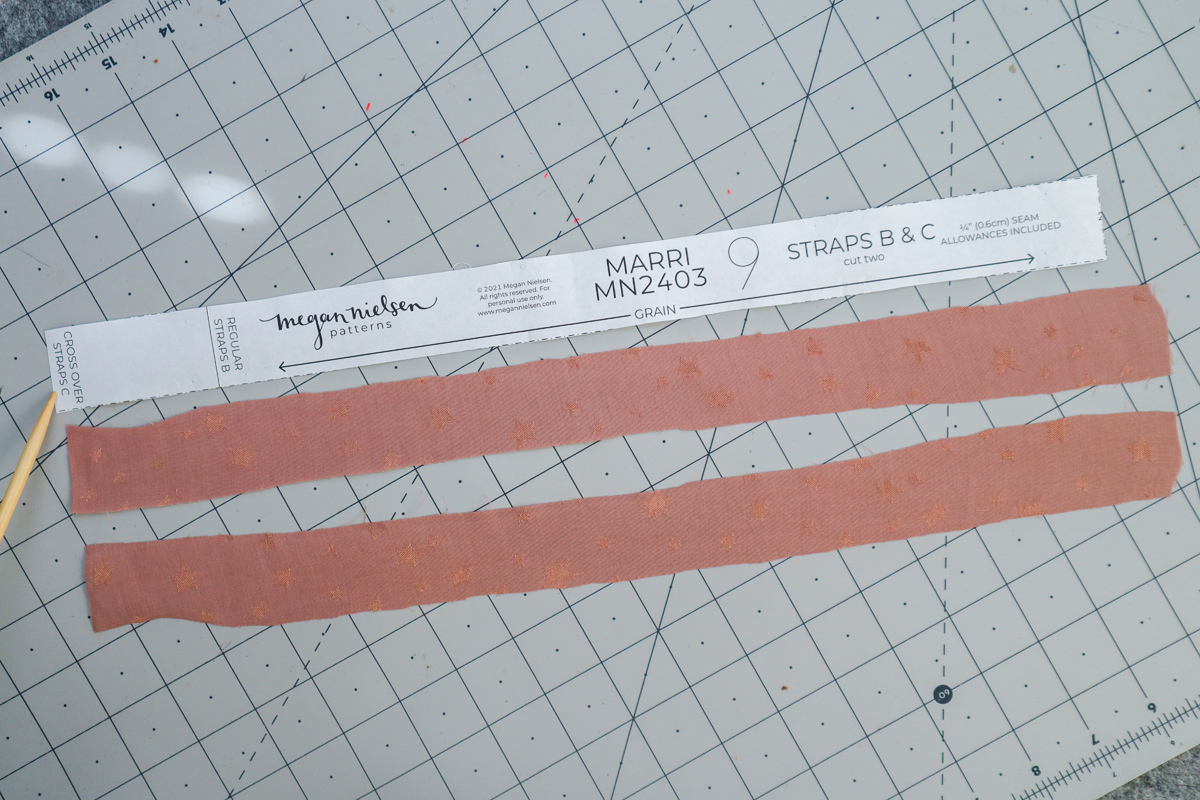
Let’s take a look at the straps pattern piece. You will notice that there are two cutting lines. For the v-neck crossover straps, you will need to cut two pieces at the longer length.
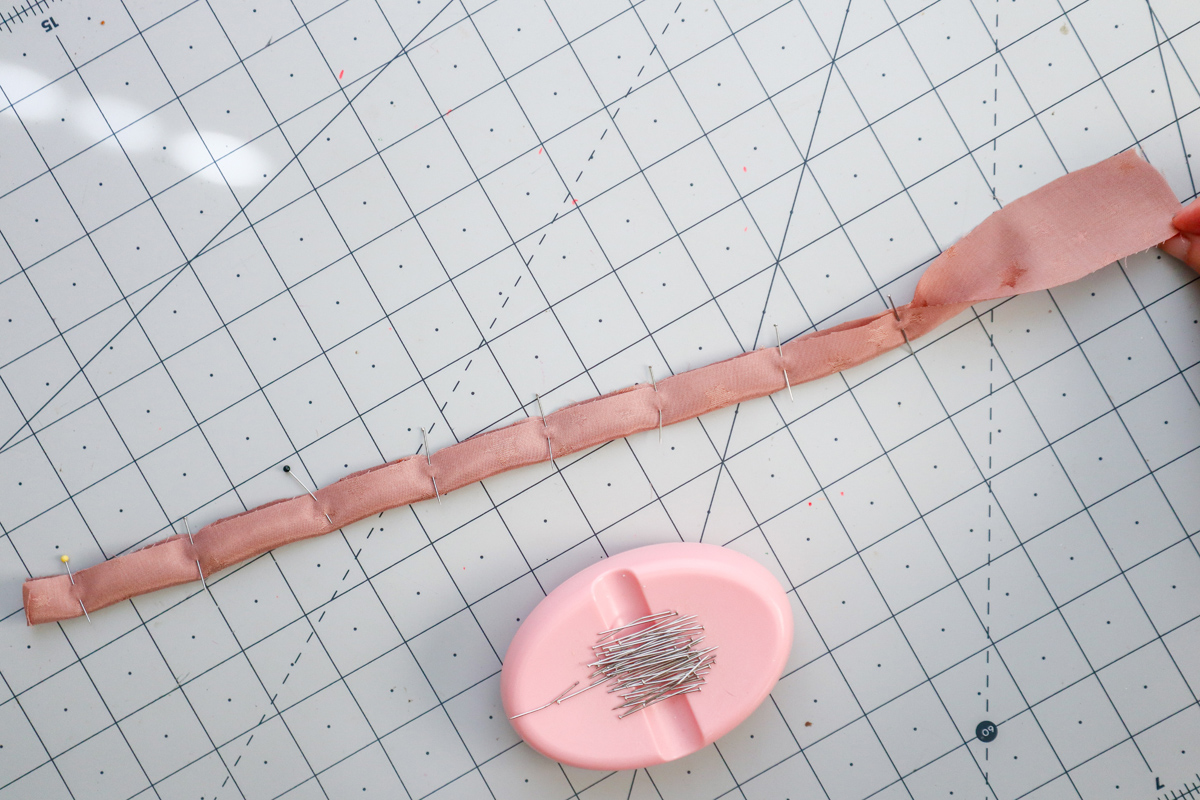
Fold each strap in half with right sides together.
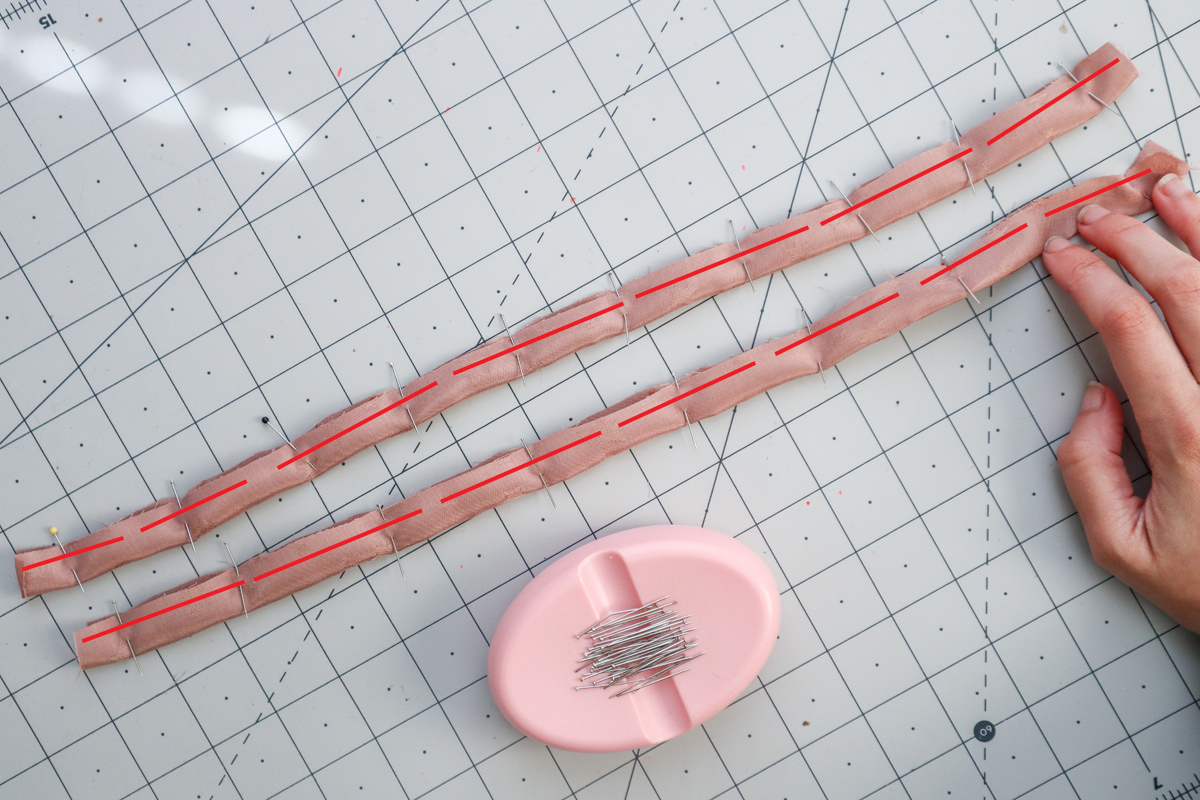
Sew each strap along the long edge, 1/4″(6mm) away from the raw edge.
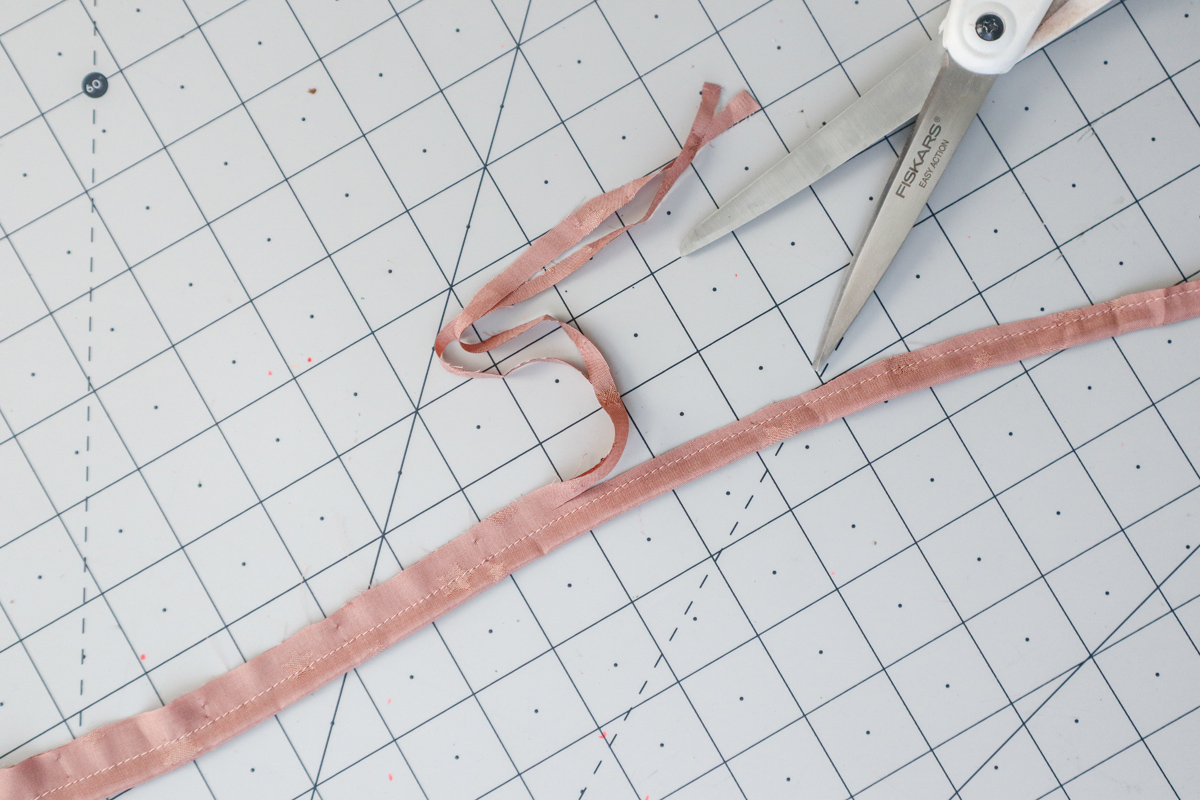
Trim back the seam allowance to a scant 1/8″(3mm).
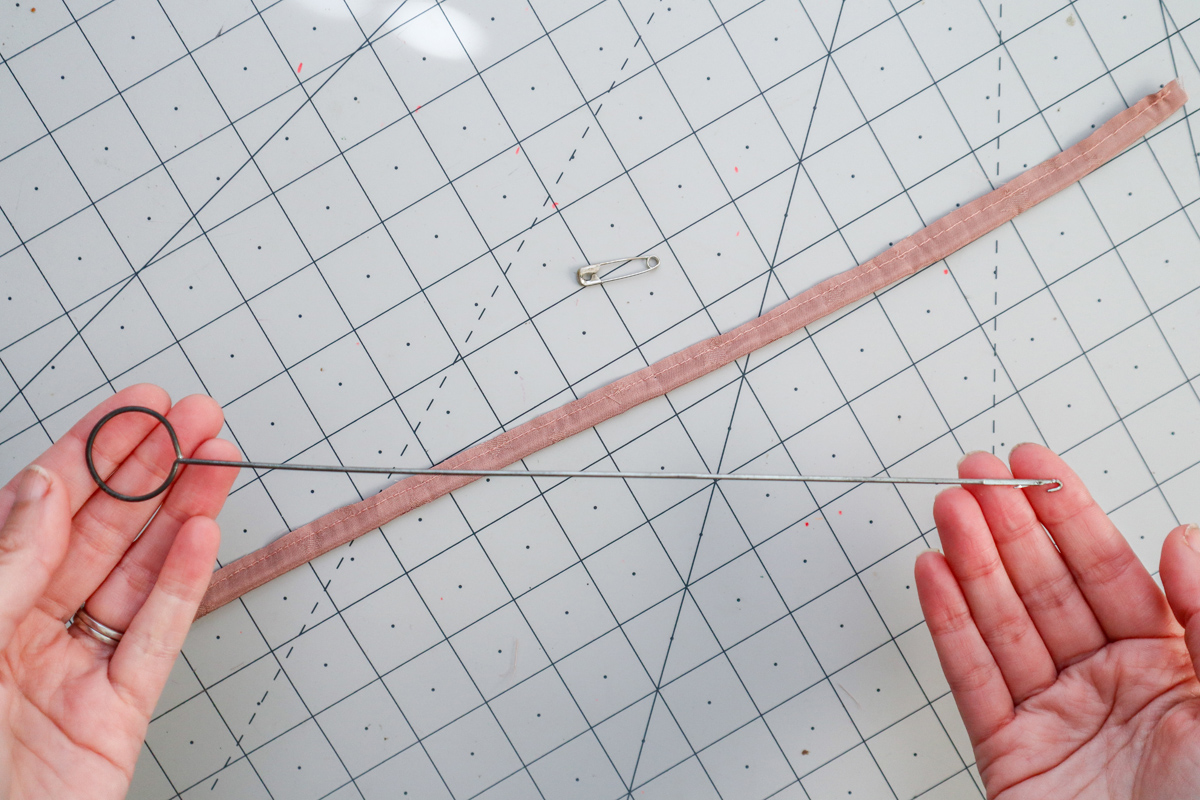
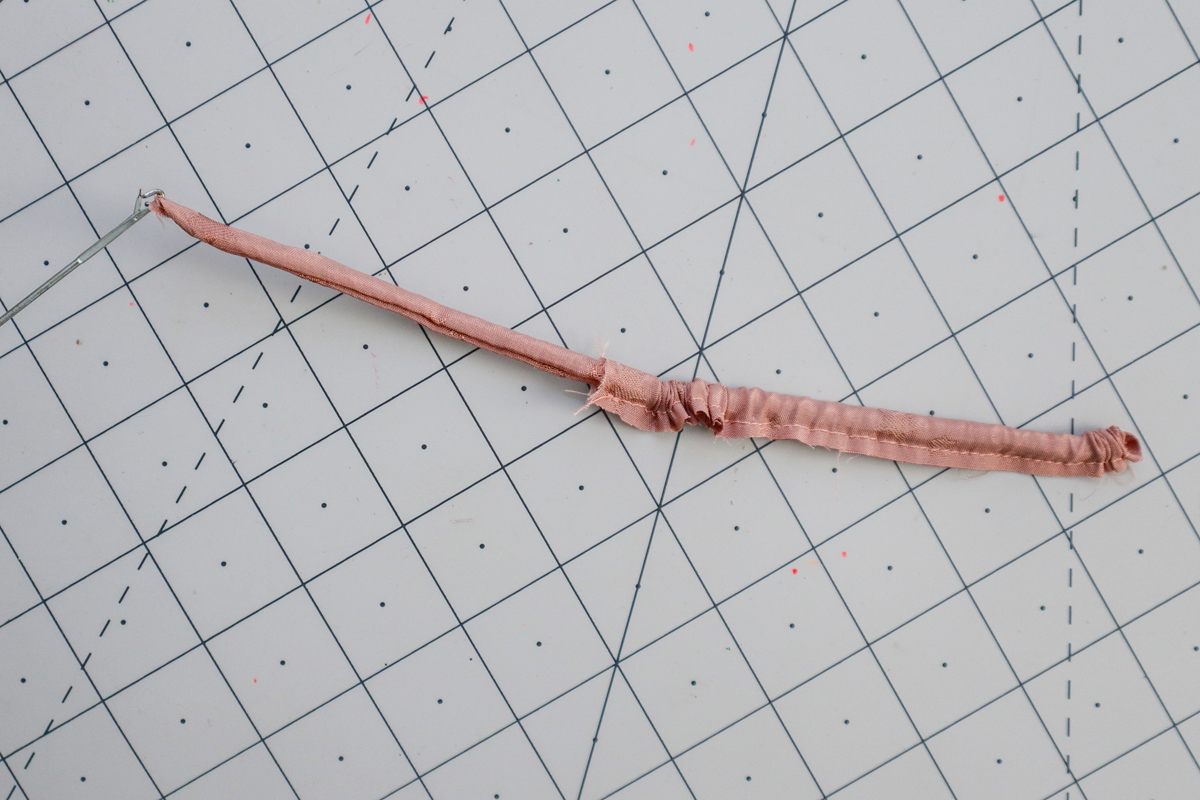
Using a loop turner or safety pin, turn each strap the right way around.
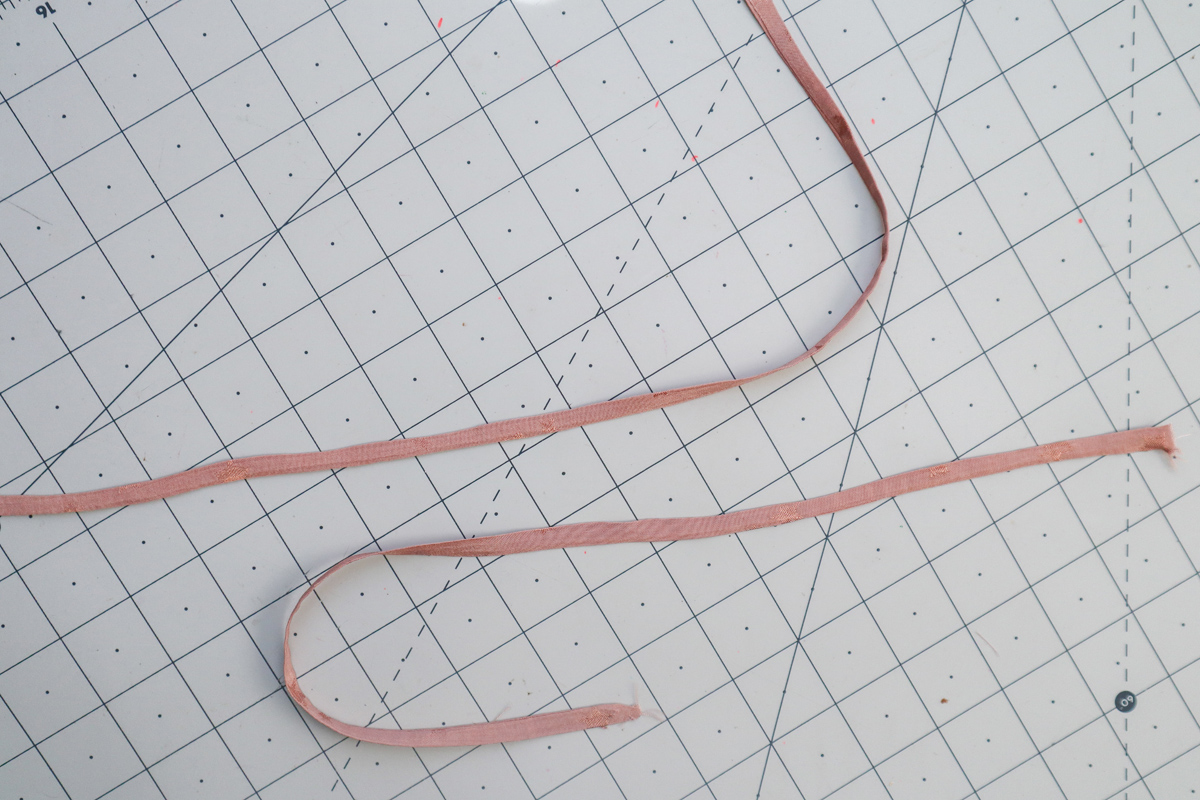
Press each strap well.

Lay your front dress down in front of you with the right side of the fabric facing up.


Place the two straps on top of the front dress, so that the raw edges of the straps line up with the raw edge of the neckline. The strap should be centred over that section of the dress, centred between the staystitching lines.
Pin or baste in place.

Now grab your front facing. This is optional, but recommended for stability – attach a small piece of fusible interfacing to the the v-point of neckline, as shown above. And then draw the 1/4″(6mm) stitch line over the interfacing. This not only adds stability, but makes it easier to sew that v-point.

With right sides together, place your front facing on top of your front dress. The straps will be sandwiched in between. Line up all the raw edges, and pin in place.
Sew along the armholes, over the straps, and around the neckline. Pivoting sharply at the center v-point.

Clip into the seam allowance a tthe point of the v-neck. Be careful not to cut through the stitches.

Trim back the seam allowance around the strap corners, and clip into the seam allowance around the curve of the armholes. Be careful to cut to the stitching, not through the stitching.
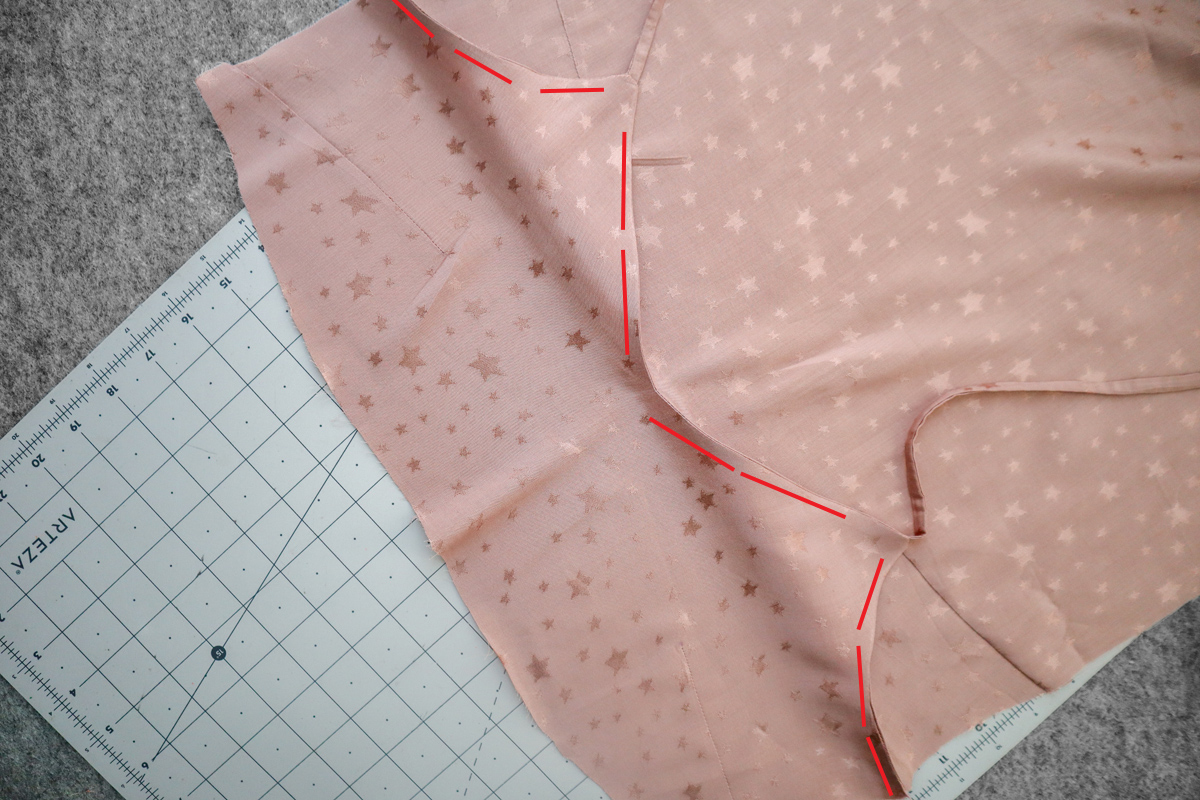
Press the facing and seam allowance up and away from the dress.
Optional – understitch along the facing, close to seam. Understitching is done on the facing, through the seam allowance. This prevents the facing from rolling to the outside during wear.

Now bring over your back pieces. With right sides together, place your back facing on top of your back dress.
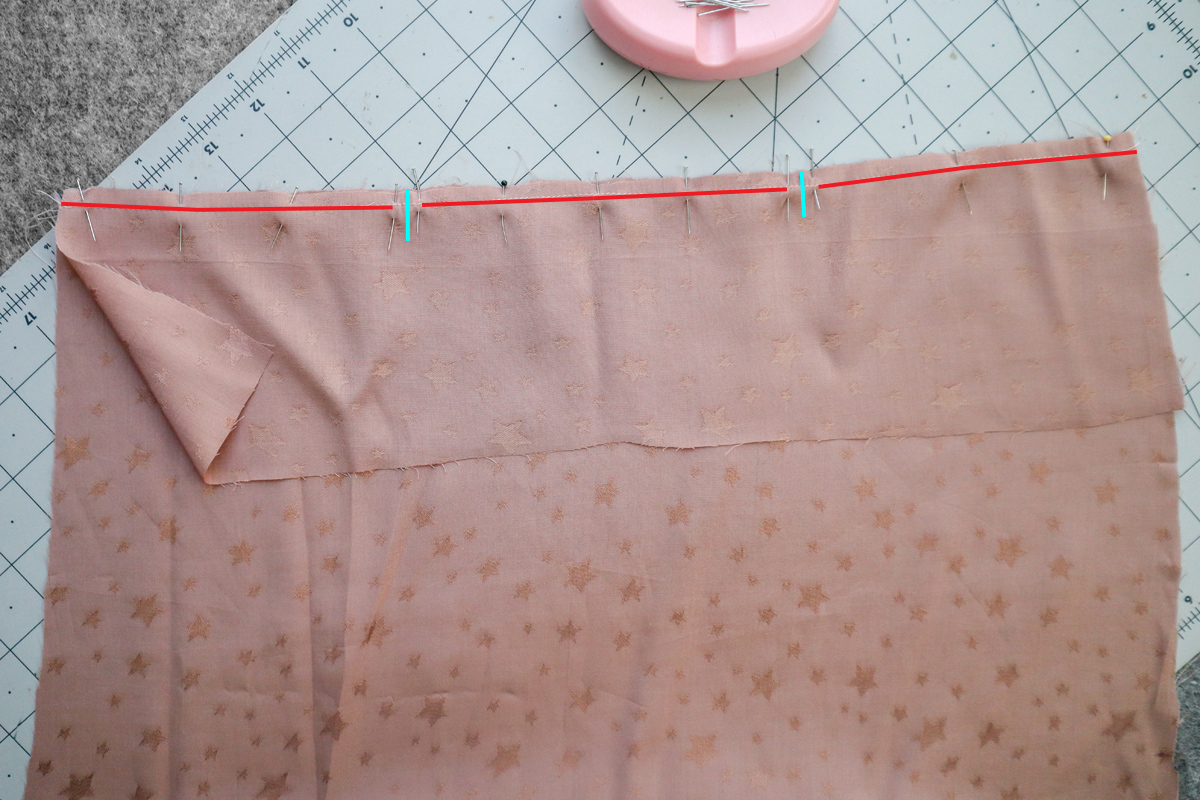
Line up the raw edges and pin in place. You will see the strap notches. Sew 1/4″(6mm) from thew top edge, leaving 1/4″(6mm) on either side of each strap notch.

This leaves small openings to insert the straps at the back later on.
Ok, we’ll continue in the next post!
LOOKING FOR MORE MARRI POSTS?
- How to choose between Marri & Marri Curve
- Marri Inspiration & Ideas
- Marri Sewalong : Joining pattern pieces
- Marri Sewalong : Darts & Staystitching (all views)
- Marri Sewalong : View A Straps, facings and side seams
- Marri Sewalong : View A Cami hem facing
- Marri Sewalong : View B (All steps)
- Marri Sewalong : View C Straps & facing (this post!)
- Marri Sewalong : View C Pockets, side seams and finishing the straps and facing
- Marri Sewalong : View C Hem & slits
- Marri Bonus : French seams
- Marri Hack : Colour blocked
- Marri Bonus : Fabric belt & thread chain loops
Don’t have the pattern yet?